
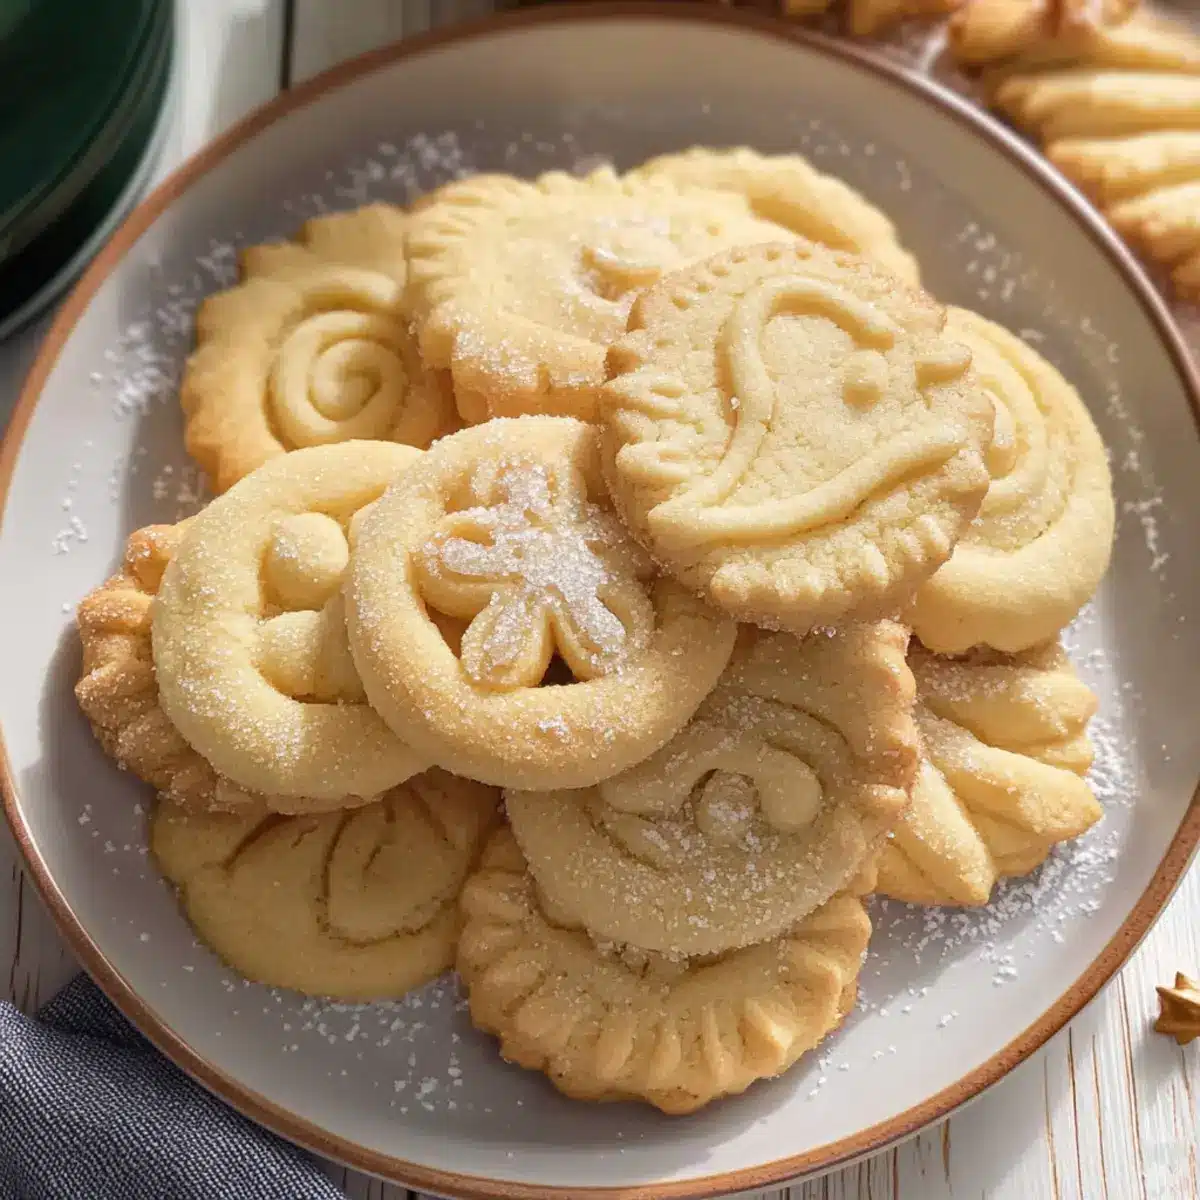
The first whiff of baking Danish butter cookies transports me back to my grandmother’s cozy kitchen, where the air was perfumed with butter and nostalgia. These melt-in-your-mouth delights, a staple during the holiday season, are not just cookies; they’re reminders of cherished family traditions shared over steaming mugs of tea. What I love most about this Danish Butter Cookies recipe is how effortless it is to whip up a batch that’s both a crowd-pleaser and perfect for gifting. With just a handful of simple ingredients, you can create these crumbly treasures that effortlessly embody the spirit of togetherness. So, whether you’re curling up by the fire or entertaining loved ones, aren’t you curious to find out how to bake these comforting treats that evoke smiles and warm memories?

Why Are These Cookies So Irresistible?
Melt-in-your-mouth goodness: There’s nothing like the delicate texture of these cookies that will have you reaching for seconds.
Simple ingredients: With just a few pantry staples, you’ll create something magical that everyone will love.
Perfect for gifting: Pack these cookies in a festive tin, and you’ve got the ultimate holiday gift that’s sure to impress.
Nostalgic flavors: Each bite transports you back to warm, family gatherings reminiscent of simpler times.
Versatile options: Feel free to experiment with flavors—try adding almond extract or some festive sprinkles to suit your taste!
Effortless enjoyment: These cookies are a breeze to make, allowing you to spend more time enjoying them with loved ones, perhaps alongside a cup of tea or coffee while indulging in some delightful Yogurt Peanut Butter treats as well.
Danish Butter Cookies Ingredients
• When making these buttery delights, every ingredient matters!
For the Batter
- European Salted Butter – Provides richness; use unsalted with ¼ tsp salt if unavailable.
- Granulated Sugar – Sweetens the cookies and helps achieve a delightful crisp.
- Salt – Balances sweetness; pinch or omit if salted butter is used.
- Egg Yolks – Enrich the dough for that tender melt-in-your-mouth texture.
- Vanilla Extract – Adds depth; consider almond extract for a festive twist.
- Whole Milk – Moistens dough; add more if it feels too thick to pipe.
- All-Purpose Flour – Main structure-building ingredient for classic Danish butter cookies.
- Cake Flour – Lightens texture, resulting in a tender crumb; can substitute with all-purpose flour.
- Coarse Sugar – Adds a crunchy, decorative finish on top of the cookies.
Optional Decorating
- Festive Sprinkles – Adds a colorful touch; sprinkle before baking for extra cheer.
- Cocoa Powder – For a chocolate variation; mix into the dough for a delicious twist.
This ingredient combination ensures your Danish butter cookies achieve that quintessential buttery goodness while creating memories with every bite!
Step‑by‑Step Instructions for Melt-in-Your-Mouth Danish Butter Cookies
Step 1: Prepare Baking Sheet
Begin by chilling your baking sheet to prevent the cookies from spreading during baking. Line it with parchment paper for a nonstick surface. This simple preparation step ensures your Melt-in-Your-Mouth Danish Butter Cookies maintain their beautiful shapes as they bake to perfection.
Step 2: Cream Butter and Sugar
In a stand mixer, combine room temperature European salted butter with granulated sugar and a pinch of salt. Beat on medium speed until the mixture is light and fluffy, approximately 3-4 minutes. This step is crucial as it incorporates air, creating that delicate, melt-in-your-mouth texture that defines Danish butter cookies.
Step 3: Add Wet Ingredients
To the creamed mixture, incorporate the egg yolks, vanilla extract, and whole milk. Mix on low speed until everything is well combined and smooth, about 1-2 minutes. This infusion of wet ingredients enriches the dough, enhancing the buttery flavor and providing the necessary moisture for piping.
Step 4: Mix the Dry Ingredients
In a separate bowl, whisk together all-purpose flour and cake flour. Gradually add this dry mix to the butter mixture, stirring gently to combine without overmixing. Continue until just combined, ensuring you have a soft, pipeable dough. If the mixture seems too thick, add a splash more milk until the desired consistency is reached.
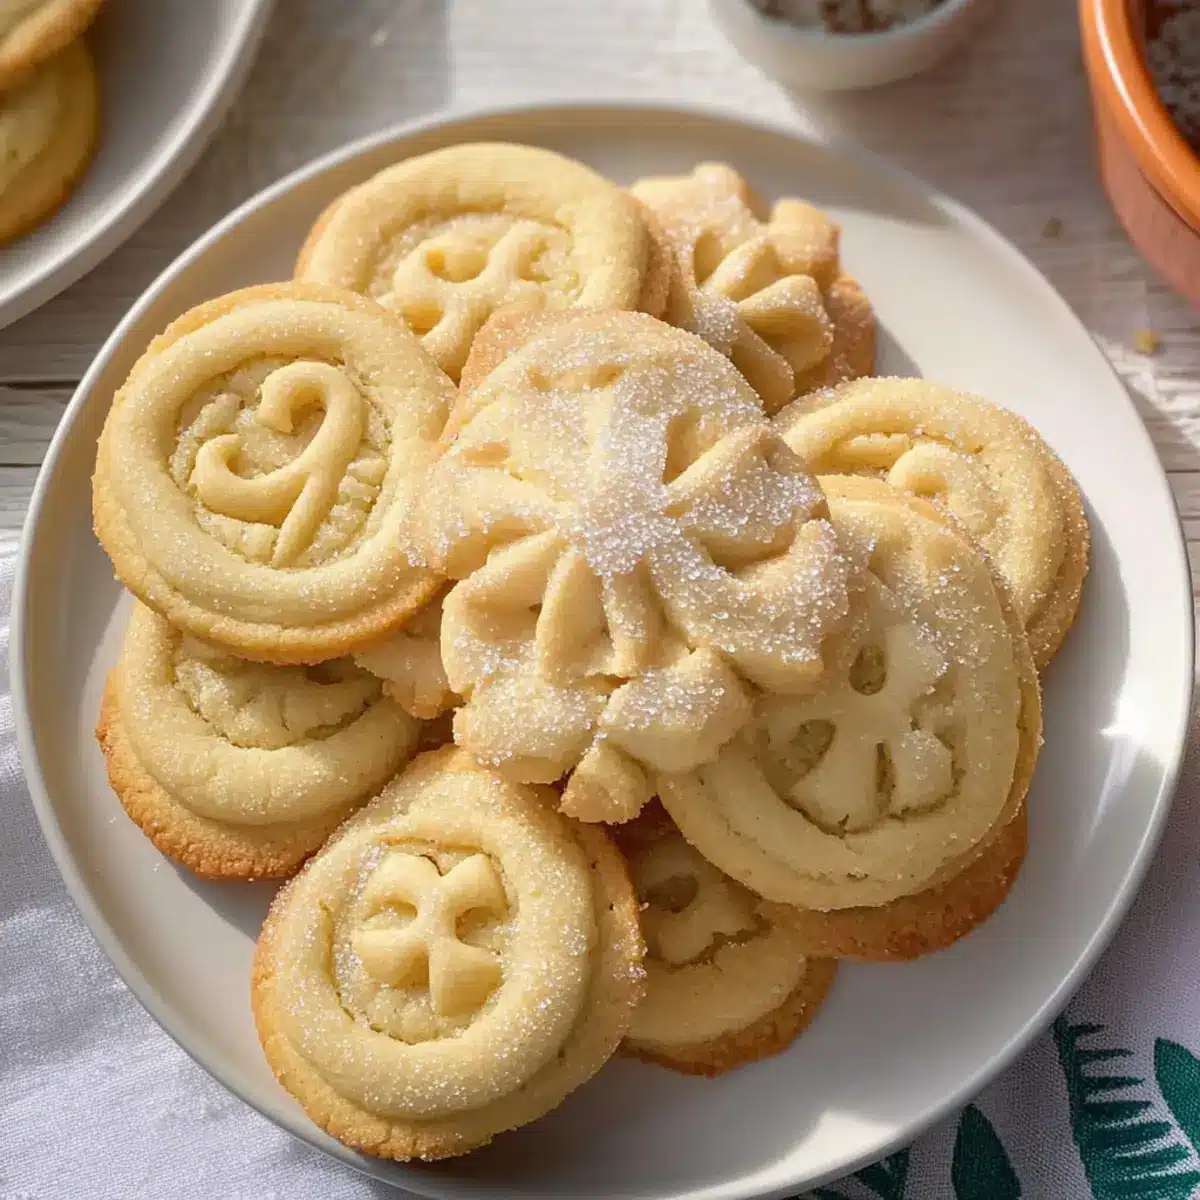
Step 5: Pipe the Cookies
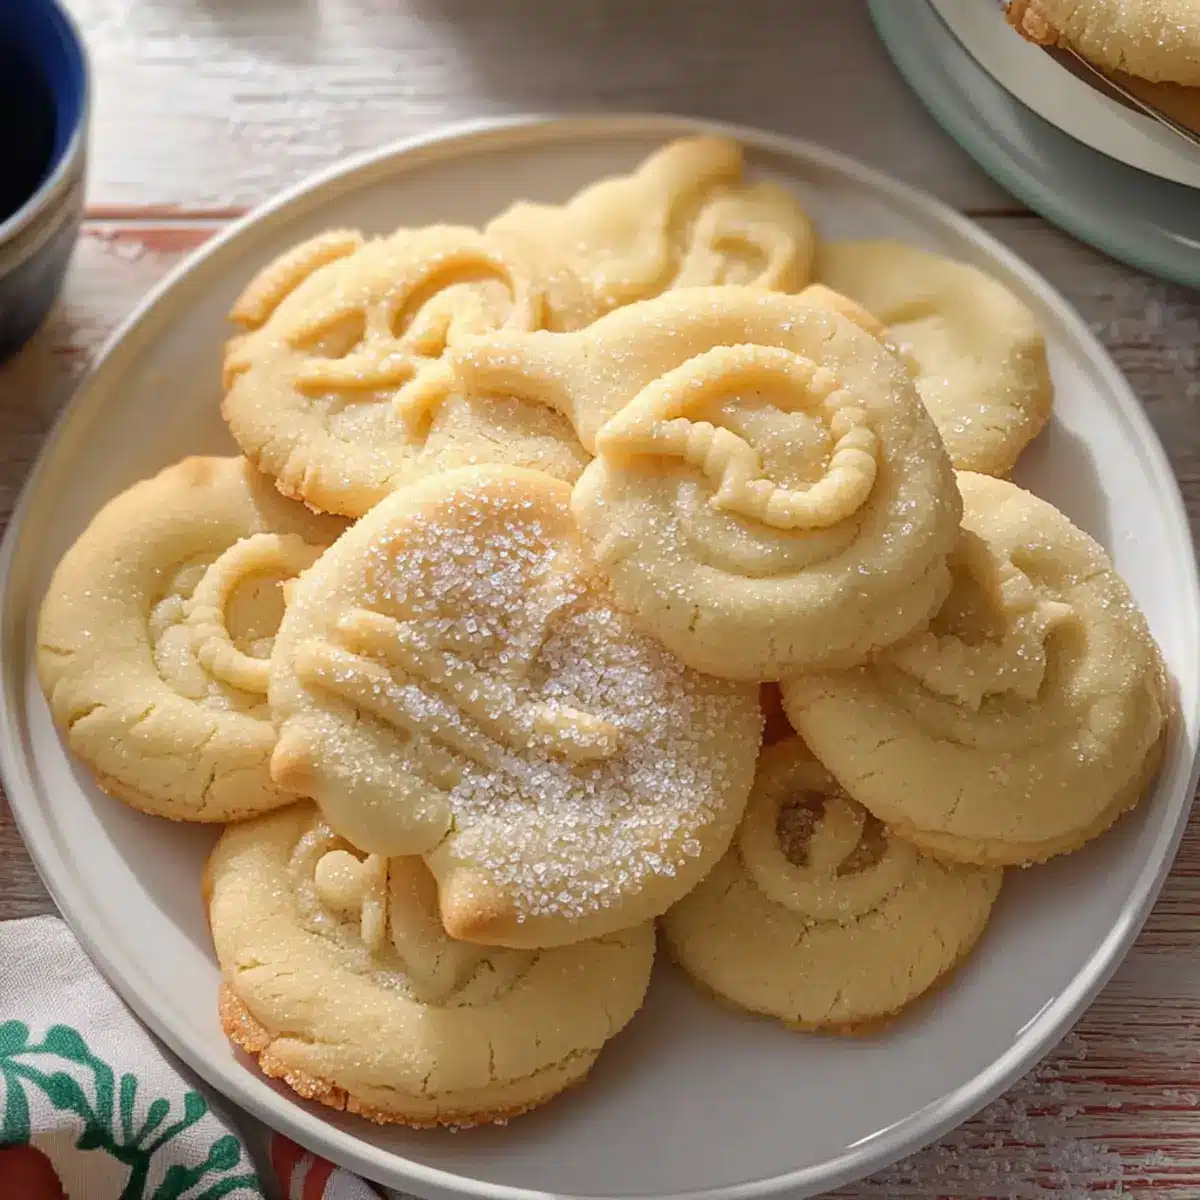
Transfer the dough into a piping bag fitted with a star tip. Pipe desired shapes onto the prepared baking sheets, allowing some space between each cookie. For an extra touch of sweetness, sprinkle coarse sugar on top of each piped cookie before baking, enhancing both flavor and appearance for your Melt-in-Mouth Danish Butter Cookies.
Step 6: Chill the Cookies
Refrigerate the piped cookies on the baking sheet for 20-30 minutes. This chilling time helps solidify the dough, ensuring they hold their shape while baking. It’s an essential step to achieve that ideal melt-in-your-mouth finish that everyone loves in Danish butter cookies.
Step 7: Preheat the Oven
While the cookies chill, preheat your oven to 350°F (175°C). This ensures that your Melt-in-Your-Mouth Danish Butter Cookies will bake evenly. A properly heated oven is key to achieving the delicate golden edges that contrast beautifully with the soft centers.
Step 8: Bake the Cookies
Once preheated, place the chilled cookies in the oven and bake for 10-15 minutes. Keep a close eye on them; the cookies are done when the edges are just lightly golden brown. Allow them to cool on the baking sheet for 5 minutes before gently transferring to a cooling rack, where they will finish cooling completely.
How to Store and Freeze Danish Butter Cookies
- Room Temperature: Keep your cookies in an airtight container at room temperature for up to 5 days to maintain their delightful crumbly texture.
- Fridge: If you prefer, you can store them in the fridge to prolong freshness for up to 7 days, but allow them to come to room temperature before enjoying.
- Freezer: For longer storage, freeze your baked Danish butter cookies in a single layer on a baking sheet, then transfer to an airtight container or freezer bag for up to 3 months.
- Reheating: To enjoy your frozen cookies, simply thaw them at room temperature, or warm them in the oven at 350°F (175°C) for a few minutes to revive their melt-in-your-mouth goodness.
Danish Butter Cookies Variations & Substitutions
Embrace the joy of customizing your Danish butter cookies to suit your taste and occasions!
- Dairy-Free: Use coconut oil or dairy-free butter as a substitute for a lactose-free version without losing the buttery flavor.
- Flavor Boost: Try adding almond extract instead of vanilla for a delightful twist that enhances the cookie’s aroma.
- Chocolate Lovers: Mix in cocoa powder to create chocolate Danish butter cookies—indulge your chocolate cravings with a unique, rich flavor!
- Gluten-Free: Substitute with a gluten-free flour blend for a celiac-friendly option, ensuring every cookie lover can indulge.
- Nutty Crunch: Add chopped pecans or walnuts for a nutty crunch that beautifully contrasts with the delicate crumb of these cookies.
- Festive Flair: Decorate with colored sugar or festive sprinkles before baking to make your cookies even more cheerful—perfect for holiday gatherings!
- Extra Vanilla: Infuse the dough with a vanilla bean for an upscale, aromatic flavor that will have everyone asking for your secret.
- Citrus Zing: Grate in a little orange or lemon zest for a refreshing twist that brightens up each buttery bite and pairs perfectly with tea.
Feel free to explore these variations, and don’t forget to pair these cookies with a comforting cup of tea or coffee, perhaps along with some delightful Yogurt Peanut Butter treats—they make for an indulgent afternoon snack!
Make Ahead Options
These Melt-in-Your-Mouth Danish Butter Cookies are perfect for meal prep, allowing you to enjoy homemade treats without the last-minute rush! You can pipe the cookie dough and refrigerate the piped shapes for up to 2 days (just cover them well to keep moisture in). Alternatively, you can freeze the unbaked cookies for 2-3 months; just make sure to place parchment paper between layers to prevent sticking. When you’re ready to bake, there’s no need to thaw—just add a couple of extra minutes to the baking time. This simple prep ensures your cookies are just as delightful, making your holiday baking stress-free!
Expert Tips for Danish Butter Cookies
• Use Quality Butter: Opt for European salted butter, as the higher fat content adds richness and flavor that truly enhances Danish butter cookies.
• Room Temperature Ingredients: Make sure both the butter and egg yolks are at room temperature for easy mixing, ensuring a smooth and fluffy dough.
• Avoid Overmixing: Be careful not to over-mix the dough after adding flour; this can lead to tougher cookies instead of the desired melt-in-your-mouth texture.
• Measure Flour Correctly: Use a kitchen scale for accuracy, as too much flour can make the cookies dense rather than light and crumbly.
• Chill for Success: Don’t skip the chilling step! Chilling the piped cookies helps them maintain their shape during baking, resulting in a beautiful finished product.
• Keep an Eye on Baking Time: Every oven is different; check your cookies a minute or two early to avoid over-baking. Perfectly baked Danish butter cookies should be lightly golden at the edges.
What to Serve with Melt-in-Your-Mouth Danish Butter Cookies
Indulging in these buttery delights invokes a sense of nostalgia, making it even sweeter when paired with delightful accompaniments.
- Steaming Tea: The warmth of a fragrant cup perfectly complements the buttery richness, enhancing each melt-in-your-mouth experience.
- Rich Coffee: A bold brew balances the sweetness, providing a refreshing kick as you enjoy these cookies during cozy gatherings.
- Mixed Berry Compote: The tartness of berries contrasts beautifully with the rich cookies, adding a vibrant burst of flavor to each bite.
- Vanilla Ice Cream: Creamy and cool, a scoop provides a delightful texture juxtaposition—a treat to elevate your dessert indulgence.
- Chocolate Dipping Sauce: Enhance your Danish butter cookies by dipping them into warm chocolate—a rich, decadent treat that’s irresistible.
Surprise your friends and family by pairing these cookies with a fresh fruit platter; the freshness of the fruits brings a lightness that balances out the cookies’ richness, making for a beautifully indulgent spread perfect for any occasion.
Danish Butter Cookies Recipe FAQs
How do I choose the right butter for these cookies?
Absolutely! It’s best to use European salted butter for its higher fat content, which provides rich flavor and contributes to that melt-in-your-mouth texture. If you can only find unsalted butter, simply add ¼ teaspoon of salt for the right balance.
What’s the best way to store leftover cookies?
Keep your Danish butter cookies in an airtight container at room temperature for up to 5 days. If you want them to last longer, you can refrigerate them for about 7 days, but make sure to let them come back to room temperature before enjoying the delightful crumbly texture.
Can I freeze Danish butter cookies?
Absolutely! To freeze your cookies, place them in a single layer on a baking sheet and freeze for about 1-2 hours until solid. Then transfer the cookies to an airtight container or a freezer bag. They can be stored this way for up to 3 months. When you’re ready to enjoy them, just thaw at room temperature or pop them back in a preheated oven at 350°F (175°C) for a few minutes to regain their original melt-in-your-mouth goodness.
What should I do if my cookie dough is too thick to pipe?
No worries! If your dough feels too thick, just add a little bit more whole milk, one teaspoon at a time, until you achieve a soft, pipeable consistency. This will help ensure your cookies hold their shape while still maintaining that light and crumbly texture.
Can I modify the recipe for dietary restrictions?
Of course! If anyone in your family has food allergies, you can substitute the butter with a dairy-free alternative, such as coconut oil or a vegan butter substitute. Always check labels for allergies. For gluten-free options, a gluten-free all-purpose blend can replace the flour, and you might want to experiment with a little cornstarch mixed in for the best texture.
How can I tell when my cookies are baked properly?
Watch them closely! Your Danish butter cookies should bake for about 10-15 minutes, and they’re done when the edges are just lightly golden brown. Be careful not to overbake, as this could turn them from lovely and crumbly to dry. Allow them to cool on the baking sheet for about 5 minutes before transferring them to a wire rack to cool completely.
Melt-in-Your-Mouth Danish Butter Cookies for Holiday Joy
Ingredients
Equipment
Method
- Chill your baking sheet and line it with parchment paper.
- Cream butter and sugar in a stand mixer until light and fluffy, about 3-4 minutes.
- Add egg yolks, vanilla extract, and whole milk, mixing until smooth, about 1-2 minutes.
- Whisk together the all-purpose and cake flour, then gradually combine with the butter mixture until soft dough forms.
- Pipe the dough onto the prepared baking sheets, allowing space between cookies. Sprinkle with coarse sugar if desired.
- Refrigerate the piped cookies for 20-30 minutes.
- Preheat oven to 350°F (175°C).
- Bake the cookies for 10-15 minutes until edges are lightly golden. Cool on baking sheet for 5 minutes before transferring to a cooling rack.
Leave a Reply