
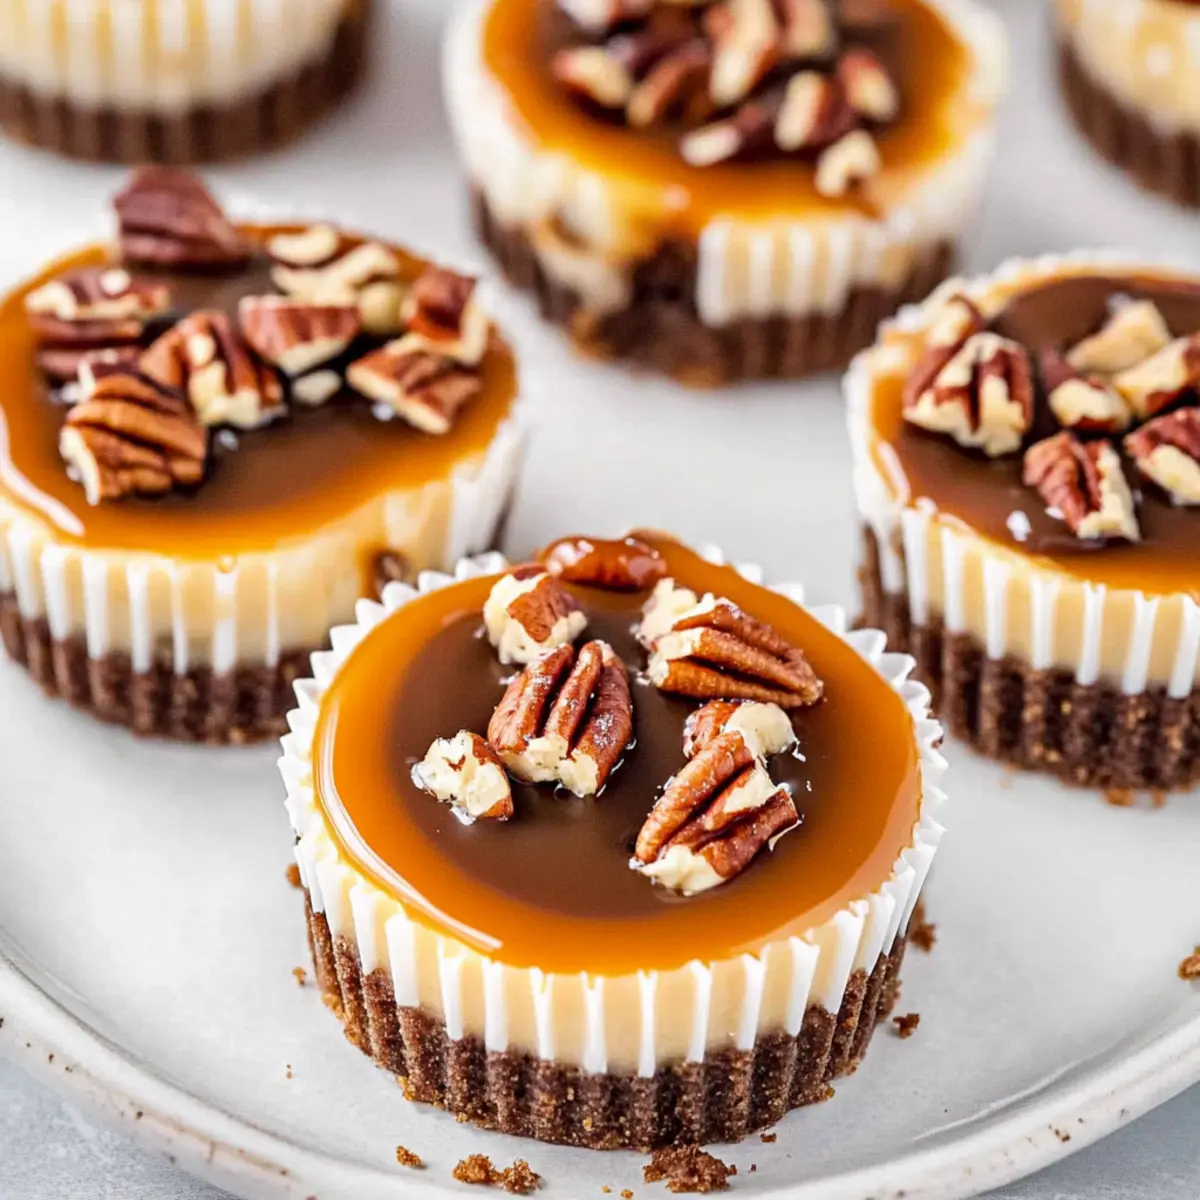
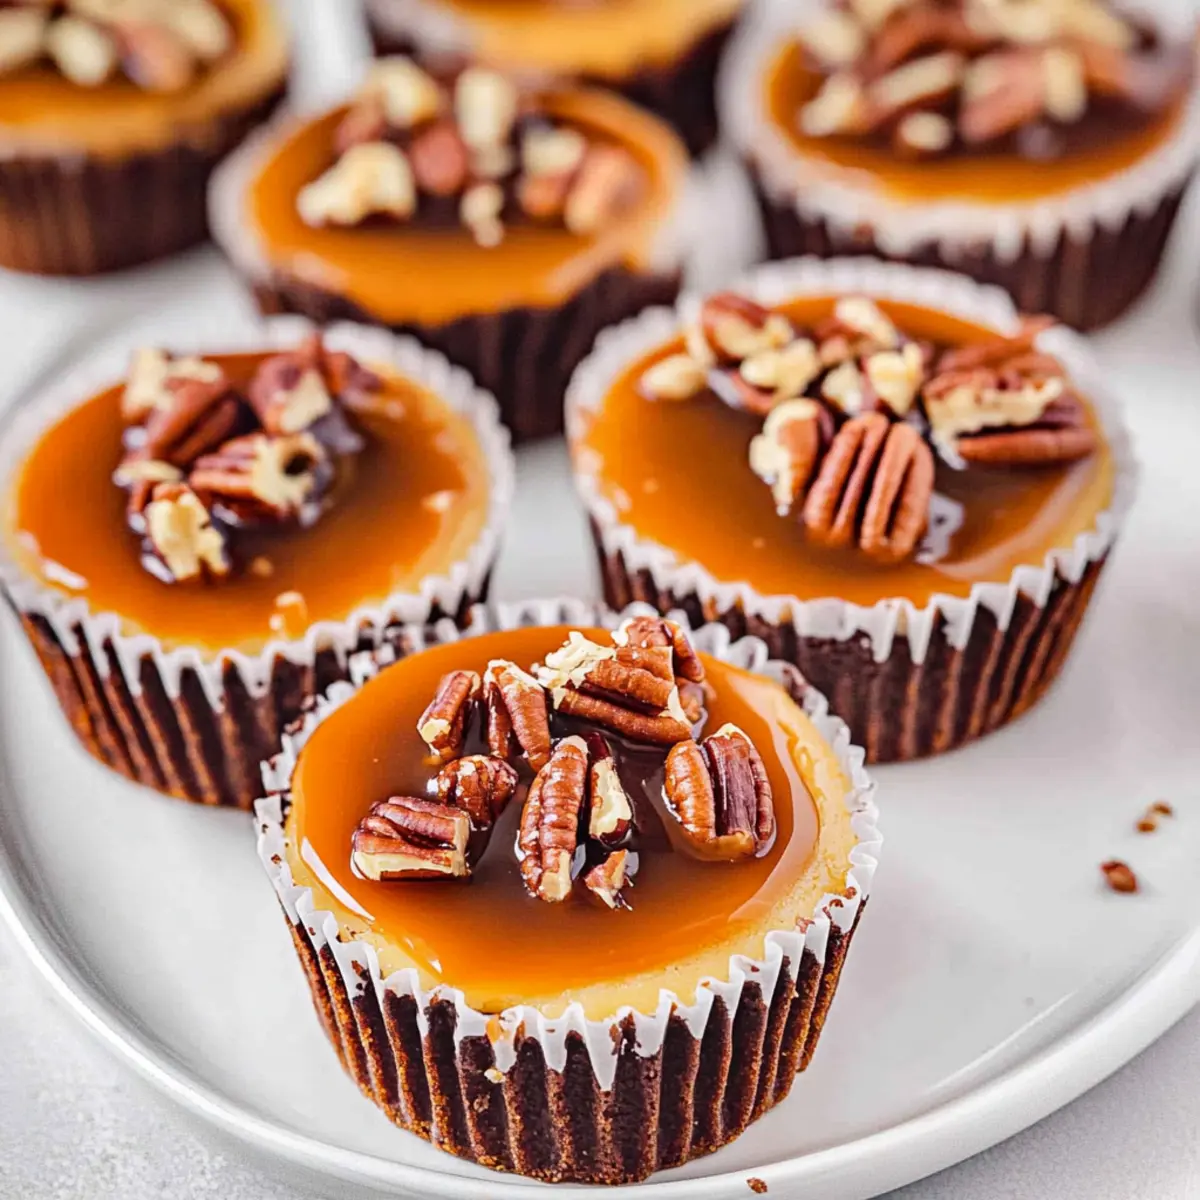
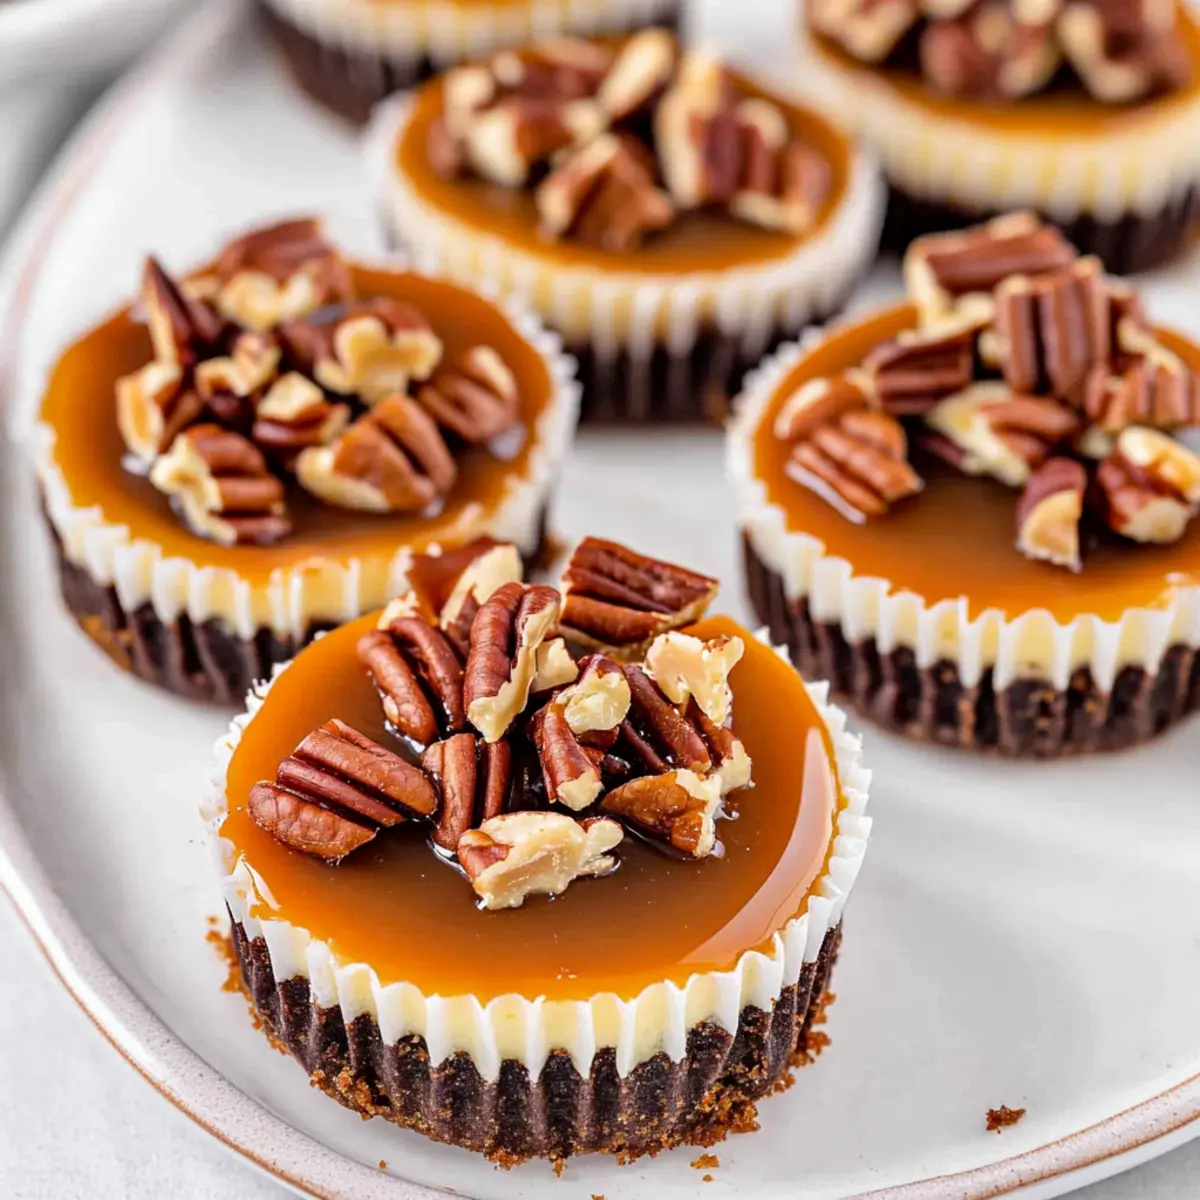
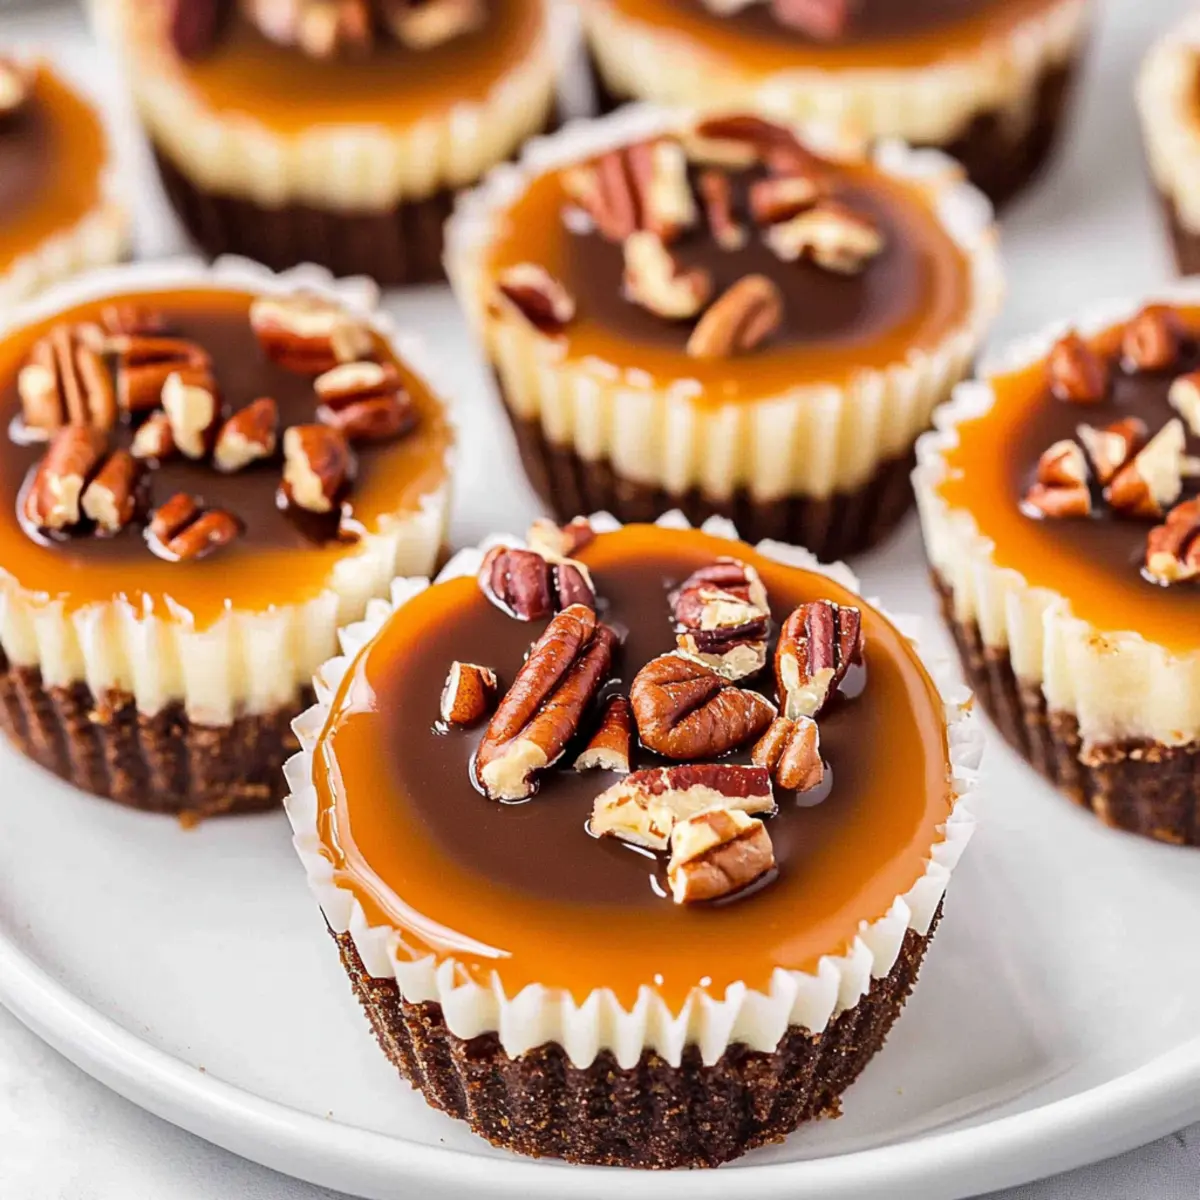
As I stood in the kitchen, a sweet aroma of melting chocolate and caramel wafted through the air, instantly transporting me to a cozy café. That’s the magic of these Mini Turtle Cheesecakes: they blend rich chocolate, velvety caramel, and crunchy nuts into adorable little bites that are simply irresistible. Not only are these no-bake delights perfect for a party or a casual gathering, but they also come together with minimal fuss—no special tools required! Whether you’re an experienced home chef or just looking to impress, this easy dessert will quickly become your new go-to for satisfying your sweet tooth. Curious about how to create these little masterpieces? Let’s dive into the delightful details!
Why are Mini Turtle Cheesecakes a must-try?
Irresistible Flavor: The bold combination of creamy cheesecake, decadent chocolate, and rich caramel creates a flavor explosion that will delight your taste buds.
No-Bake Convenience: Say goodbye to long baking times! These cheesecakes come together effortlessly without an oven, making them a breeze for any home cook.
Perfectly Portable: These mini desserts are designed for on-the-go enjoyment—great for picnics, parties, or even a special treat at home.
Customizable: Whether you prefer almonds over pecans or want to try a gluten-free crust, this recipe invites your personal touch.
Crowd-Pleasing Treat: Their delightful appearance and flavors will make your guests swoon, ensuring they’re the highlight of any gathering.
Try serving these alongside other sweet treats like Mini Lemon Cheesecakes or Mini Blackberry Mousse for an impressive dessert spread!
Mini Turtle Cheesecakes Ingredients
-
For the Crust
• Graham Cracker Crumbs – A crunchy base structure for a delicious crust; substitute with gluten-free crumbs for a gluten-free option.
• Unsalted Butter – Binds the crust together for richness; can be replaced with coconut oil for a dairy-free version. -
For the Cheesecake Filling
• Full Fat Cream Cheese – The creamy heart of these cheesecakes; use a dairy-free cream cheese for a vegan alternative.
• Granulated Sugar – Sweetens the cheesecake; substitute with coconut sugar for a less refined option.
• Vanilla Extract – Elevates the flavor; use imitation vanilla if needed.
• Large Eggs – Provides richness and structure to the filling; for a vegan option, consider flax eggs as a substitute. -
For the Toppings
• Jarred Caramel Sauce – Drizzled for that sweet finish; use homemade or store-bought, or try chocolate or fruit sauces for variety.
• Semi-Sweet Chocolate Chips – Essential for the luscious chocolate ganache; dark chocolate can provide a richer taste.
• Heavy Whipped Cream – Creates the perfect ganache texture; substitute with a plant-based heavy cream for a dairy-free option.
• Chopped Nuts (Pecans) – Adds delightful texture and crunch; feel free to swap for almonds or walnuts based on your preference.
Get ready to create these exquisite Mini Turtle Cheesecakes and bring smiles to your friends and family!
Step‑by‑Step Instructions for Mini Turtle Cheesecakes
Step 1: Prep the Crust
Begin by preheating your oven to 350°F (175°C). In a mixing bowl, combine graham cracker crumbs and melted unsalted butter until well-blended, forming a moist mixture. This will create a perfect base for your Mini Turtle Cheesecakes.
Step 2: Form the Crusts
Line a muffin pan with paper liners. Press the crust mixture firmly into the bottoms of each liner using a shot glass or your fingers, creating an even layer. Once done, bake the crusts for 5 minutes until lightly golden. Allow them to cool completely while you prepare the filling.
Step 3: Make the Filling
In another bowl, blend full-fat cream cheese and granulated sugar with an electric mixer until smooth and creamy, about 2-3 minutes. Add in vanilla extract and eggs, mixing until just combined. Take care not to overbeat the eggs—this ensures your Mini Turtle Cheesecakes have a flawless texture without air bubbles.
Step 4: Assemble the Cheesecakes
Once the crusts have cooled, carefully fill each muffin cup with the cheesecake batter, leaving a little room at the top. Smooth out the tops with a spatula to create an even layer. Your Mini Turtle Cheesecakes are almost ready to bake!
Step 5: Bake
Place the muffin pan in the preheated oven and bake the cheesecakes for 15-17 minutes. Keep an eye on them, and remove once the centers appear slightly jiggly but set. This indicates they are perfectly baked and will firm up as they cool.
Step 6: Cool and Refrigerate
After baking, let the cheesecakes cool to room temperature in the muffin pan for about 30 minutes. Once cooled, transfer them to the refrigerator and chill for at least 4 hours, allowing the flavors to meld and the texture to firm up beautifully.
Step 7: Garnish
Before serving, generously drizzle jarred caramel sauce and pour warm chocolate ganache over each cheesecake. Finish by sprinkling chopped pecans on top for that satisfying crunch. Your Mini Turtle Cheesecakes are now ready to be enjoyed!
How to Store and Freeze Mini Turtle Cheesecakes
Room Temperature: Keep mini cheesecakes out for no more than 2 hours to ensure they remain safe and delicious.
Fridge: Store in an airtight container for up to 1 week, ensuring they stay chilled and fresh while preserving the creamy texture of the Mini Turtle Cheesecakes.
Freezer: Freeze without toppings in an airtight container for up to 3 months. Thaw in the refrigerator before serving, then add your delicious garnishes.
Reheating: These mini desserts are best enjoyed chilled, but if briefly warmed, microwave in 10-second intervals for a soft and tasty treat.
Mini Turtle Cheesecakes: Creative Twists Ahead!
Feel free to sprinkle some of your own culinary magic into these delicious cheesecake bites!
- Dairy-Free: Replace cream cheese with a dairy-free version to cater to lactose sensitivities without sacrificing creaminess.
- Gluten-Free: Use almond flour or gluten-free graham cracker crumbs to keep the crust delightful and gluten-free. It’s satisfying to know everyone can enjoy them!
- Different Nuts: Swap pecans for crushed almonds or walnuts for a unique crunch that suits your taste or dietary needs. Each nut brings a different flavor profile to the party!
- Extra Chocolate: Add cocoa powder to the filling for a richer chocolate flavor in every bite—perfect for all the chocoholics out there!
- Fruity Version: Top with berries or a fruit sauce instead of caramel for a refreshing twist that complements the creamy texture beautifully.
- Flavor Infusion: Try infusing the filling with espresso or a hint of almond flavor for a coffeehouse-inspired treat—perfect for a late-night snack!
- Layered Delight: For a layered version, alternate layers of cheesecake batter with a chocolate ganache layer for added depth and finesse. It looks just as good as it tastes!
- Mini Turtle Variants: Feeling adventurous? Check out these scrumptious Mini Lemon Cheesecakes or Christmas Pecan Turtles for inspiration on incorporating seasonal flavors!
The possibilities are truly endless when it comes to personalizing your Mini Turtle Cheesecakes! Enjoy the delightful journey of flavor exploration!
Expert Tips for Mini Turtle Cheesecakes
-
Avoid Lumps: Mix cream cheese and sugar thoroughly until smooth to prevent unsightly lumps in your filling.
-
Egg Mixing Caution: Be careful not to overbeat the eggs; this can introduce air bubbles that cause cracking during baking.
-
Cool Time Matters: Be patient! Chilling your Mini Turtle Cheesecakes for at least 4 hours ensures a creamy texture and rich flavor.
-
Topping Timing: If you plan to freeze the cheesecakes, do so without the toppings. Add caramel and chocolate sauce after they thaw.
-
Customize Wisely: Experiment with different nut varieties or sauces, but make sure any substitutions maintain the balance of flavors.
Make Ahead Options
These Mini Turtle Cheesecakes are perfect for busy home cooks looking to save time without sacrificing flavor! You can prepare the crust and filling up to 24 hours in advance. Simply follow the initial steps by making the crust and baking it, then prepare the filling and refrigerate it separately. When you’re ready to assemble, simply fill the cooled crusts with the filling and bake as instructed. To maintain their quality, be sure to wrap the crust tightly in plastic wrap if storing overnight. Once baked and chilled for at least 4 hours, top your Mini Turtle Cheesecakes with caramel sauce and chocolate ganache just before serving for a fresh and indulgent treat!
What to Serve with Mini Turtle Cheesecakes?
Elevate your dessert experience with delightful pairings that balance the rich flavors of these mini treats.
-
Fresh Berries: Their natural tartness cuts through sweetness, offering a refreshing contrast to the cheesecake.
-
Whipped Cream: A dollop of homemade whipped cream adds a light, airy touch to each bite—consider a vanilla bean flavor for an extra indulgence.
-
Chocolate-Covered Pretzels: The salty crunch of pretzels complements the sweet richness perfectly, delivering a satisfying textural contrast.
-
Coffee or Espresso: A robust cup of coffee enhances the chocolate notes, creating a cozy atmosphere. Pairing these cheesecakes with a creamy latte can elevate the entire dessert experience.
-
Ice Cream: A scoop of vanilla or salted caramel ice cream can provide a cooling balance to the creamy, rich cheesecakes, melting beautifully with every bite.
-
Dark Chocolate Sauce: For the ultimate chocolate lovers, a drizzle of dark chocolate sauce amplifies the decadence and depth of the mini cheesecakes.
Each of these pairings is designed to bring out the best in these Mini Turtle Cheesecakes, creating a memorable dessert moment any time you serve them!
Mini Turtle Cheesecakes Recipe FAQs
What type of graham crackers should I use for the crust?
I recommend using classic graham crackers for the crust as they provide the perfect balance of flavor and texture. However, if you’re looking for a gluten-free option, you can easily substitute with gluten-free graham cracker crumbs to maintain the delightful crunch of the base.
How should I store Mini Turtle Cheesecakes?
Store your Mini Turtle Cheesecakes in an airtight container in the refrigerator for up to 1 week. Make sure they are completely cooled before placing them in the container to maintain their creamy texture. If you’re saving them for later or have leftovers, they should be kept chilled at all times to keep the ingredients fresh and delicious.
Can I freeze Mini Turtle Cheesecakes?
Absolutely! You can freeze these delightful treats for up to 3 months. To do so, place the cheesecakes in an airtight container without any toppings. When you’re ready to enjoy them, simply thaw in the refrigerator for a few hours or overnight, then add your caramel and chocolate toppings right before serving for that fresh taste.
Why did my cheesecakes crack during baking?
Cracking can occur if the eggs are overbeaten or if the cheesecakes are baked at too high of a temperature. To avoid this, mix the filling ingredients just until combined—especially the eggs. Aim for a gentle, even baking process. An oven thermometer can also ensure the temperature is accurate. Cooling the cheesecakes slowly in the oven after baking helps too!
Can I make these Mini Turtle Cheesecakes dairy-free?
Yes, you can! Use coconut oil instead of butter and dairy-free cream cheese and whipping cream for the filling and ganache. Additionally, substitute the eggs with flax eggs (1 tablespoon of ground flaxseed mixed with 2.5 tablespoons of water) for a hat-trick of deliciousness that keeps it vegan.
Is there a nut-free option for these cheesecakes?
Absolutely! If you need to make the recipe nut-free, simply omit the chopped nuts in the topping. You could add a sprinkle of crushed cookies or a chocolate drizzle for added texture if you like. Enjoy experimenting without compromising on flavor!
Mini Turtle Cheesecakes: Irresistible No-Bake Delight!
Ingredients
Equipment
Method
- Begin by preheating your oven to 350°F (175°C). In a mixing bowl, combine graham cracker crumbs and melted unsalted butter until well-blended, forming a moist mixture.
- Line a muffin pan with paper liners. Press the crust mixture firmly into the bottoms of each liner using a shot glass or your fingers, creating an even layer.
- Bake the crusts for 5 minutes until lightly golden. Allow them to cool completely while you prepare the filling.
- In another bowl, blend full-fat cream cheese and granulated sugar with an electric mixer until smooth and creamy, about 2-3 minutes. Add in vanilla extract and eggs, mixing until just combined.
- Once the crusts have cooled, carefully fill each muffin cup with the cheesecake batter, leaving a little room at the top.
- Place the muffin pan in the preheated oven and bake the cheesecakes for 15-17 minutes until the centers appear slightly jiggly but set.
- After baking, let the cheesecakes cool to room temperature in the muffin pan for about 30 minutes, then transfer them to the refrigerator and chill for at least 4 hours.
- Before serving, generously drizzle jarred caramel sauce and pour warm chocolate ganache over each cheesecake. Finish by sprinkling chopped pecans on top.
Leave a Reply