
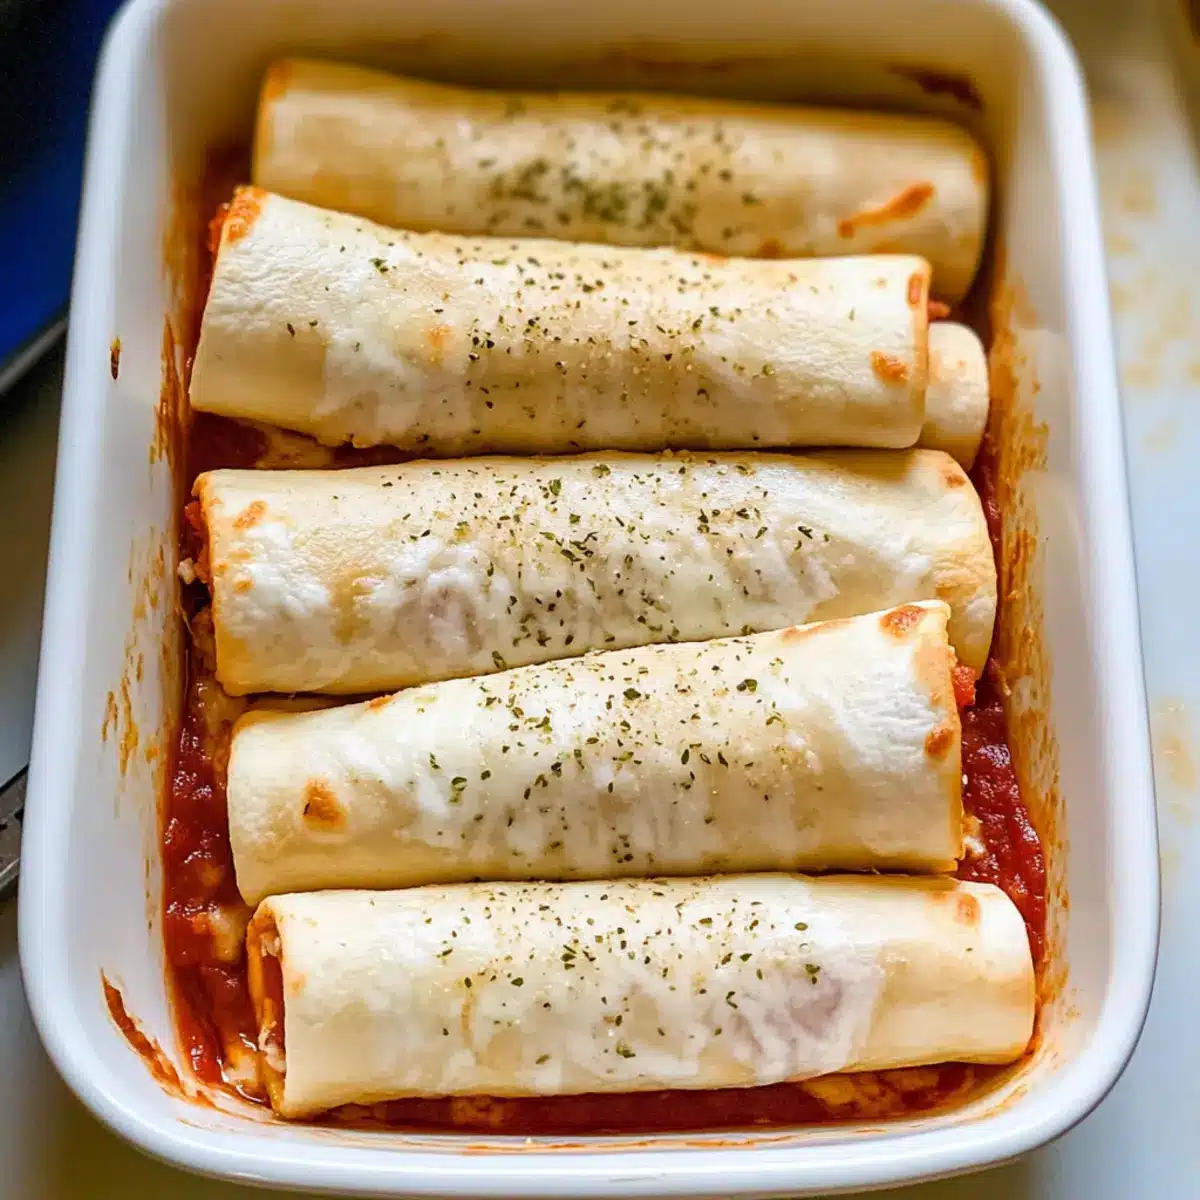
As I pulled my first batch of Easy Pizza Roll Ups from the oven, the crispy aroma enveloped my kitchen, inviting my family to the dining room with eager anticipation. Picture this: soft tortillas enveloping gooey, melted cheese and savory pepperoni, each bite whispering comfort and joy. These family-favorite pizza roll ups are not just a treat; they’re a quick and customizable solution for hectic weeknights or spontaneous gatherings. In just 20 minutes, you can create a crowd-pleasing snack that’s perfect for both kids and adults alike. Plus, with endless filling options—from BBQ chicken to fresh veggies—these roll ups easily adapt to everyone’s favorite tastes. Ready to roll up your sleeves and dive into this delightful recipe? Let’s get started!
Why Are These Pizza Roll Ups a Must-Try?
Quick Preparation: In just 20 minutes, you can whip up these delicious snacks, making them perfect for busy days or unexpected guests.
Customizable Ingredients: From BBQ chicken to veggies, feel free to tweak the fillings to suit your family’s taste!
Crowd-Pleasing Appeal: These Easy Pizza Roll Ups are a hit with both kids and adults, ensuring everyone leaves the table happy.
Minimal Cleanup: With just one baking pan required, cleanup is a breeze—more time to enjoy your meal!
Dipping Delight: Serve them warm alongside marinara sauce for the ultimate cheesy experience. Check out my Fryer Pizza Rolls for another fun twist!
Family-Favorite Pizza Roll Up Ingredients
• Get ready to make these delicious snacks!
For the Roll Ups
- Small Tortillas – They’re the perfect base; consider whole wheat for a healthier twist.
- Pizza Sauce – This adds moisture and rich tomato flavor; try BBQ sauce for a fun change.
- Mozzarella Cheese – Offers that glorious, gooey stretch; cheddar is a tasty alternative for sharper bites.
- Pepperoni – The classic filling that adds a savory punch; swap it for turkey pepperoni if you prefer.
For the Topping
- Cooking Oil – Helps achieve a golden finish; olive oil adds a hint of richness.
- Garlic Powder – Elevates the flavor with a garlic kick; feel free to use fresh garlic for a vibrant taste.
- Italian Seasoning – Provides a blend of fantastic herbs; you can use individual herbs like oregano or basil if on hand.
- Garlic Salt – A wonderful seasoning addition; if you’re using regular salt, just reduce the garlic powder to adjust flavor.
Step‑by‑Step Instructions for Family-Favorite Pizza Roll Ups
Step 1: Preheat Your Oven
Begin by preheating your oven to 350°F (175°C). While it heats, grab a large baking pan and lightly spray it with cooking spray to ensure your pizza roll ups come out perfectly golden and won’t stick. This makes for easy removal once they’re baked!
Step 2: Prepare the Tortillas
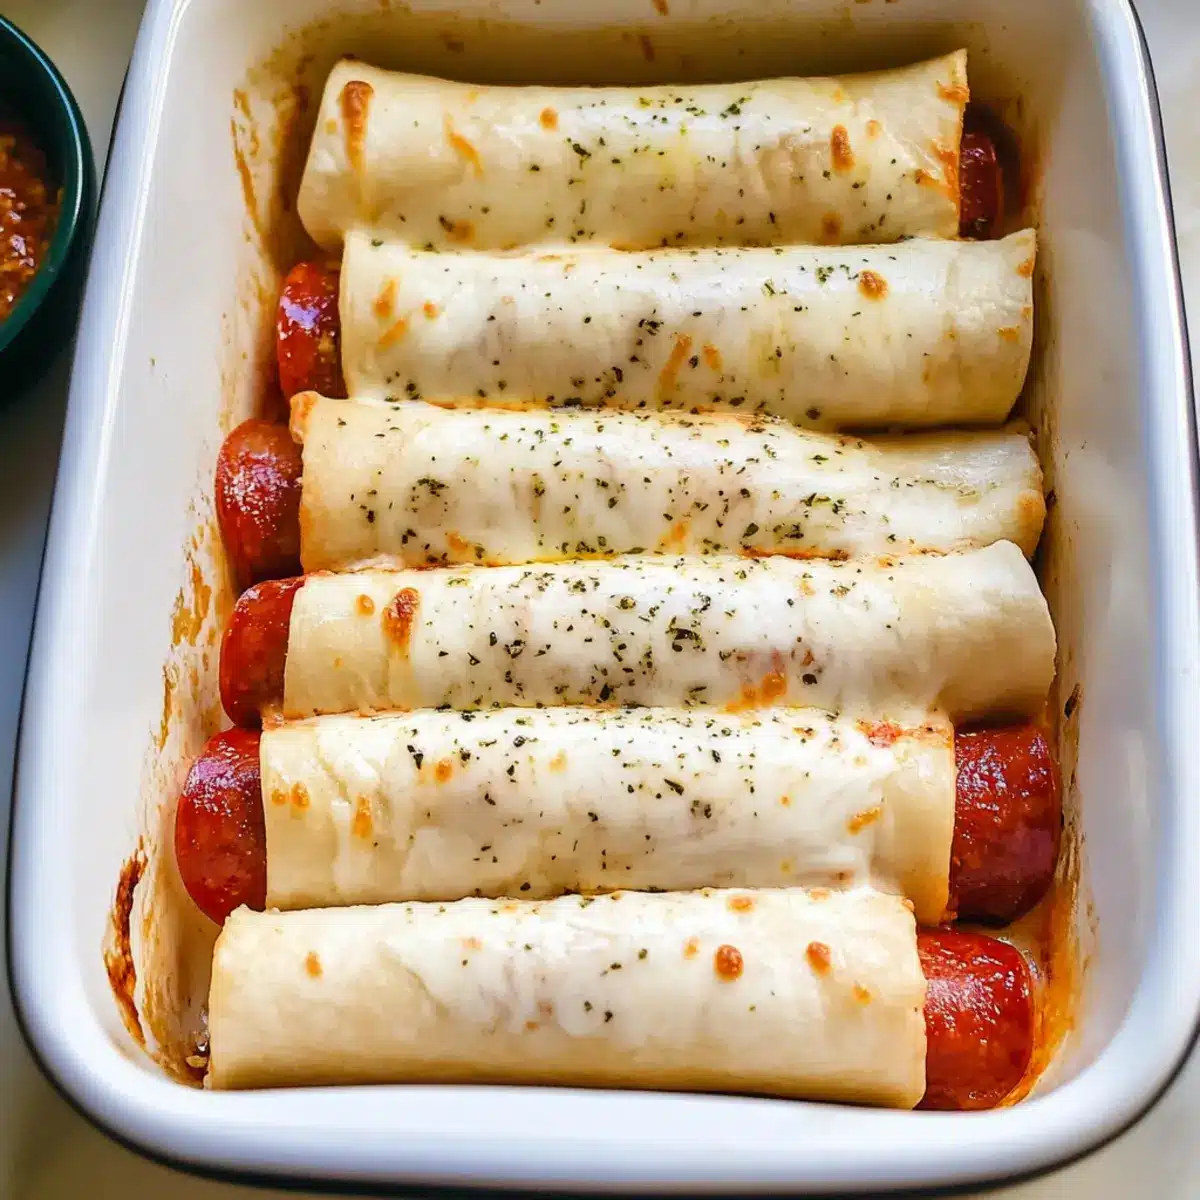
Take one of the small tortillas and spread about 1 tablespoon of pizza sauce evenly across its surface. Next, sprinkle on approximately 1/4 cup of mozzarella cheese and add four slices of pepperoni. This flavorful layer serves as the hearty filling for your family-favorite pizza roll ups.
Step 3: Roll It Up
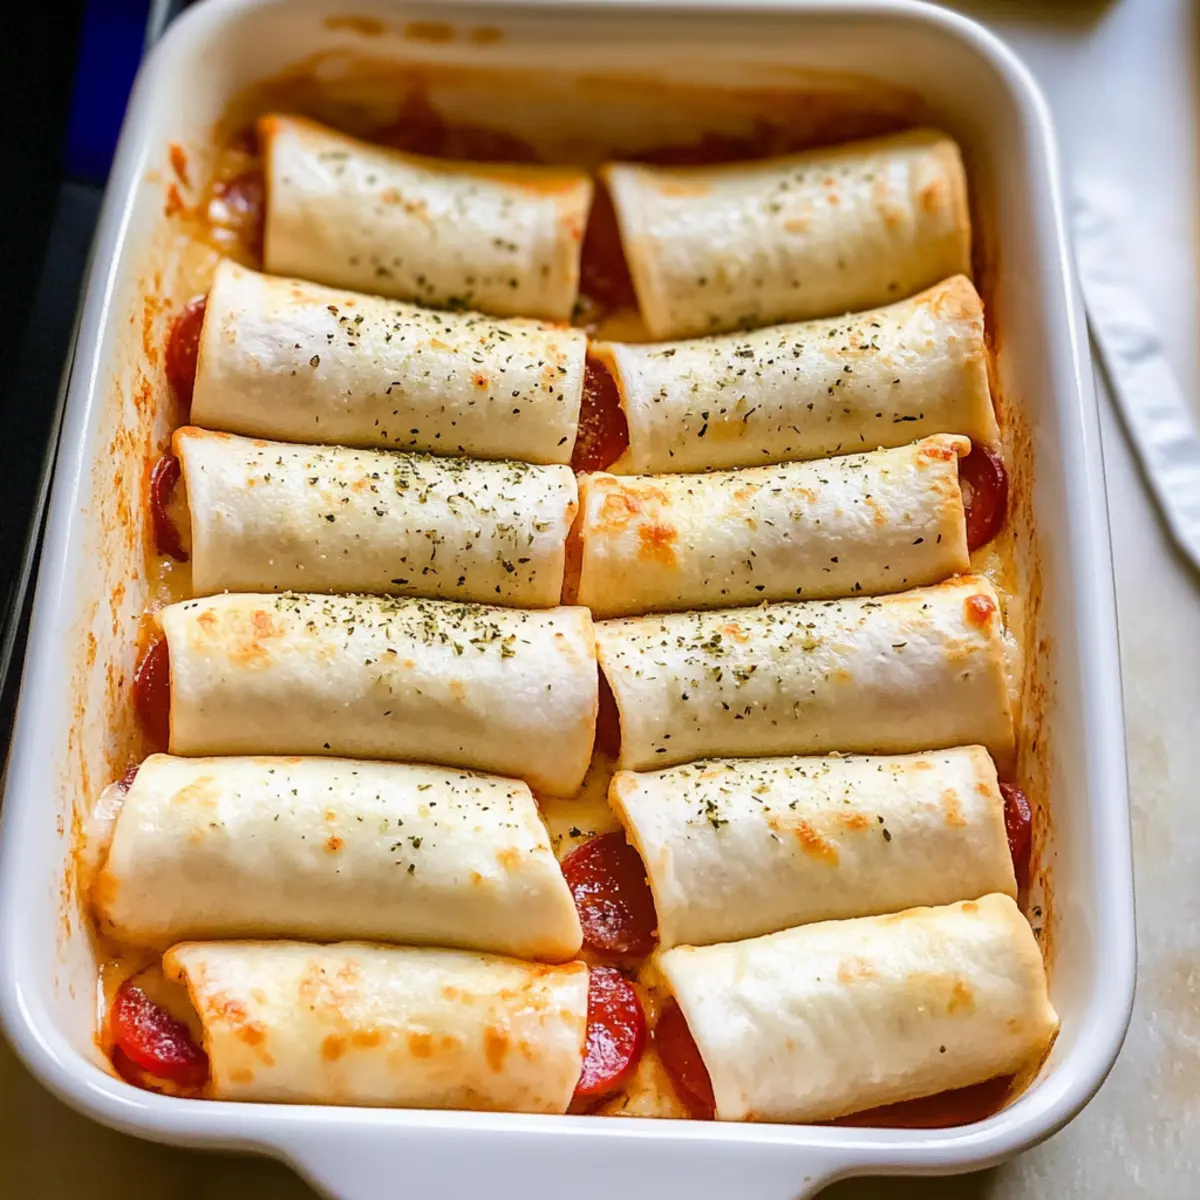
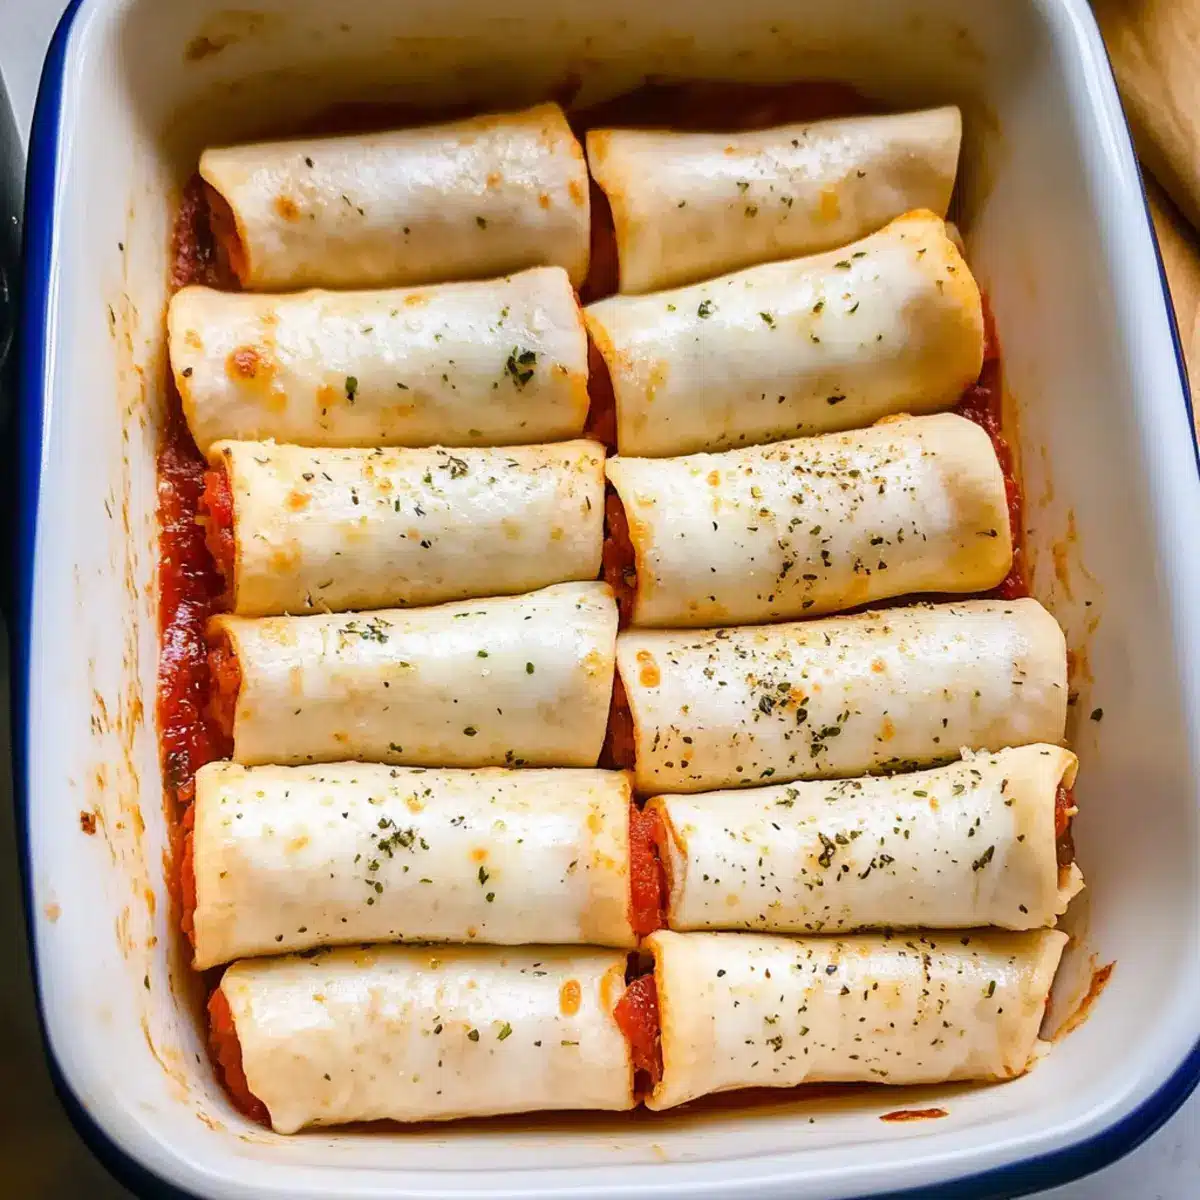
Carefully roll the tortilla tightly, ensuring the filling stays inside. Once rolled, place it seam-side down in the prepared baking pan. Repeat this process with the remaining tortillas, arranging each roll up in a single layer. You should aim to fit all of them comfortably in the pan to ensure even baking.
Step 4: Brush with Oil
With all your roll ups nestled in the pan, grab a brush and gently brush the tops of each tortilla with a little cooking oil. This will help them achieve that satisfying golden color and give a delightful crispness on the outside while the inside remains gooey and cheesy.
Step 5: Season the Roll Ups
In a small bowl, mix together garlic powder, Italian seasoning, and garlic salt. Sprinkle this flavorful blend evenly over the tops of your rolled-up tortillas, adding a delightful aroma and enhancing the taste of your pizza roll ups.
Step 6: Bake to Perfection
Carefully place the baking pan in the preheated oven and let your family-favorite pizza roll ups bake for about 10 minutes. You’ll know they’re ready when the cheese is melted and the tops are a lovely golden brown, bringing out that irresistible cheesy goodness!
Expert Tips for Family-Favorite Pizza Roll Ups
-
Even Distribution: Ensure the pepperoni and cheese are evenly spread out on the tortillas. This allows every bite to be balanced and flavorful.
-
Bake for Crispiness: If you prefer a crispier texture, brush more oil on top and bake at 375°F for about 12-15 minutes; just keep an eye on them!
-
Avoid Sogginess: To prevent soggy tortillas, refrigerate filled roll ups for up to 2 days before baking, and place sauce between the cheese and pepperoni.
-
Customizable Fillings: Explore different flavors by using BBQ chicken or fresh veggies—feel free to get creative and make these pizza roll ups fit your family’s tastes!
-
Serving Tip: Serve with a side of warm marinara sauce or ranch dressing for dipping to enhance the overall experience of your family-favorite pizza roll ups.
-
Leftover Storage: Store any uneaten roll ups in an airtight container in the fridge for up to 3 days. Reheat in the oven for best results!
Make Ahead Options
These Family-Favorite Pizza Roll Ups are perfect for meal prep! You can prepare the filling and roll the tortillas up to 24 hours in advance—just keep them tightly wrapped in plastic wrap in the refrigerator. For the best quality, place a thin layer of pizza sauce between the cheese and pepperoni to prevent sogginess. When you’re ready to bake, simply remove them from the fridge, brush with oil, season, and pop them in a preheated oven for about 10 minutes. This way, you’ll have delicious, gooey pizza roll ups ready in no time, making your busy weeknight dinners feel effortless and enjoyable!
Storage Tips for Family-Favorite Pizza Roll Ups
-
Fridge: Store any leftovers in an airtight container for up to 3 days to keep them fresh and flavorful.
-
Freezer: For longer storage, wrap individual roll ups tightly in plastic wrap and freeze for up to 2 months. Thaw in the fridge before reheating.
-
Reheating: To maintain that crispy exterior, reheat in the oven at 350°F (175°C) for about 10 minutes until warmed through and the cheese is gooey again.
-
Customization Reminder: Feel free to adjust your fillings to include your favorite ingredients, ensuring a delightful twist each time you enjoy these family-favorite pizza roll ups!
What to Serve with Easy Pizza Roll Ups
These delightful snacks are perfect for creating a complete meal that thrills the senses and satisfies every appetite.
-
Italian Garden Salad: A fresh, crisp salad with mixed greens and tangy vinaigrette balances the cheesy richness of the roll ups.
-
Garlic Breadsticks: Warm, buttery sticks infused with garlic complement the savory flavors, providing a delightful pairing for dipping in marinara sauce.
-
Oven-Roasted Veggies: Roasted bell peppers, zucchini, and carrots add a hearty, colorful side that enhances nutrition and texture on your plate.
-
Sliced Fruit Platter: Offer a refreshing medley of seasonal fruits like strawberries and melons to cleanse the palate after cheesy bites.
-
Marinara Sauce: Serve warm alongside for dipping; this classic sauce elevates the roll ups and adds a comforting tomato flavor.
-
Crispy Potato Wedges: Golden and seasoned, these crunchy wedges provide an irresistible texture that pairs wonderfully with the gooey roll ups.
-
Sparkling Lemonade: Quench your thirst with this refreshing drink that adds a zesty kick, balancing the rich flavors of the meal.
Serving these alongside your family-favorite pizza roll ups creates a delightful feast that invites everyone to gather around the table with joy!
Family-Favorite Pizza Roll Ups Variations
Feel free to get creative with these delightful pizza roll ups—your taste buds will thank you!
- BBQ Chicken: Swap out pepperoni for shredded BBQ chicken for a tangy and sweet twist that’s sure to please.
- Veggie Delight: Add chopped spinach, bell peppers, or olives for a burst of color and nutrition in every bite. Fresh veggies not only boost the flavor but also bring a satisfying crunch.
- Cheeseburger: Use ground beef, cheese, and pickles to recreate your favorite burger flavor—perfect for the little ones who adore this classic.
- Spicy Kick: Toss in some sliced jalapeños or hot sauce to liven up your roll ups. A touch of heat adds an exciting dimension, making it a fun choice for spicy food enthusiasts.
- Italian Sausage: Swap out pepperoni for crumbled Italian sausage, seasoned to perfection for a hearty filling that packs a flavorful punch.
- Breakfast Style: Fill with scrambled eggs, cheese, and diced ham for a delightful breakfast-inspired roll up—perfect for a brunch gathering!
- Cheese Lovers: Experiment with a mix of cheeses like cheddar, gouda, or even pepper jack for an extra cheesy experience that can’t be beaten.
- Taco-Inspired: Use taco-seasoned meat, cheese, and a dollop of salsa for a flavorful Mexican-inspired version that’s great for taco nights.
Don’t forget to explore my other fun recipes like Tortilla Roll Ups and check out the delicious Peach Upside Down for more tasty ideas!
Family-Favorite Pizza Roll Ups Recipe FAQs
How do I choose the right tortillas for my pizza roll ups?
Absolutely! For the best results, opt for small flour tortillas, which provide a soft and pliable base. If you prefer a healthier option, whole wheat tortillas work beautifully. Avoid using overly thick tortillas, as they can make rolling difficult, and choose ones that are fresh, without any dark spots or damage.
What’s the best way to store leftover pizza roll ups?
Very! To keep your family-favorite pizza roll ups fresh, store them in an airtight container in the fridge where they’ll last for up to 3 days. Make sure they’re completely cooled before placing them in the container to avoid excess moisture buildup, which can make them soggy.
Can I freeze pizza roll ups for later? How?
Of course! Freezing is a fantastic way to extend the life of your pizza roll ups. Wrap each one tightly in plastic wrap, then place them in a freezer-safe bag or container. They’ll stay fresh for up to 2 months. When you’re ready to enjoy them, thaw in the fridge overnight and reheat in the oven for about 10 minutes at 350°F (175°C) to regain that crispy exterior.
What should I do if my roll ups are soggy after baking?
Great question! If you find your pizza roll ups are soggy, ensure you’re storing them correctly first. To avoid this before baking, try refrigerating any filled roll ups for up to 2 days before baking them. Additionally, placing sauce between the cheese and pepperoni can help keep the tortillas dry during cooking.
Are there any allergy considerations I should be aware of with this recipe?
Absolutely! Be cautious if you or others have allergies to gluten, dairy, or specific meats. For gluten-free options, use gluten-free tortillas. If lactose intolerant, vegan cheese substitutes can work wonderfully. And for a healthier touch, consider turkey pepperoni or skip the meats entirely for a veggie-focused filling that still tastes great!
Family-Favorite Pizza Roll Ups: Quick, Cheesy Delights!
Ingredients
Equipment
Method
- Preheat your oven to 350°F (175°C) and spray a baking pan with cooking spray.
- Spread 1 tablespoon of pizza sauce on each tortilla, then sprinkle with 1/4 cup of mozzarella cheese and add 4 slices of pepperoni.
- Roll the tortilla tightly and place seam-side down in the baking pan. Repeat with remaining tortillas.
- Brush the tops of the roll ups with cooking oil.
- Mix garlic powder, Italian seasoning, and garlic salt, then sprinkle over the roll ups.
- Bake in the preheated oven for about 10 minutes until the cheese is melted and tops are golden brown.
Leave a Reply