
The moment you roll out that thawed puff pastry, the kitchen fills with a cozy aroma that instantly whisks you away to your favorite bakery. This Homemade Cheese Danish Recipe is not just an indulgent treat; it’s an exciting venture into the world of effortless baking. With its flaky, buttery layers and rich, creamy filling, this recipe offers the perfect blend of sweet and tangy flavors—ideal for elevating your breakfast or brunch spread. Plus, it’s beginner-friendly, making it an enjoyable experience for both novice and experienced cooks alike. Whether you choose to keep it classic or add some delightful fruit preserves, prepare to impress your loved ones or simply savor a warm piece alongside your morning coffee. What’s your favorite way to personalize this delightful pastry?
Why is this Homemade Danish Recipe special?
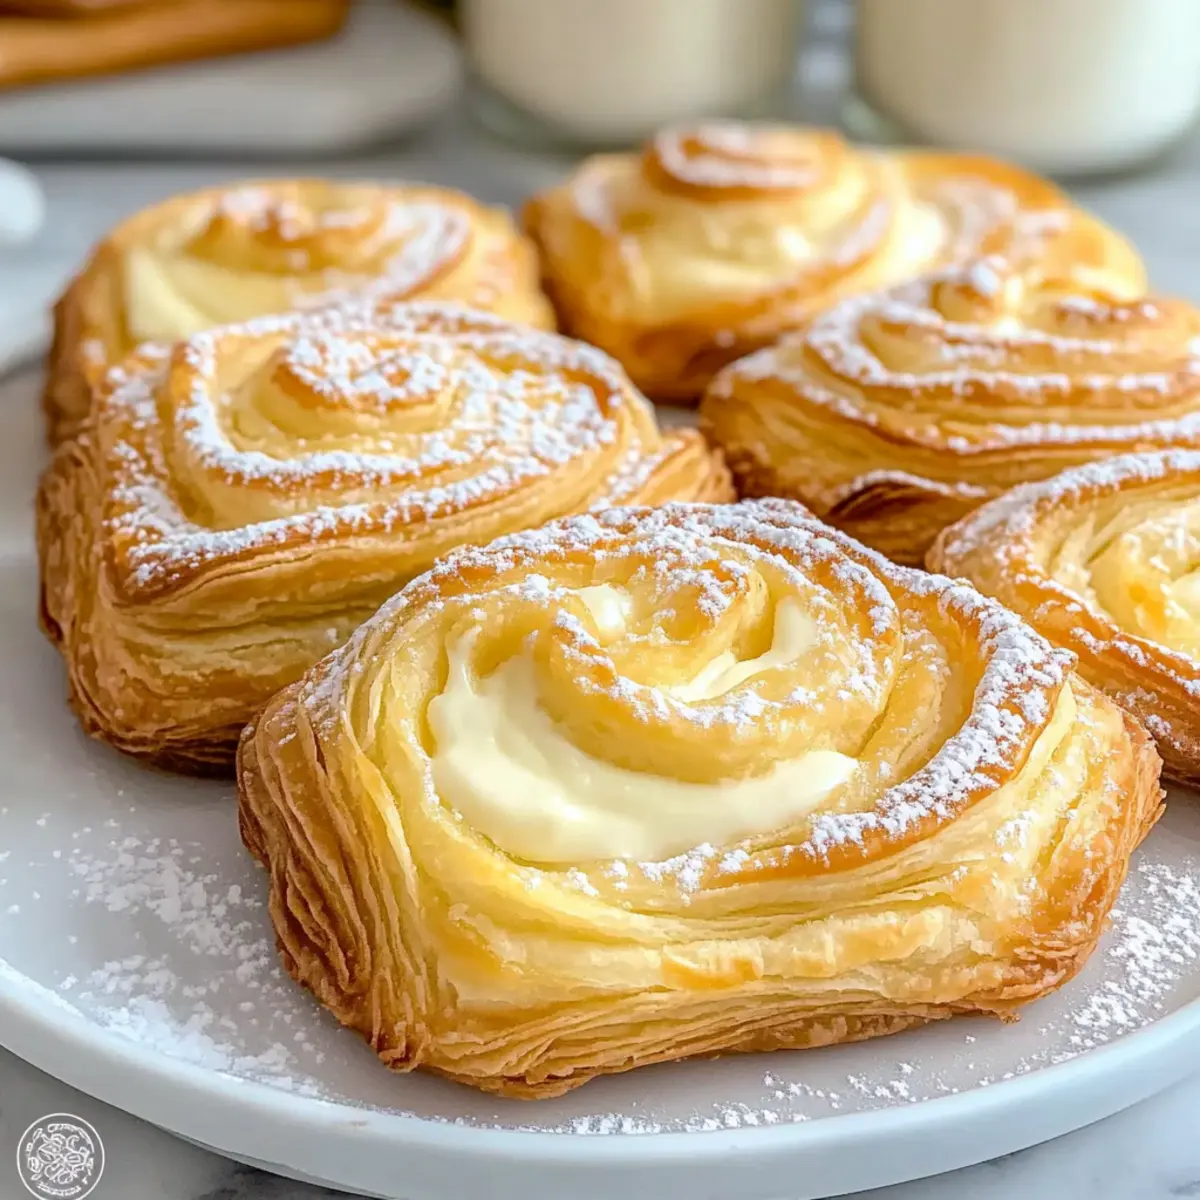
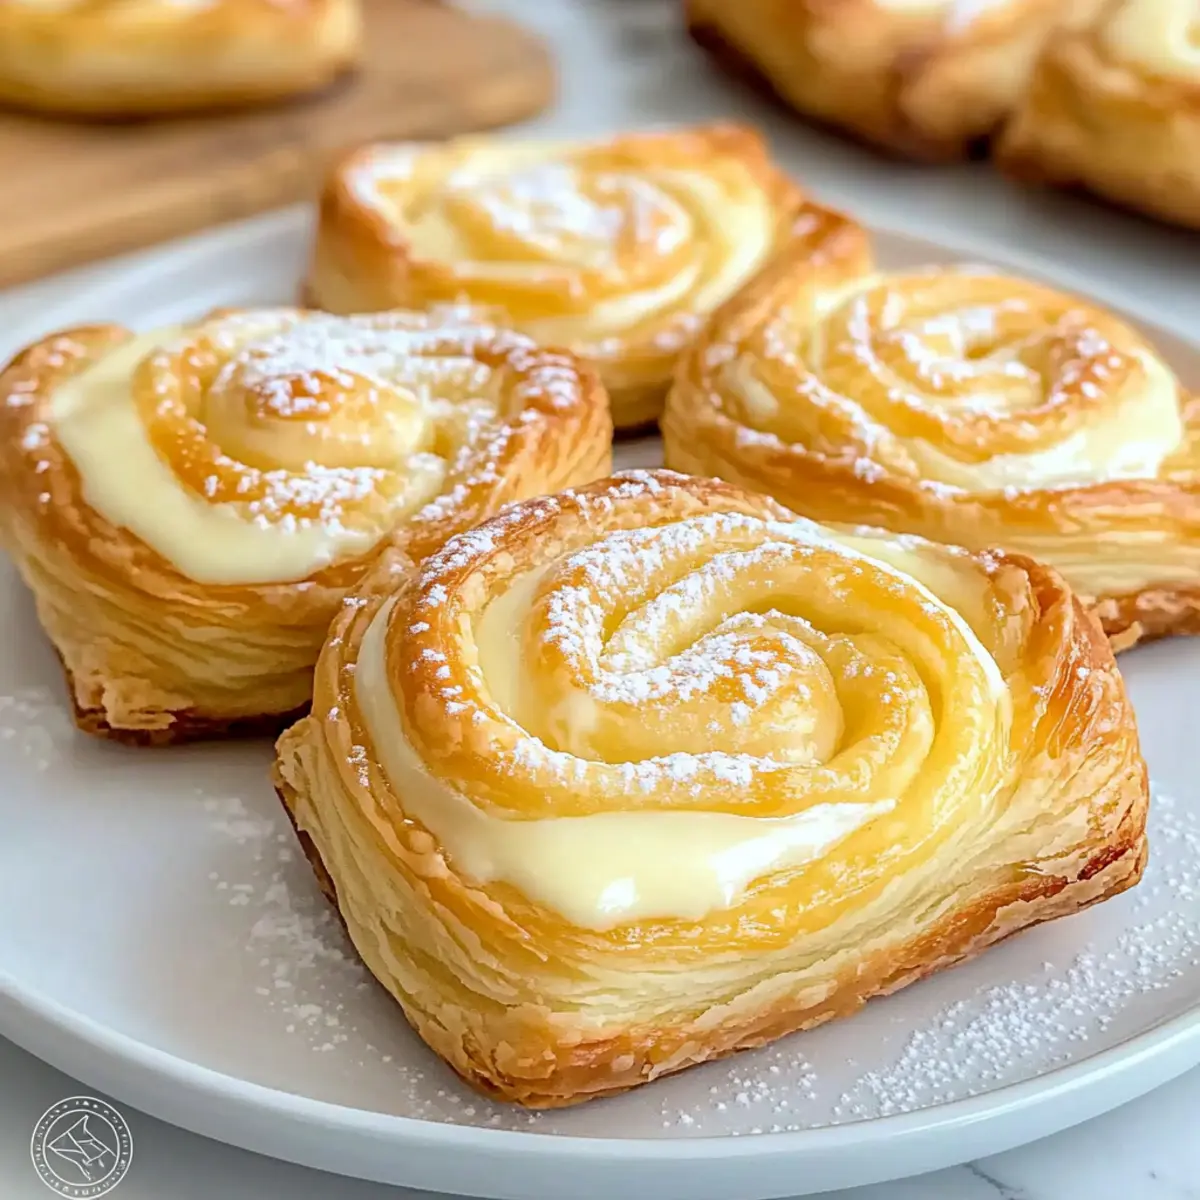
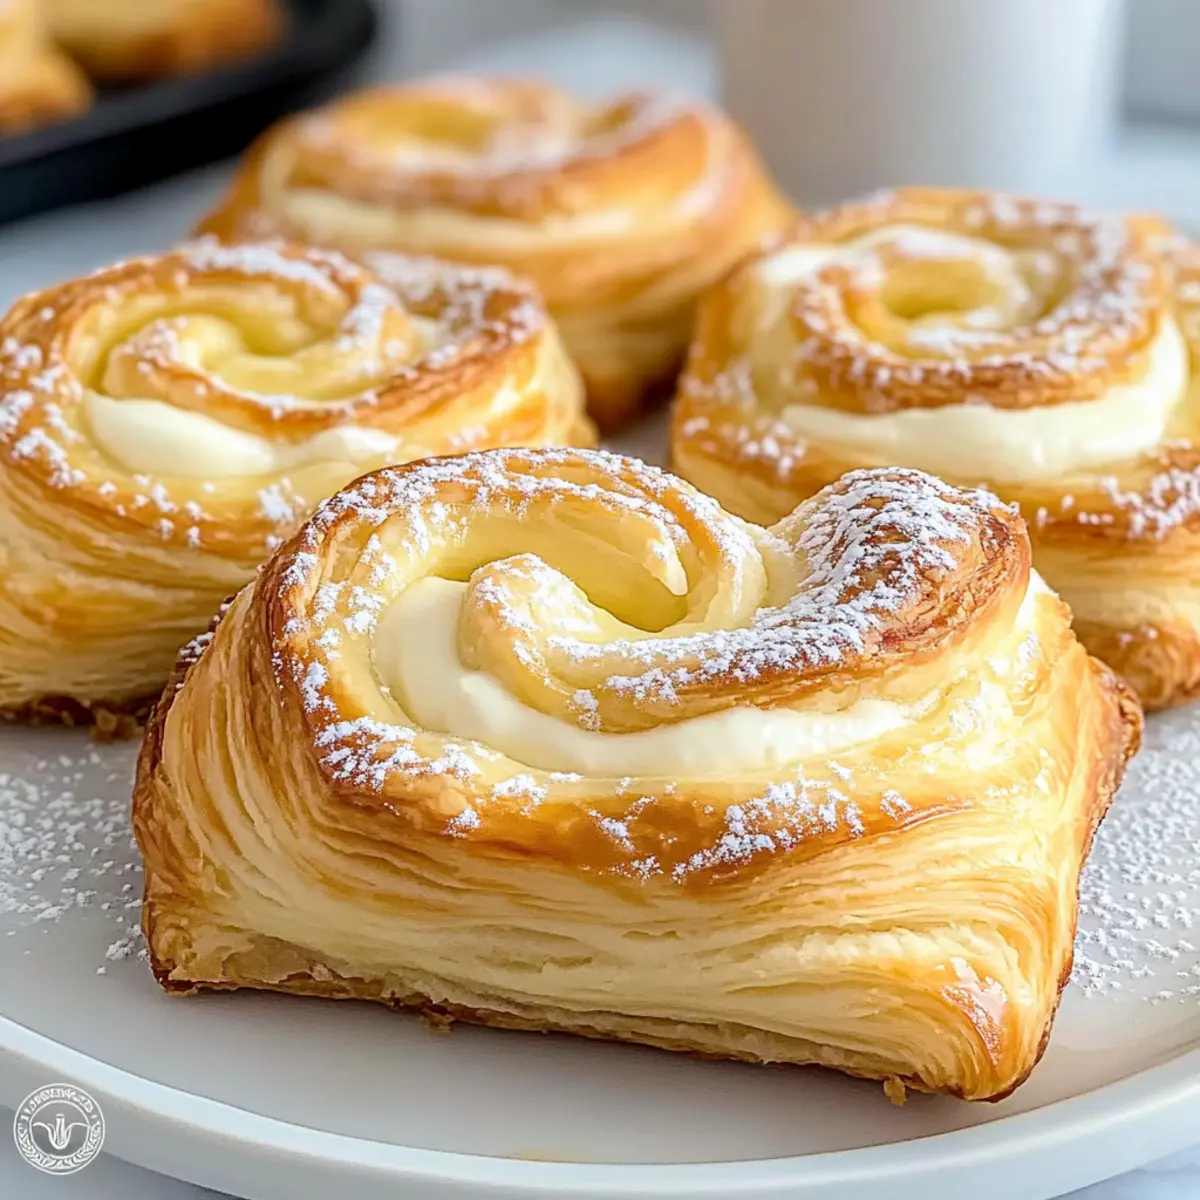
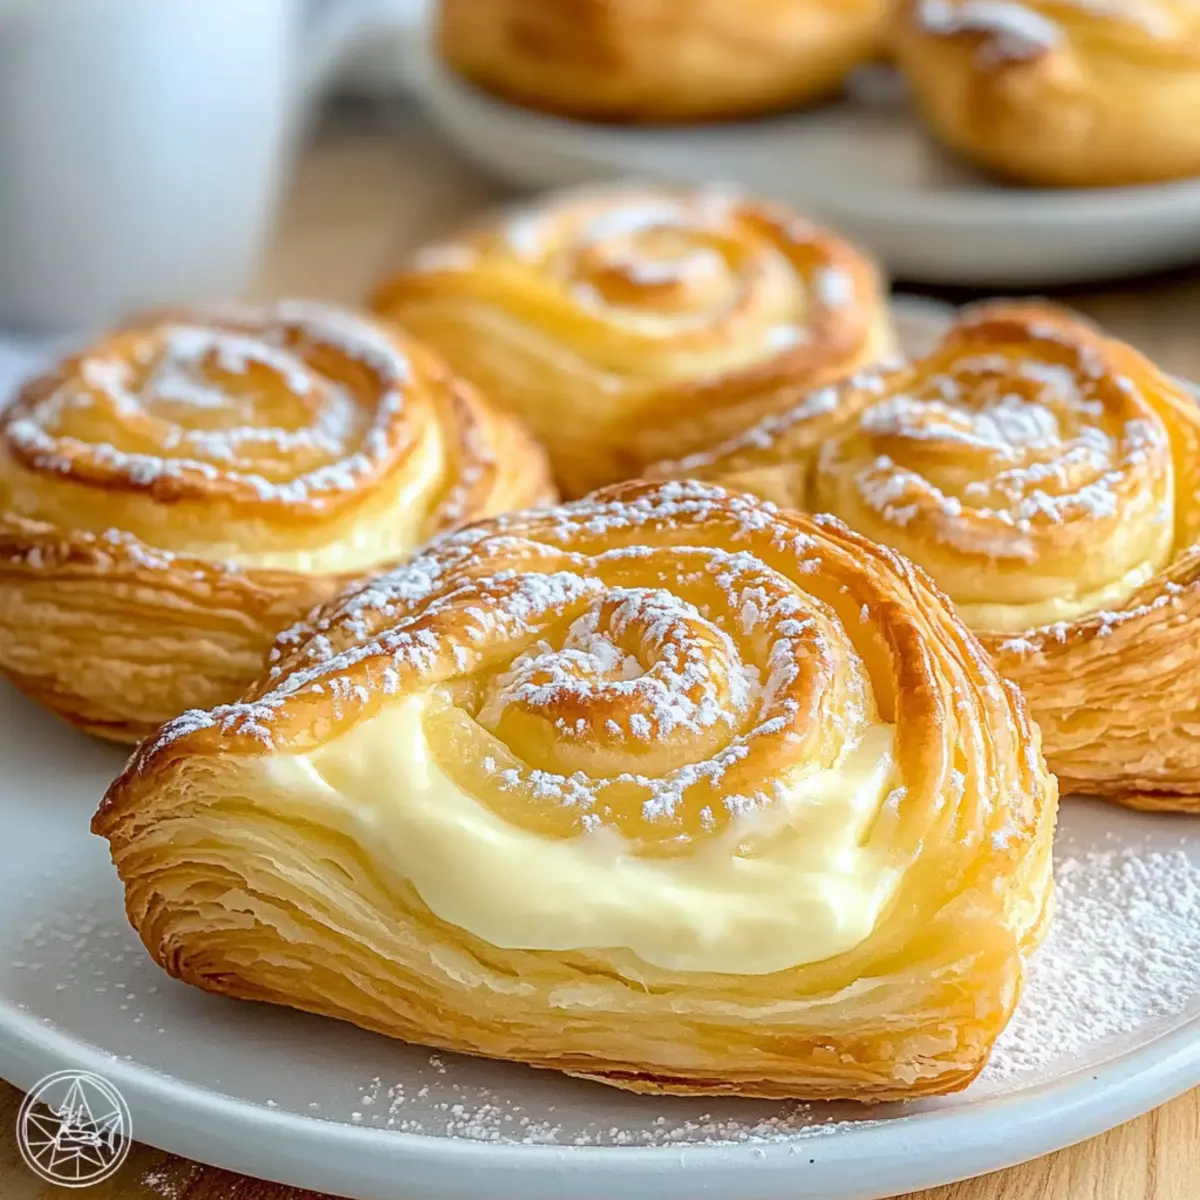
Flaky Layers: The use of ready-made puff pastry ensures a light, airy texture that melts in your mouth.
Creamy Delight: The rich cream cheese filling offers a perfect balance of sweetness and tang, making each bite utterly satisfying.
Beginner-Friendly: No need to be a pro baker; this recipe is designed for cooks of all levels. Just roll, fill, and bake!
Versatile Toppings: Customize your Danish with fruit preserves or fresh berries for an added burst of flavor, perfect for brunch gatherings.
Quick Preparation: In about 30 minutes, you can create a delicious, bakery-quality pastry that your friends and family will love. So why not serve it warm alongside a cup of coffee for a delightful treat?
Homemade Danish Recipe Ingredients
For the Dough
- All-Purpose Flour – Provides structure; consider using bread flour for more chew.
- Granulated Sugar – Adds sweetness to the dough; substitute with a sugar alternative for a healthier option.
- Salt – Enhances flavor and balances sweetness in the dough.
- Active Dry Yeast – Helps the dough rise; fresh yeast can be used but adjust quantities accordingly.
- Whole Milk (Warm) – Activates the yeast, ensuring a moist dough; non-dairy alternatives are great for lactose sensitivity.
- Large Egg – Binds all ingredients; use a flax or chia egg for a vegan option.
- Cold Unsalted Butter – Essential for creating flaky layers; you can use margarine, but it may change the flavor.
For the Filling
- Cream Cheese – Provides the creamy filling flavor; swap with ricotta or mascarpone for a lighter touch.
- Vanilla Extract – Adds depth to the cream cheese filling that elevates its flavor.
- Lemon Zest – Optional, enhances the filling with a fresh, citrusy note for additional brightness.
For the Glaze
- Powdered Sugar – Used for glazing, adding a sweet finish; cornstarch powder could work as a low-sugar alternative.
Feel free to get creative with this Homemade Danish Recipe; your custom toppings can truly make it shine!
Step‑by‑Step Instructions for Homemade Cheese Danish Recipe
Step 1: Preheat the Oven
Begin by preheating your oven to 400°F (200°C) to ensure it’s hot and ready for baking. While the oven warms up, prepare a baking sheet by lining it with parchment paper. This step will prevent any sticking and make cleanup a breeze, allowing you to focus on perfecting your homemade cheese Danish.
Step 2: Make the Cream Cheese Filling
In a mixing bowl, combine cream cheese, granulated sugar, vanilla extract, lemon juice, and a pinch of salt. Use an electric mixer or a spatula to blend the mixture until it’s completely smooth and creamy. This luscious filling adds that signature flavor to your homemade cheese Danish, so take about 3-5 minutes to get it just right!
Step 3: Prepare the Puff Pastry
Once your filling is ready, take your thawed puff pastry and place it on a lightly floured surface. Roll out the pastry gently with a rolling pin to smooth out any creases. Aim for about a ¼-inch thickness, then use a sharp knife to cut the pastry into equal rectangles. These will form the base for your delectable cheese Danish, so make sure they’re well-shaped and uniform.
Step 4: Form the Danish Base
Transfer the cut pastry rectangles onto the prepared baking sheet, ensuring they have enough space between them. Gently fold the edges of each rectangle inward to create a small border around the perimeter. This action will help contain the creamy filling while baking and promote a lovely, puffy texture for your homemade cheese Danish.
Step 5: Add the Cream Cheese Filling
Next, take a spoonful of your delicious cream cheese filling and carefully place it in the center of each pastry rectangle. Be mindful not to overfill, as this can cause spills when baking. A well-measured dollop is key to enjoying perfectly formed Danish pastries that are both beautiful and delightful to eat.
Step 6: Brush with Egg Wash
To achieve that gorgeous golden color, beat an egg in a small bowl and use a pastry brush to lightly coat the edges of each filled pastry with the egg wash. This step not only enhances aesthetics but also creates a delicious finish as your homemade cheese Danish bakes in the oven.
Step 7: Bake to Perfection
Now it’s time to bake! Place the baking sheet in the preheated oven and let the pastries bake for about 15-18 minutes. Keep a close eye on them; you’re looking for a beautifully golden and puffed appearance. The aroma of your homemade cheese Danish will fill your kitchen, drawing everyone’s attention.
Step 8: Cool and Glaze
Once baked, remove the sheet from the oven and allow the pastries to cool on a wire rack for at least 10 minutes. This cooling period is crucial for maintaining the flaky texture. While they cool, you can prepare a glaze by mixing powdered sugar with a little water until smooth, then drizzle it over the Danishes for that final touch of sweetness.
Homemade Danish Recipe Variations
Feel free to get creative and tweak this delightful homemade Danish recipe to suit your palette and mood!
-
Fruit-Topped: Add delicious fruit preserves or fresh berries before baking for a burst of flavor. Summer fruits are especially vibrant and tasty!
-
Nutty Bliss: Mix in finely chopped nuts like almonds or pecans into your cream cheese filling for an extra crunch and richness. The combination of creamy and nutty creates a heavenly bite!
-
Almond Paste: Substitute cream cheese with almond paste for a truly decadent flavor twist. You’ll experience a luscious, sweet filling reminiscent of marzipan.
-
Chocolate Indulgence: Drizzle melted chocolate over the filling or fold in chocolate chips before baking for a dessert-pleasing German twist. Chocolate lovers will rejoice at this unique variation!
-
Savory Delight: Use sliced ham and cheese in place of the sweet filling for a fantastic breakfast option! The savory flavors make for a delightful brunch treat that is both filling and satisfying.
-
Vegan Option: Replace cream cheese with a mixture of silken tofu blended with a little lemon juice and maple syrup. This adds a creamy texture while keeping it plant-based.
-
Spicy Kick: Sprinkle a pinch of cayenne pepper or chili flakes into the cream cheese filling for a surprising kick! This twist will excite those who enjoy a bit of heat in their pastries.
-
Lemon Blueberry: Incorporate fresh blueberries and a hint of lemon zest into the cream cheese filling for a refreshing, fruity flavor. It’s like a burst of sunshine in every bite!
Feel free to explore these options; your creativity is the limit! Pair your Danish with a cup of freshly brewed coffee or perhaps try it with a side of homemade Homemade Chicken Nuggets for a delightful treat experience. Happy baking!
How to Store and Freeze Homemade Danish Recipe
Fridge: Store baked cheese Danishes in an airtight container for up to 5 days. This keeps them fresh while preserving their flaky texture.
Freezer: Unbaked pastries can be frozen for up to a month. Wrap individually in plastic wrap and place in a zip-top bag. Bake directly from the freezer, adding a few extra minutes to the baking time.
Reheating: To enjoy leftovers, reheat in the oven at 350°F (175°C) for about 10 minutes until warmed through. This will help restore some of their original crispness.
Cooling before storage: Always let the pastries cool completely before storing to maintain the delightful texture of your homemade Danish recipe.
Make Ahead Options
These Homemade Cheese Danishes are perfect for meal prep enthusiasts! You can make the cream cheese filling up to 3 days in advance; simply store it in an airtight container in the fridge. For added convenience, you can also cut the puff pastry rectangles and refrigerate them for up to 24 hours before baking. To ensure freshness, keep the pastry covered to prevent drying out. When you’re ready to serve, assemble the danishes by filling them with the cream cheese mixture, brush with egg wash, and bake as directed. This way, you can enjoy bakery-quality morning treats with minimal effort on busy days!
Expert Tips for the Best Homemade Danish Recipe
Keep Butter Cold: Ensure your cold unsalted butter is very cold to achieve those irresistibly flaky layers in your Danish!
Don’t Overfill: Avoid overfilling the pastries; only use a dollop of cream cheese filling to prevent spillage during baking.
Cool Before Storing: Allow the pastries to cool completely before storing to maintain their flaky texture and avoid sogginess.
Check for Doneness: Keep an eye on your pastries; they should be golden brown and puffed before you take them out of the oven.
Experiment with Flavors: Feel free to customize your homemade Danish recipe with different fillings like almond paste, fruits, or even a savory option!
What to Serve with Homemade Cheese Danish
Elevate your breakfast or brunch experience with these delightful pairings that complement the warm, flaky goodness of your cheese Danish.
-
Fresh Berries: The bright, tart flavor of berries, like strawberries or blueberries, cuts through the creaminess, adding a refreshing contrast.
-
Creamy Yogurt: A side of Greek yogurt adds a nice creamy texture while providing a healthy element to your meal. Drizzle honey over it for extra sweetness!
-
Crisp Bacon: The savory, salty notes of crispy bacon balance the sweetness of the Danish. This pairing makes for a deliciously well-rounded brunch dish.
-
Coffee: A steaming cup of freshly brewed coffee not only enhances the Danish but also creates that comforting café experience right at home.
-
Orange Juice: A refreshing glass of fresh-squeezed orange juice brings a citrus zing that perfectly complements the sweet notes of the pastry.
-
Fruit Salad: Create a vibrant fruit salad with melons, pineapple, and citrus. The variety of textures and flavors enhances your cheese Danish experience.
-
Herbal Tea: A warm cup of herbal tea, like chamomile or mint, adds an aromatic touch to your morning, providing a soothing counterpoint to the indulgent pastry.
-
Honey Glaze: Drizzle a light honey glaze over the Danish for an extra layer of sweetness, enhancing its already tempting flavor profile.
Homemade Cheese Danish Recipe FAQs
How do I know when my cream cheese is ripe enough for the filling?
Absolutely! When selecting cream cheese, look for a block that feels soft and slightly springy to the touch, with no visible dark spots or cracks. It should be fully at room temperature for the best mixing results. This ensures a luxuriously smooth filling that blends beautifully with the other ingredients.
What’s the best way to store my baked cheese Danishes?
Very! Allow your baked cheese Danishes to cool completely before placing them in an airtight container. They can be stored in the refrigerator for up to 5 days. For longer storage, wrap them individually in plastic wrap and place them in a zip-top bag to retain their freshness. Remember, cooling before storage is key to maintaining that delectable flaky texture!
Can I freeze unbaked cheese Danishes?
Absolutely! To freeze unbaked pastries, wrap each stuffed pastry tightly in plastic wrap and place them in a zip-top bag. They will be good for up to a month. When you’re ready to bake, simply remove them from the freezer and bake directly from frozen, adding an extra 5 minutes to your baking time. You’ll have fresh, warm Danishes whenever you crave them!
What if my Danish pastries don’t rise well?
Don’t worry; it happens! Ensure that your yeast is fresh and properly activated with warm milk (not hot) during preparation. If your pastries are flat, they may have been overworked or the dough wasn’t warm enough in the oven, so be gentle when rolling out.
Are there any dietary considerations I should be aware of?
Definitely! If you’re baking for someone with lactose intolerance, consider using lactose-free cream cheese and non-dairy milk. For those with egg allergies, a flax or chia egg substitute works wonderfully as a binder and is vegan-friendly! Your homemade Danish recipe can be just as delightful while accommodating different dietary needs.
Is there a way to add more flavor to the cheese filling?
Very! To elevate your filling, add a teaspoon of almond extract or a tablespoon of your favorite fruit preserves to the cream cheese mixture. For a refreshing twist, incorporate lemon zest or a few drops of your favorite liqueur. This creativity can truly personalize your homemade cheese Danish recipe!
Flaky and Delicious Homemade Danish Recipe You’ll Love
Ingredients
Equipment
Method
- Preheat your oven to 400°F (200°C) and line a baking sheet with parchment paper.
- In a mixing bowl, combine cream cheese, granulated sugar, vanilla extract, lemon juice, and a pinch of salt. Blend until smooth.
- Roll out thawed puff pastry to about ¼-inch thickness, then cut into equal rectangles.
- Transfer the pastry rectangles to the baking sheet, folding the edges inward to create a small border.
- Place a spoonful of cream cheese filling in the center of each pastry rectangle.
- Beat an egg and use a pastry brush to coat the edges of each filled pastry with the egg wash.
- Bake the pastries for about 15-18 minutes until golden brown and puffed.
- Allow the pastries to cool on a wire rack for at least 10 minutes before glazing.
Leave a Reply