
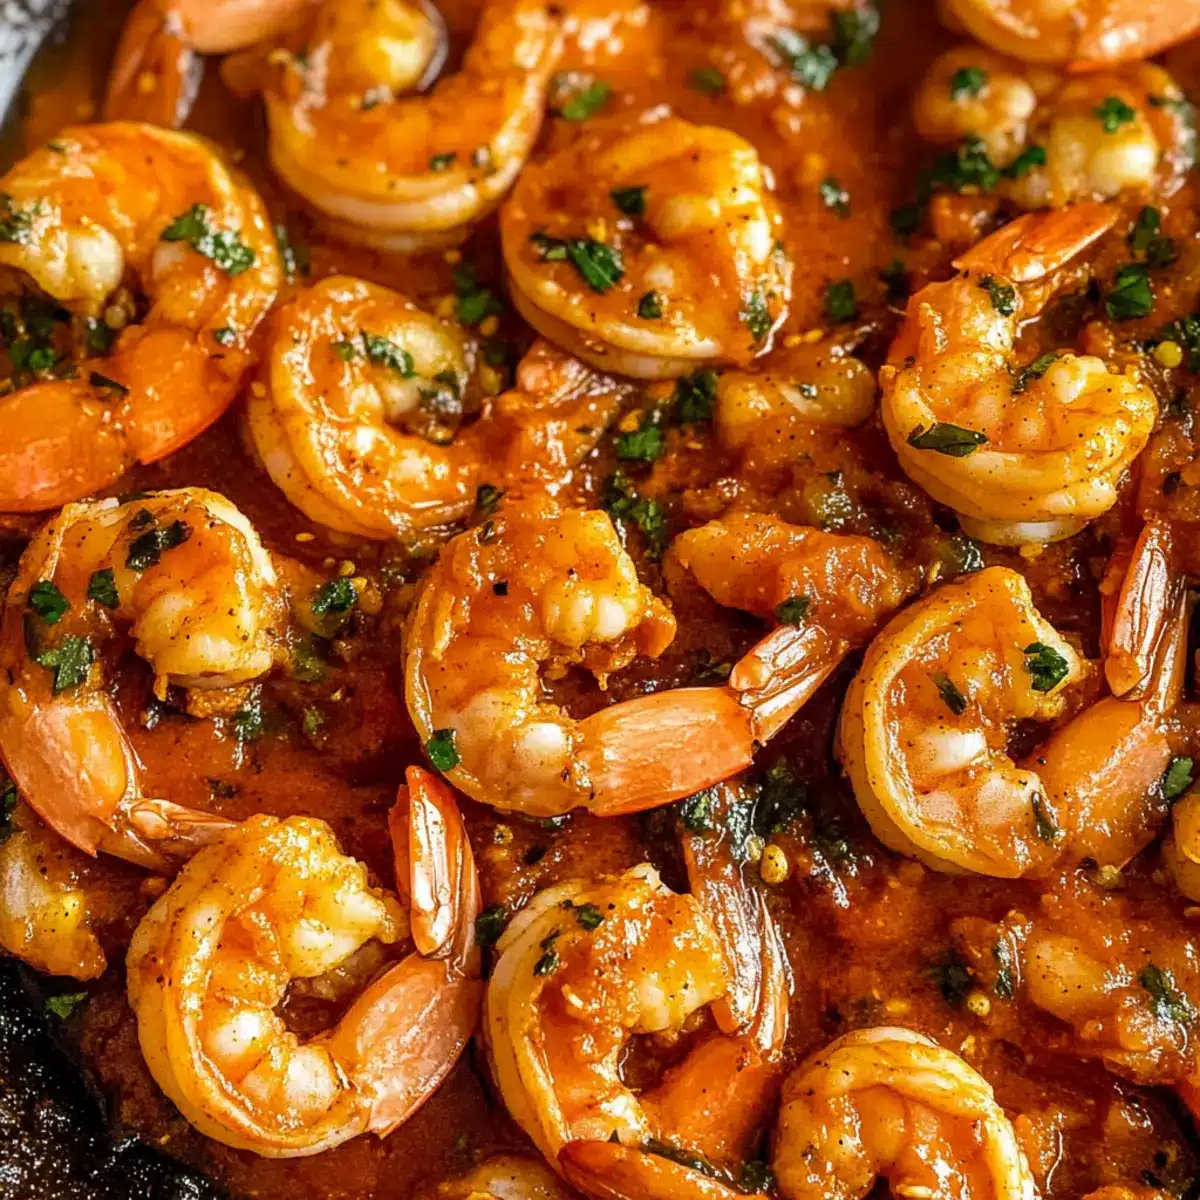
As I closed the kitchen door behind me, the tantalizing scent of sizzling garlic and spices filled the air, transporting me straight to a bustling Portuguese café. Today, I’m excited to share my take on Fiery Portuguese Garlic Shrimp with Peri-Peri Spice Blend, a dish that has quickly become a show-stopper in my home. This recipe boasts quick prep and delivers a delightful kick, making it the perfect remedy for midweek meals or a festive gathering. Each shrimp is lovingly seared, enveloped in a rich, aromatic sauce that beckons to be soaked up with crusty bread. So, are you ready to whip up something both quick and delicious? Let’s dive in!
Why is this shrimp recipe irresistible?
Quick to make: Ready in under 30 minutes, this dish is a lifesaver for busy weeknights.
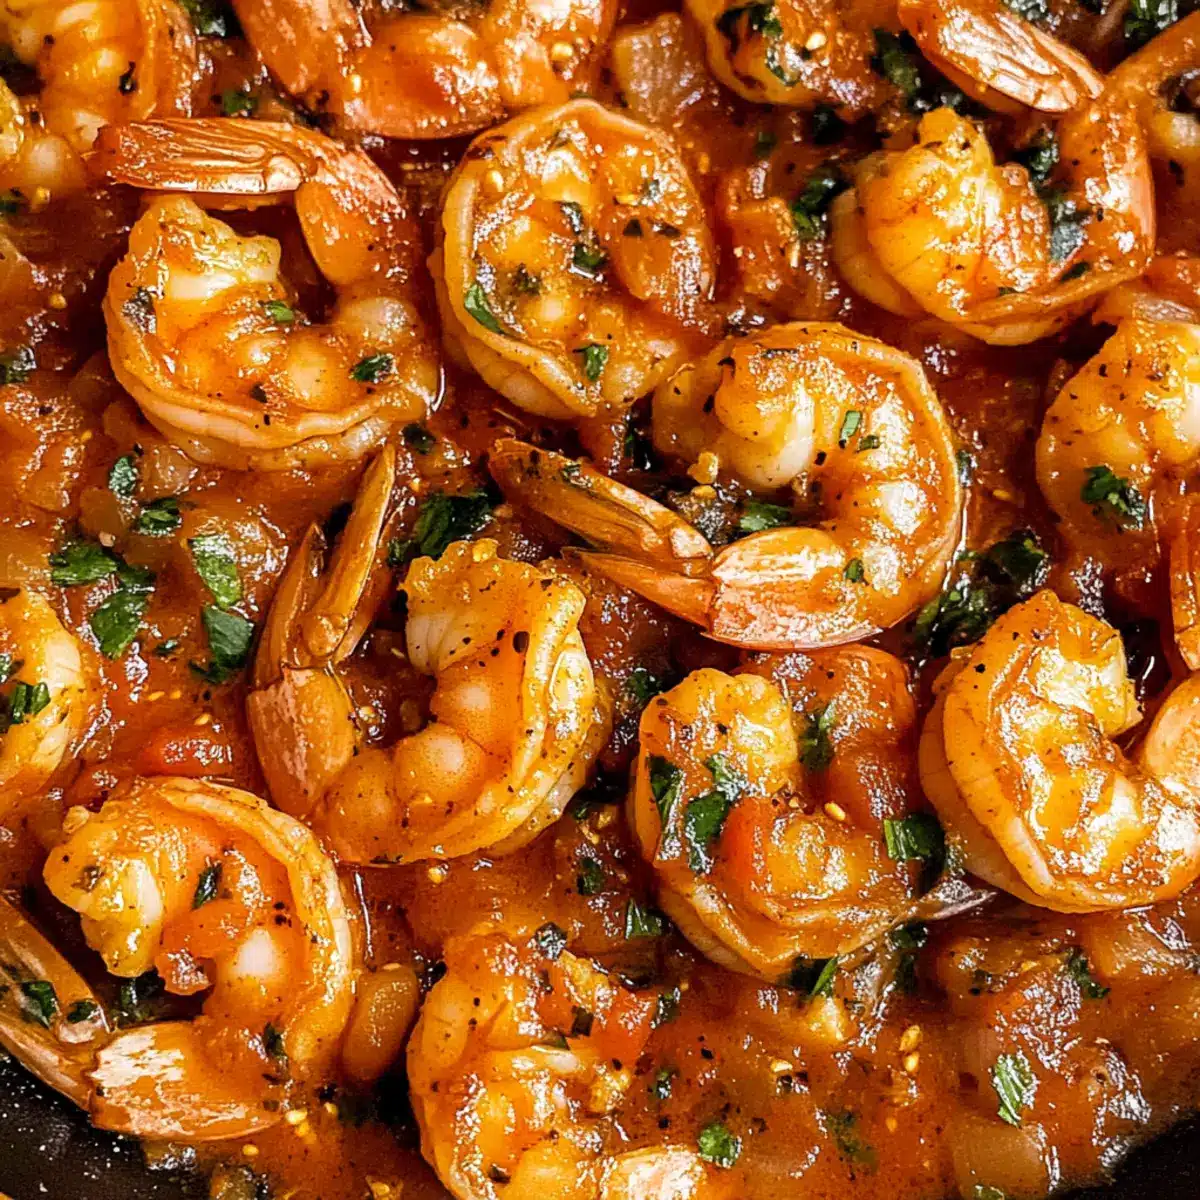
Bursting with flavor: The blend of garlic, tomato, and peri-peri spice creates a rich, mouthwatering sauce that captivates your taste buds.
Versatile options: Switch shrimp for chicken or tofu, or add veggies like spinach for extra nutrition – customization is easy!
Perfect for gatherings: Whether it’s a family dinner or a dinner party, this dish is sure to impress your guests.
Satisfying and hearty: Rich in flavor and accompanied by crusty bread or rice, it’s a comforting meal that feels indulgent without all the fuss. So, if you love hearty meals like Lemon Shrimp Avocado or Cucumber Shrimp Salad, you’ll adore this shrimp delight!
Portuguese Garlic Shrimp Ingredients
For the Shrimp
• Shrimp – Use shell-on, deveined shrimp for the best flavor and juicy texture.
For the Sauce
• Olive Oil – Ideal for searing; can be substituted with butter for extra richness.
• Butter – Adds a luxurious taste; swap for olive oil to keep it dairy-free.
• Garlic – Fresh minced garlic enhances the dish’s aroma; dried garlic won’t provide the same intensity.
• Onion – Sweetness comes from the onion; shallots can be a milder alternative.
• Tomato Paste – Thickens and enriches the sauce without direct substitution; crushed tomatoes can lighten the consistency.
• Peri-Peri Spice Mix – The star flavoring ingredient; cayenne pepper or harissa can offer similar heat.
• White Wine – Deglazes the pan and elevates the sauce; for a non-alcoholic option, use diluted white wine vinegar.
• Chicken Broth – Adds moisture and flavor; vegetable broth can work for a vegan version.
For Garnish
• Cilantro – Freshness and brightness in every bite; use parsley if cilantro isn’t available.
This dish’s robust flavor profile makes it a delightful experience, and the flavors of the Portuguese Garlic Shrimp will surely be a favorite at your table!
Step‑by‑Step Instructions for Portuguese Garlic Shrimp
Step 1: Sear the Shrimp
Begin by seasoning your shell-on, deveined shrimp with salt. In a heavy skillet, heat 2 tablespoons of olive oil over medium-high heat until shimmering. Carefully add the shrimp in a single layer and sear for 2-3 minutes on one side until they turn pink and opaque. Flip them over and sear for another 2 minutes. Remove the shrimp from the pan before they are fully cooked, letting them rest while you prepare the sauce.
Step 2: Prepare Sauce
In the same skillet, reduce the heat to medium and add 2 tablespoons of butter along with a finely chopped onion. Sauté the onion for about 2-3 minutes, stirring frequently, until softened and translucent. Then, add 6 minced garlic cloves and continue to sauté for another minute until fragrant. This aromatic base will set the stage for your delicious Portuguese Garlic Shrimp sauce.
Step 3: Incorporate Tomato Paste
Stir in 2 tablespoons of tomato paste into the mixture, cooking it down for about 5-7 minutes. Stir constantly as the tomato paste darkens slightly, enhancing the depth of the sauce. Its thick texture will begin melding the flavors of the garlic and onion together, creating a rich foundation for the dish. You’ll know it’s ready when it starts to clump and adhere to the bottom of the pan.
Step 4: Add Spices
Now it’s time to add the flavor! Sprinkle in your peri-peri spice blend and mix well during the last 2 minutes of cooking. Stirring continuously will release the oils from the spices, intensifying the aroma and taking your Portuguese Garlic Shrimp to the next level of taste. Allow the spices to infuse into the mixture for a few moments until they become fragrant.
Step 5: Deglaze & Simmer
Pour in ½ cup of white wine into the pan, using a wooden spoon to scrape any tasty bits stuck to the bottom. Increase the heat for about 3 minutes; let the sauce simmer gently and reduce. This will marry all the flavors together while adding a touch of acidity to your rich sauce. Once the liquid has reduced slightly, pour in ¾ cup of chicken broth and allow it to simmer for an additional 5 minutes.
Step 6: Combine Shrimp and Sauce
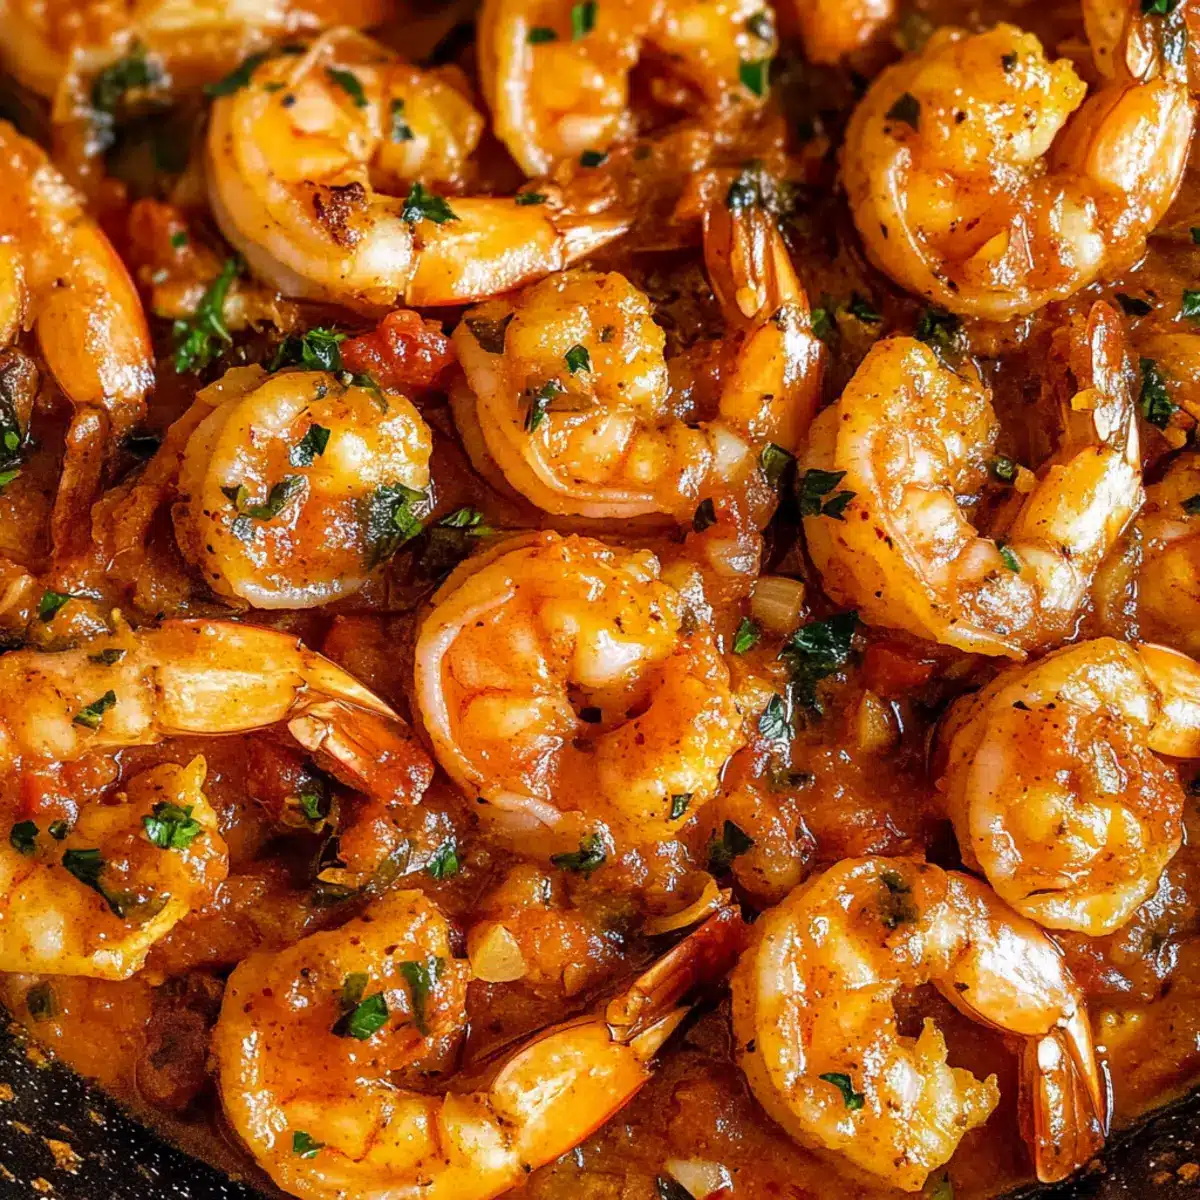
Finally, return the shrimp to the skillet along with any accumulated juices. Stir to incorporate the shrimp into the sauce, cooking for an additional 3 minutes. The shrimp should be fully cooked through (pink and firm), and the sauce should thicken. The enticing aromas of the Portuguese Garlic Shrimp will fill your kitchen, inviting everyone to gather around the table for this savory feast.
How to Store and Freeze Portuguese Garlic Shrimp
Fridge: Store leftovers in an airtight container for up to 2 days. Reheat in the microwave for optimal texture, ensuring shrimp is heated through without overcooking.
Freezer: For longer storage, freeze in a tightly sealed container for up to 3 months. To reheat, thaw overnight in the fridge and reheat gently on the stovetop to retain the sauce’s integrity.
Airtight: Always ensure the container is airtight to prevent freezer burn, affecting the flavor of your Portuguese Garlic Shrimp.
Reheating Tip: When reheating, add a splash of broth or water to keep the sauce moist and flavorful, making the dish as delicious as when freshly made!
What to Serve with Fiery Portuguese Garlic Shrimp
There’s nothing quite like the vibrant aromas of garlic and spices mingling together, inviting you to create a memorable meal.
-
Crusty Bread: Perfect for soaking up every drop of the aromatic sauce, bringing a satisfying texture contrast to your dish. Imagine tearing off a piece and dipping it into that rich, flavorful blend—it’s pure bliss.
-
Cilantro Lime Rice: Fluffy rice infused with zesty lime and fresh cilantro offers a refreshing balance, harmonizing beautifully with the shrimp’s spiciness. This duo adds a burst of brightness in every bite.
-
Simple Green Salad: Tossed with a light vinaigrette, this salad adds a crisp, refreshing crunch. The greens provide a necessary contrast to the rich, savory shrimp.
-
Garlic Roasted Potatoes: These tender, herbed potatoes complement the shrimp’s flavors while offering a hearty, comforting base. Their crispy edges bring a delightful texture that enhances each mouthful.
-
Grilled Vegetables: Seasoned with olive oil and herbs, vegetables like bell peppers and zucchinis can elevate your meal with their smoky flavors and vibrant colors. They add a delicious touch of sweetness to the mix.
-
Chilled White Wine: A glass of crisp, chilled white wine or a light Portuguese vinho verde enhances the dish perfectly, making each sip a refreshing experience alongside your spicy shrimp.
-
Chocolate Mousse: For dessert, a silky chocolate mousse can provide a sweet conclusion to a zesty meal, balancing out the heat with its rich, creamy texture. The indulgence will surely leave you satisfied!
Make Ahead Options
These Portuguese Garlic Shrimp are a game-changer for meal prep! You can prepare the sauce (steps 2-5) up to 3 days in advance and store it in an airtight container in the refrigerator to preserve its vibrant flavors. When you’re ready to enjoy this dish, simply reheat the sauce in a skillet over medium heat before adding your seared shrimp (step 6). This approach not only saves you time on busy weeknights but also ensures that each bite is just as delicious as if you made it fresh that day. Just remember to adjust the seasoning if needed, and savor the enticing aroma as it fills your home!
Portuguese Garlic Shrimp Variations
Feel free to explore these delightful twists to make this recipe uniquely yours!
- Extra Spicy: Add more peri-peri spice for an unforgettable fiery kick that spice lovers will adore. Just a little more goes a long way!
- Chicken Swap: Substitute shrimp with chicken pieces for those craving a poultry twist. This adaption makes for a hearty and comforting meal.
- Tofu Option: For a vegetarian delight, replace shrimp with firm tofu, sautéing it until golden. The sauce will absorb beautifully, amplifying flavor.
- Veggie Boost: Toss in vibrant bell peppers or leafy spinach for extra nutrition and color. These veggies not only add a health boost but also a lovely crunch.
- Wine-Free Version: Use chicken broth or white wine vinegar diluted with water for a tasty, non-alcoholic alternative that doesn’t skimp on flavor.
- Citrus Zest: Add a squeeze of fresh lemon or lime juice before serving for a bright, zesty finish that perfectly complements the spices.
- Herb Swap: If cilantro isn’t your go-to, parsley works wonders too, offering a slightly different yet delightful herbaceous note in every bite.
No matter which variation you choose, you’re in for a treat! And if you’re curious about other seafood delights, dive into my Lemon Shrimp Avocado or Cucumber Shrimp Salad for more inspiration. Happy cooking!
Expert Tips for Portuguese Garlic Shrimp
Sear Smart: Ensure your pan is hot enough before adding shrimp. This prevents sticking and gives a beautiful golden crust.
Don’t Overcook: Shrimp can become rubbery if cooked too long. Remove them from the pan just before they’re fully cooked, as they will continue to cook in the sauce.
Customize Spice: If you’re sensitive to heat, start with less peri-peri spice and adjust to taste. You can always add more later!
Use Fresh Garlic: Fresh minced garlic greatly enhances the dish. Dried garlic lacks the aroma and depth needed for authentic Portuguese Garlic Shrimp.
Taste As You Go: Adjust seasonings before serving. A little extra salt or a sprinkle of lemon juice can elevate the flavors beautifully.
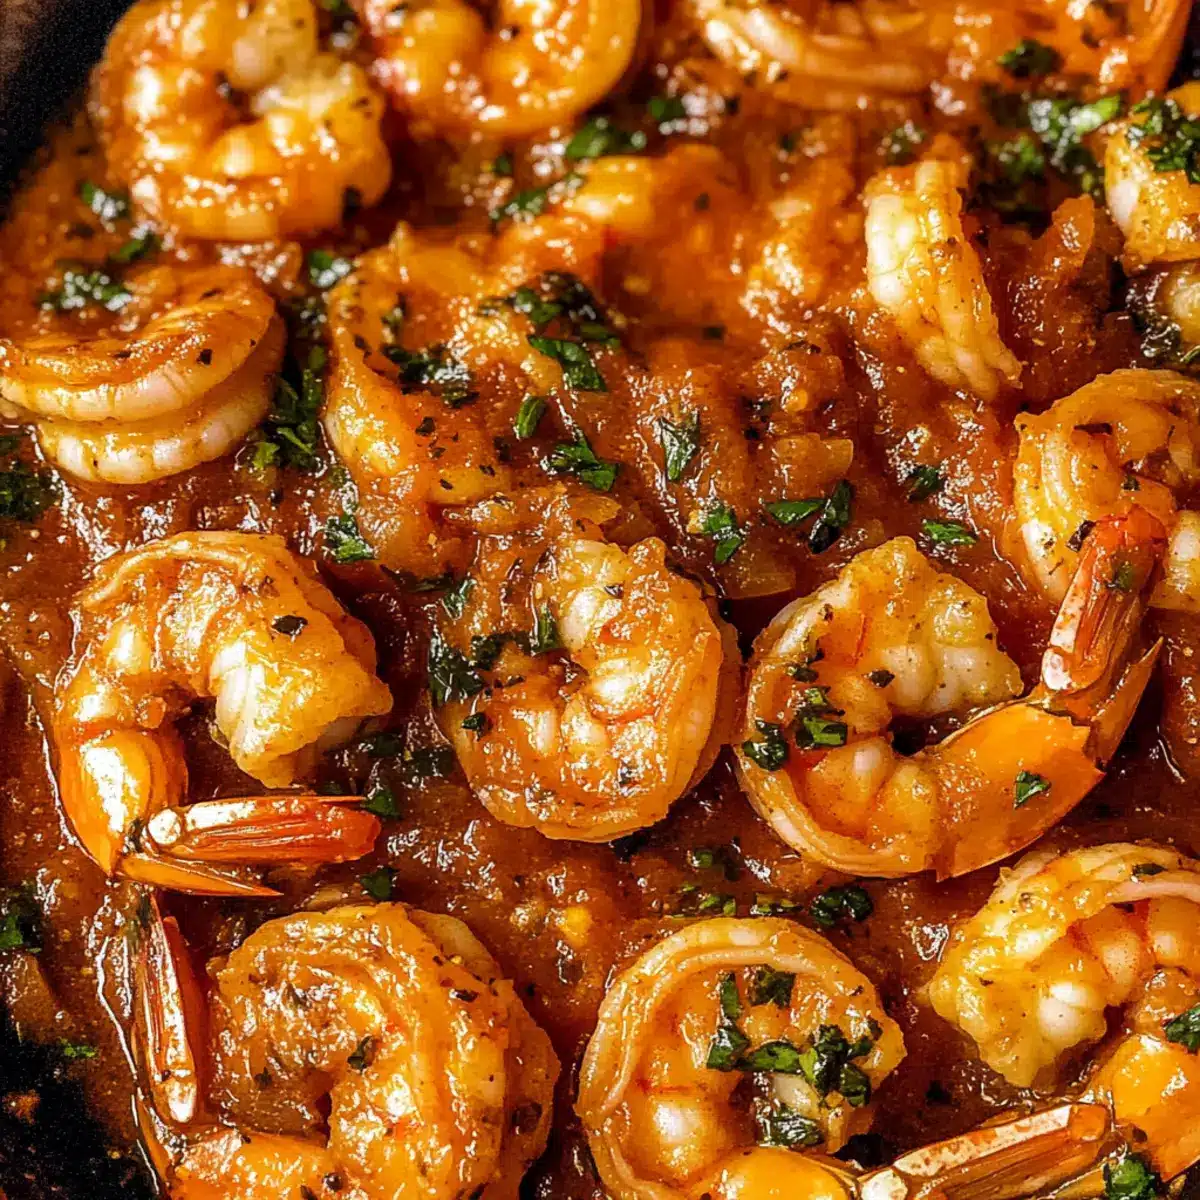
Serve Smart: Pair this dish with crusty bread or rice to soak up the vibrant sauce, making every bite a mouthwatering experience!
Portuguese Garlic Shrimp Recipe FAQs
What type of shrimp is best for this recipe?
Absolutely! For the best flavor and texture, I recommend using shell-on, deveined shrimp. This method locks in moisture and adds a deeper shrimp flavor to your dish. If you prefer, you can also use peeled shrimp, but ensure they are fresh and of good quality for the best results.
How should I store leftovers?
Store any leftovers in an airtight container in the fridge for up to 1-2 days. When reheating, I suggest using the microwave, as it gently warms the shrimp and ensures they don’t become rubbery. Just be cautious not to overcook them during the reheating process!
Can I freeze Portuguese Garlic Shrimp?
For sure! You can freeze your Portuguese Garlic Shrimp for up to 3 months. To do this, let the dish cool completely, then transfer it to a tightly sealed freezer-safe container. When you’re ready to enjoy it again, thaw it overnight in the fridge and reheat gently on the stovetop, adding a splash of broth to keep the sauce nice and moist.
How can I adjust the spice level in this dish?
Very easily! If you’re a bit wary of the heat, start with a smaller amount of the peri-peri spice mix and adjust according to your taste preference. You can always add more spice as it cooks, so it’s better to start mild and build up the flavor without overwhelming your palate.
What are some substitutes if I have allergies or dietary restrictions?
No problem! If you’re looking to make this dish dairy-free, simply swap out the butter for olive oil. For gluten-free options, ensure that your broth and any other ingredients are labeled gluten-free. If you have shellfish allergies, consider using chicken or tofu for a delicious alternative that still captures the essence of the dish.
How do I know if my shrimp are cooked properly?
Cooking shrimp can be a bit tricky but very rewarding! They’ll turn from a translucent gray to a lovely opaque pink and firm up, indicating they’re fully cooked. Typically, this takes about 2-3 minutes per side over medium-high heat. Just remember, they will continue to cook a little after being removed from the heat, so it’s best to take them out just before they’re done!
Savor the Spice: Easy Portuguese Garlic Shrimp Delight
Ingredients
Equipment
Method
- Season the shrimp with salt. Heat olive oil in a heavy skillet over medium-high heat. Add shrimp in a single layer and sear for 2-3 minutes until pink. Flip and sear for another 2 minutes, then remove and let rest.
- In the same skillet, reduce heat to medium and add butter and chopped onion. Sauté for 2-3 minutes until softened. Add minced garlic and sauté for another minute until fragrant.
- Stir in tomato paste and cook for 5-7 minutes, stirring constantly until it darkens slightly and clumps.
- Add peri-peri spice blend and mix well for the last 2 minutes of cooking.
- Pour in white wine and scrape any bits from the bottom. Simmer for 3 minutes, then add chicken broth and simmer for an additional 5 minutes.
- Return shrimp to the skillet and stir to combine, cooking for another 3 minutes until shrimp are fully cooked and sauce thickens.
Leave a Reply