
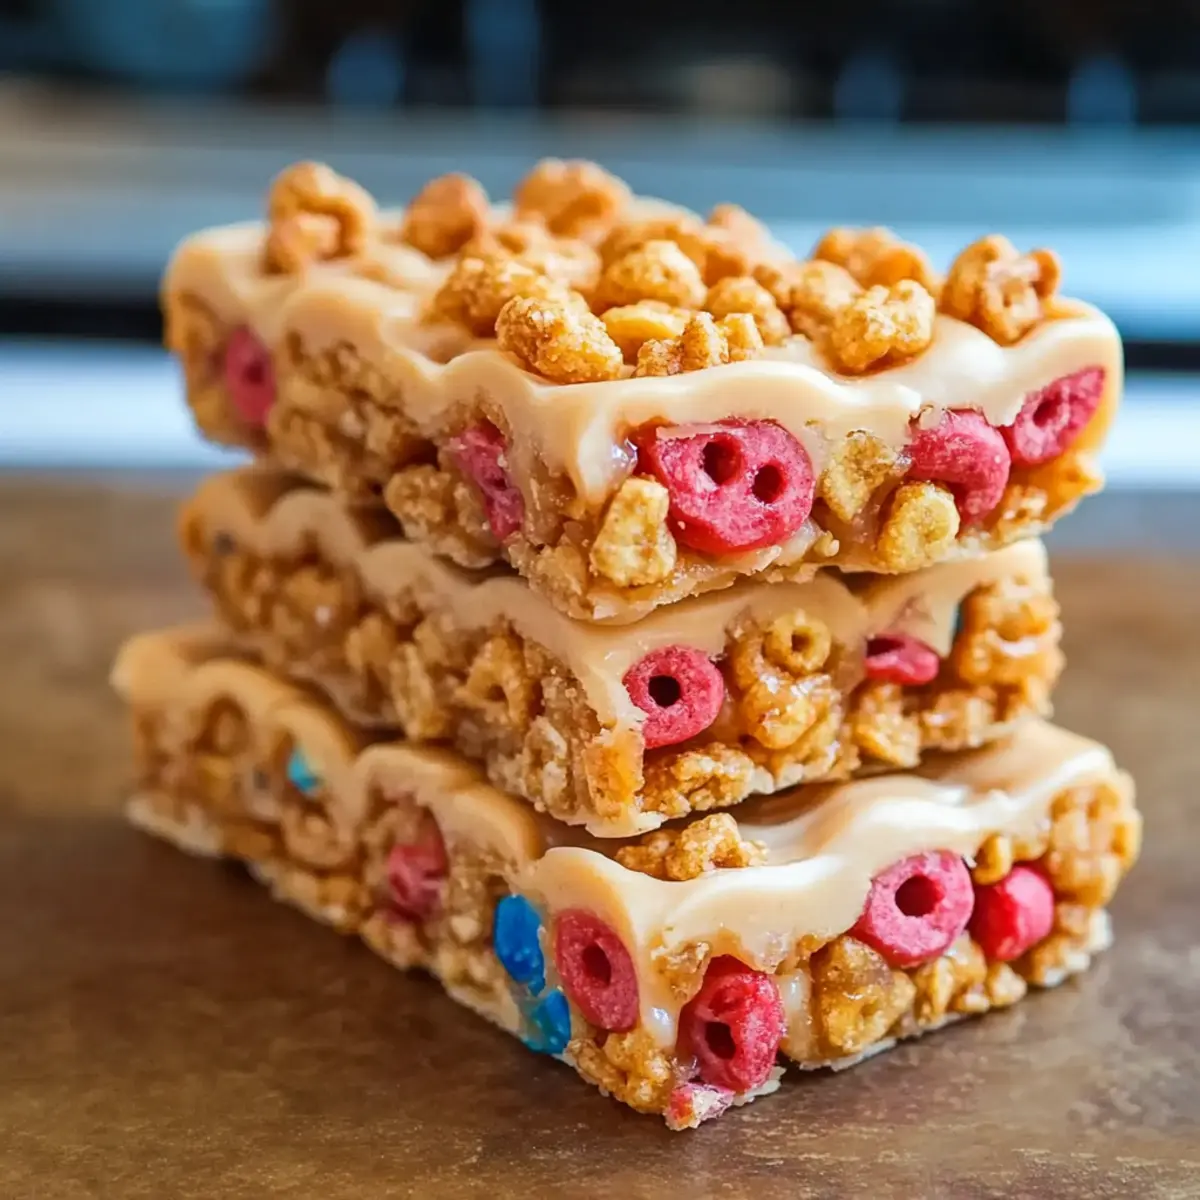
Late on a Sunday afternoon, I found myself rummaging through the pantry while the kids kept asking for something sweet. That’s when it hit me—why not whip up a batch of homemade cereal bars? With just three simple ingredients, this cereal bars recipe has become our go-to for a quick and healthy snack. These bars are not only a breeze to make, but they also offer endless customization options, from chocolatey delights to fruity flavors. Plus, they’re perfect for busy mornings or as guilt-free lunchbox fillers, ensuring we stay away from processed snacks. Are you ready to transform your pantry staples into delicious treats that the whole family will love? Let’s dive in!
Why Choose This Cereal Bars Recipe?
Simplicity: It’s incredibly easy to create these bars with just three ingredients. You won’t need a culinary degree or complicated techniques!
Customization: You can express your culinary creativity by trying various flavors such as chocolate, strawberry, or even cookie dough to satisfy every palate in your family.
Healthier Alternative: Skip the processed snacks and enjoy a nourishing option made with wholesome ingredients—perfect for health-conscious eaters!
Versatile Snacking: Great for breakfast, school lunches, or a midday treat; these bars fit effortlessly into your daily routine, ready to fuel your activities.
Time-Saving: There’s no baking required—whip them up in under 15 minutes and store them for ongoing snacking throughout the week.
Family Pleaser: Everyone will love these tasty bars, making them a fantastic solution for when you’re tired of the same old snacks. If you’re in the mood for something savory, check out my delicious Healthy Tuna Melt for a great lunch option!
Cereal Bars Recipe Ingredients
• Prep to create your delicious cereal bars with these simple ingredients!
For the Base
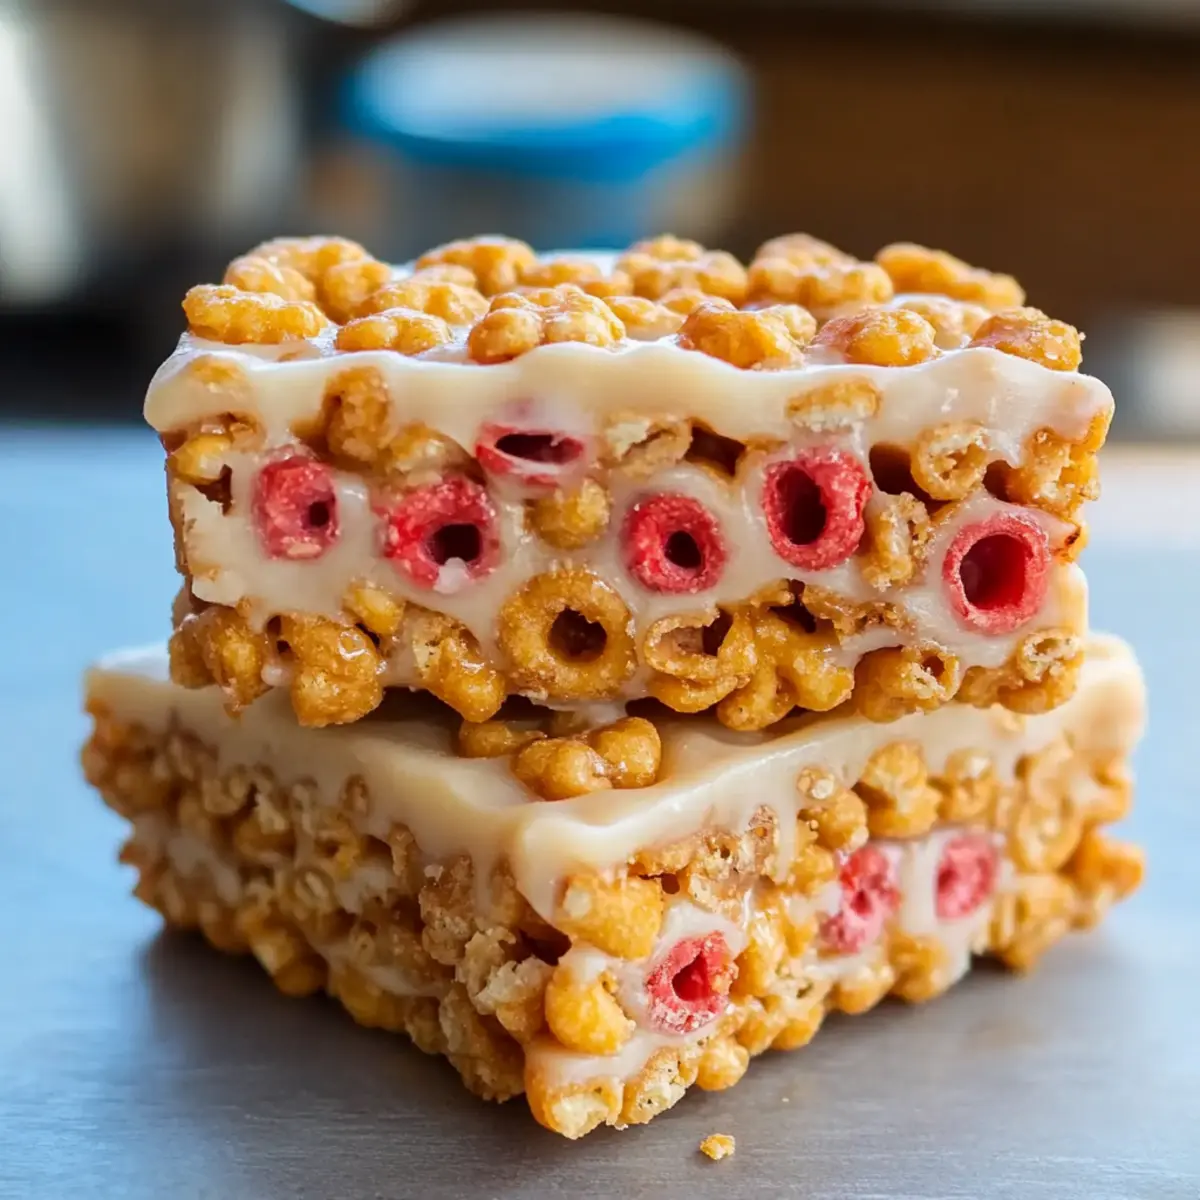
- Cereal – 3 cups; choose small flakes or shapes like Cheerios, Rice Krispies, or Fruit Loops for a delightful texture.
- Nut Butter – 2/3 cup; almond butter, cashew butter, or sunbutter work great to keep everything together.
- Liquid Sweetener – 1/2 cup (agave, honey, or brown rice syrup); this adds the perfect touch of sweetness and moisture.
Optional Add-Ins
- Protein Powder – 3 tbsp; boost nutritional value if desired, or omit for fewer calories.
- Salt – 1/2 tsp; a pinch enhances the flavor beautifully.
Let’s get creative with this cereal bars recipe and make a batch that suits your cravings!
Step‑by‑Step Instructions for Homemade Cereal Bars Recipe
Step 1: Prepare the Pan
Start by lining an 8-inch square baking pan with wax or parchment paper. Make sure the paper hangs over the edges slightly, as this will help you lift the bars out easily later. This step is crucial for preventing sticking and ensuring clean, neat bars.
Step 2: Warm the Nut Butter
In a small saucepan, gently heat the nut butter over low heat for about 1-2 minutes until it becomes warm and easier to stir. Stir continuously to prevent it from burning. The goal here is to get a smooth consistency that will blend well with the other ingredients in your cereal bars recipe.
Step 3: Combine Ingredients
In a large mixing bowl, combine the cereal with the warmed nut butter and liquid sweetener. Using a sturdy spatula or wooden spoon, mix everything together for about 3-5 minutes, until all the cereal is evenly coated and the mixture is sticky and cohesive. This ensures that every bite of your homemade cereal bars is delicious.
Step 4: Transfer and Press
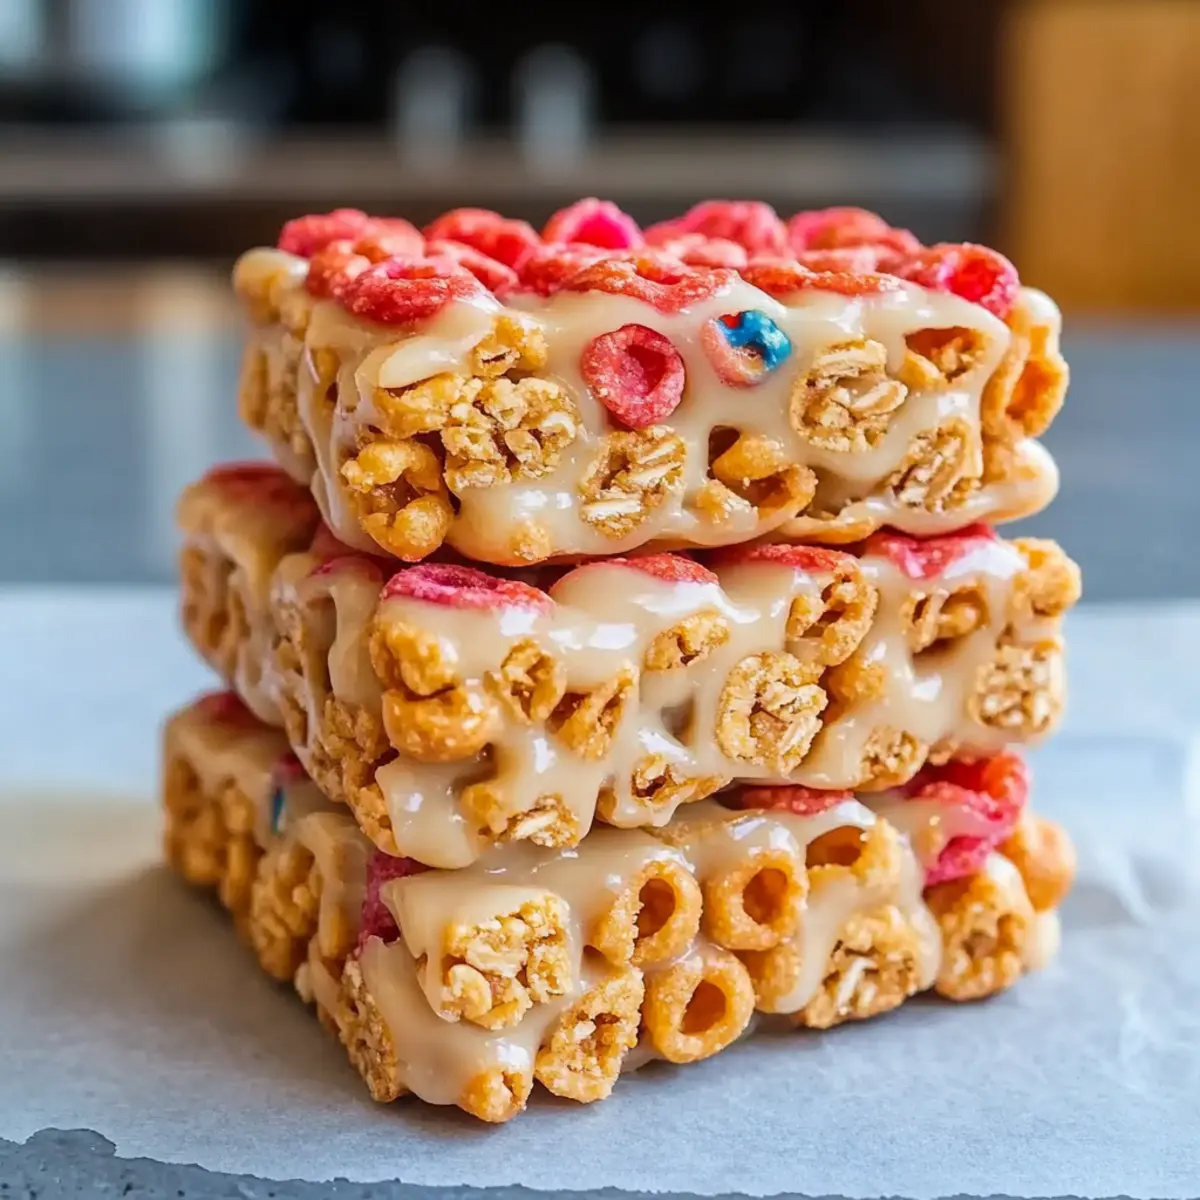
Pour the mixture from the bowl into the prepared baking pan. Use your hands or a spatula to press down firmly, ensuring the mixture is evenly distributed and tightly packed into the corners. This pressing is key to helping the bars hold together once cut, so don’t hold back!
Step 5: Optional Topping and Firming
For an extra layer of firmness, place a second sheet of parchment paper on top of the pressed mixture and press down even harder with your palm. This step helps create a compact base for your cereal bars recipe. You want the mixture to be snug and hold together beautifully.
Step 6: Set in Freezer
Once pressed, place the pan in the freezer for about 30 minutes. This chilling time helps set the bars, making them easy to cut into uniform shapes later. When they come out, you should find they hold their shape well and are slightly firm to the touch, indicating they’re ready.
Step 7: Cut and Store
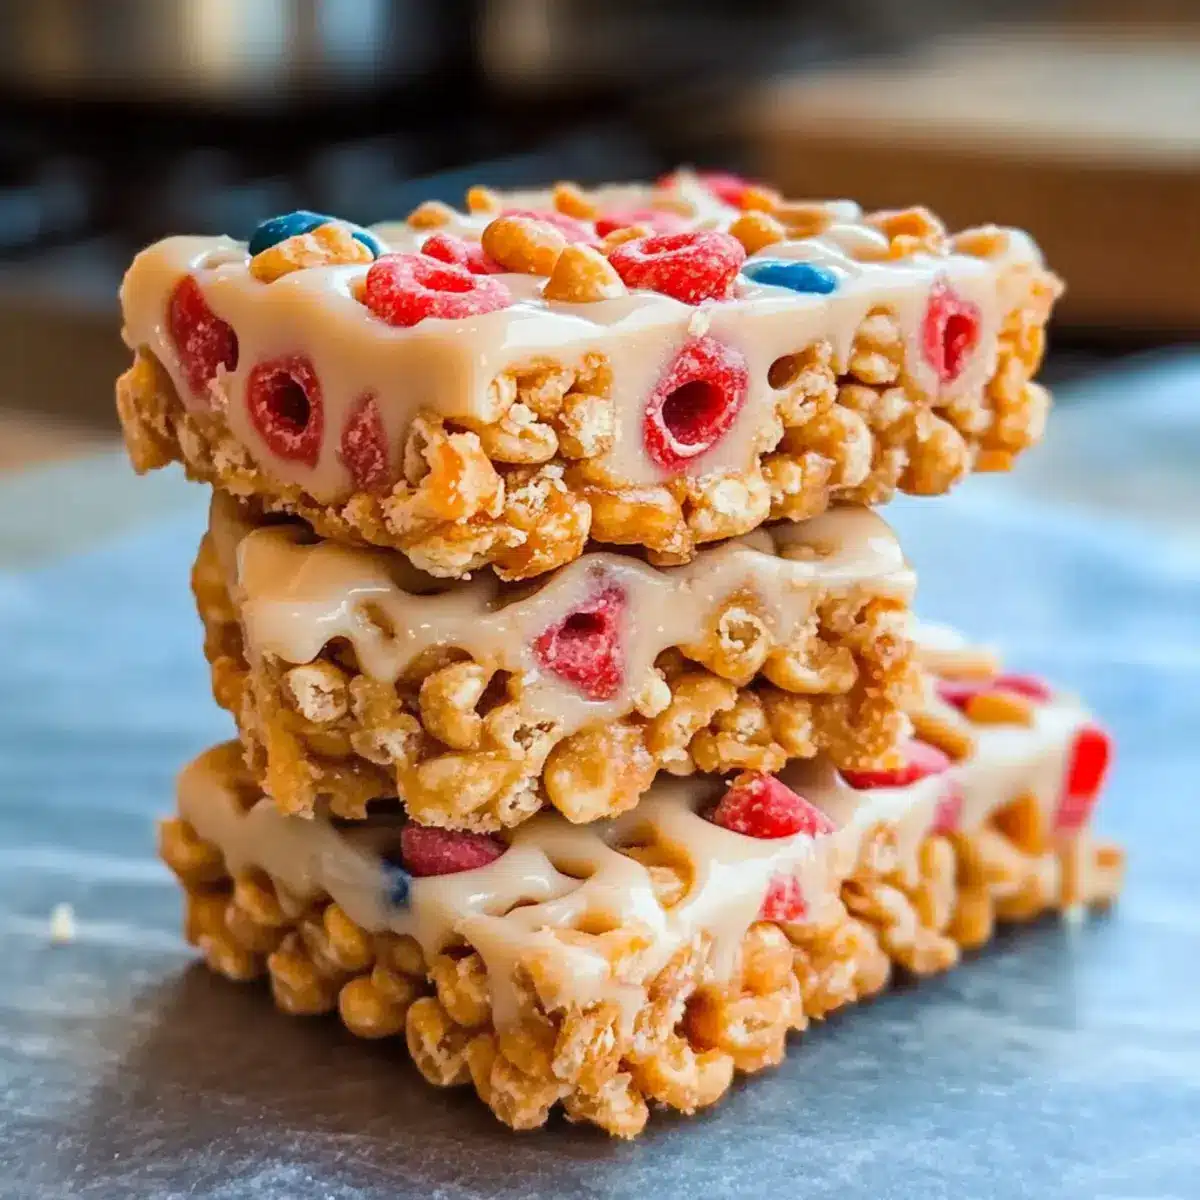
After 30 minutes, remove the pan from the freezer and lift out the bars using the overhanging parchment. Place on a cutting board and slice into desired shapes—rectangles or squares work well! Store your delicious homemade cereal bars in an airtight container at room temperature for a few days, or refrigerate for longer freshness.
Make Ahead Options
These delightful homemade cereal bars are perfect for meal prep enthusiasts looking to save time during busy weeknights! You can prepare the mixture up to 24 hours in advance; simply combine the cereal, nut butter, and liquid sweetener, then store it in an airtight container in the refrigerator. To maintain their delicious texture, press the mixture into the pan just before you’re ready to freeze or serve. When you’re ready to enjoy, take it out, press it firmly in the pan, and freeze for about 30 minutes. Slice into bars, and voilà—healthy, customizable snacks are ready to fuel your day!
Storage Tips for Cereal Bars Recipe
Room Temperature: Store bars in an airtight container at room temperature for up to 3 days. This is perfect for quick grab-and-go snacking.
Fridge: Keep your cereal bars in the refrigerator for up to a week to maintain freshness. Make sure they’re stored in an airtight container to prevent drying out.
Freezer: For longer storage, freeze the bars. Wrap each individually in plastic wrap and place them in a freezer-safe container for up to 3 months. Thaw before enjoying!
Reheating: If you like them warm, pop the bars in the microwave for 10-15 seconds. This will make them soft and chewy again, perfect for an indulge!
Cereal Bars Recipe Variations
Feel free to let your creativity shine as you give this recipe your own unique twist!
-
Chocolate Cereal Bars: Add 1/4 cup cocoa powder and dip in melted chocolate for a rich, indulgent treat that satisfies any sweet tooth.
-
Nutella Bars: Swap out nut butter for creamy Nutella, creating a luscious, chocolate-hazelnut delight your family will adore.
-
Strawberry Bars: Incorporate freeze-dried strawberries and drizzle with melted coconut butter—or even a chocolate ganache—for a fruity burst of flavor.
-
Cookie Dough Bars: Mix in mini chocolate chips with cashew butter for a playful cookie dough flavor. These are sure to be a hit with kids!
-
Peanut Butter Lovers: Stick to classic by using peanut butter and adding chopped peanuts for extra crunch—simple, satisfying, and oh-so-delicious.
-
Snickerdoodle Bars: Sprinkle cinnamon and sugar into the mix for a warm, spiced twist. Perfect for cozy mornings with a cup of coffee!
-
Birthday Cake Bars: Mix in sprinkles and a dash of vanilla extract for a festive touch that makes every day feel like a celebration.
-
S’mores Bars: Layer in crushed graham crackers and mini marshmallows to bring the campfire vibes right to your kitchen—who can resist s’mores?
If you’re considering more healthy options, think about incorporating ingredients from my Healthy Tuna Melt for a lovely contrast of flavors! Each of these variations opens the door to endless possibilities for enjoyment.
Expert Tips for Cereal Bars Recipe
-
Press Firmly: Ensure to press the mixture very firmly into the pan. This helps prevent crumbling after cutting the bars.
-
Nut Butter Choice: If you opt for alternatives to nut butter, just ensure they provide a similar texture to bind the ingredients together effectively.
-
Adjust Sweetness: Keep an eye on the sweetness level; adjusting the liquid sweetener can help you hit the sweet spot without compromising the consistency of your homemade cereal bars.
-
Experiment with Flavors: Feel free to get creative! Mix in spices or dried fruits to enhance the flavor profile and make your cereal bars recipe uniquely yours.
-
Storage Solutions: Make sure to store your bars in an airtight container to keep them fresh longer, either at room temperature or in the refrigerator.
What to Serve with Homemade Easy Cereal Bars?
These delightful cereal bars are ready to shine at snack time, but pairing them with the right accompaniments can take your treat to the next level.
-
Fresh Fruit: A light and refreshing side, fruits like bananas or berries add a burst of natural sweetness and color, perfect for balancing the chewy texture of the bars.
-
Greek Yogurt: Creamy and tangy, a dollop of Greek yogurt on the side enhances the crunchy experience of the bars, making for a protein-packed snack or breakfast.
-
Nut Milk: Pouring a glass of almond or oat milk provides a smooth, velvety contrast to the bar’s crunch, making it a delightful option for dipping or sipping.
-
Dark Chocolate Drizzle: A simple drizzle of melted dark chocolate elevates the homemade cereal bars to a dessert-like indulgence, satisfying any chocolate lover’s craving.
-
Trail Mix: A handful of crunchy trail mix offers an exciting variety of flavors and textures to snack on alongside your bars, perfect for an on-the-go combo.
-
Honey or Maple Syrup: A touch of honey or maple syrup drizzled over the bars can enhance their sweetness, making for a delightful touch if you’re seeking a sugary boost.
-
Nut Butter Dip: Enjoy a little nut butter on the side, giving you an irresistible creamy dip for each bite of cereal bar, adding both flavor and protein.
-
Iced Herbal Tea: A refreshing iced herbal tea completes the snack perfectly, offering a light, aromatic sipper that cleanses the palate between bites.
-
Cheese Slices: For a fun sweet-and-savory combo, pair your cereal bars with cheese slices for a more filling afternoon snack that balances flavors beautifully.
Let your creativity flow and enjoy experimenting with these delightful pairings, all designed to enhance your homemade cereal bars experience!
Cereal Bars Recipe FAQs
What type of cereal should I use for this recipe?
You can use any small flakes or shapes for this cereal bars recipe! I recommend Cheerios, Rice Krispies, or even Fruit Loops for a fun twist. Just ensure it’s a type that maintains its crunch and doesn’t get soggy quickly.
How long can I store these cereal bars?
If stored at room temperature in an airtight container, these cereal bars can last up to 3 days. However, for optimal freshness, keep them in the fridge for up to a week. Always make sure they’re sealed to prevent drying out!
Can I freeze the cereal bars?
Absolutely! Freezing is a great option. Individually wrap each bar in plastic wrap and place them in a freezer-safe container. They’ll stay good for up to 3 months. When you’re ready to enjoy, simply let them thaw at room temperature!
Why are my cereal bars crumbling?
If your bars crumble, it’s likely a matter of texture. Ensure you pressed the mixture firmly into the pan before freezing. If you’ve used an alternative nut butter, check that it’s thick enough to bind the ingredients well. If needed, add a little extra liquid sweetener to help hold everything together.
Are these cereal bars safe for my kids with nut allergies?
Great question! If your kids have nut allergies, you can substitute the nut butter with sunflower seed butter or a similar allergen-free spread. Just be sure to check other ingredients for any hidden allergens, especially the cereal.
What’s the best way to customize these bars?
Get creative! You can add in spices like cinnamon for warmth, mix in mini chocolate chips for sweetness, or fold in dried fruits for a chewy burst. Whatever flavors your family enjoys, go ahead and experiment—there are no limits with this cereal bars recipe!
Homemade Cereal Bars Recipe: Quick, Easy and Customizable Delights
Ingredients
Equipment
Method
- Prepare the pan by lining an 8-inch square baking pan with wax or parchment paper.
- Warm the nut butter in a small saucepan over low heat for 1-2 minutes.
- Combine the cereal with warmed nut butter and liquid sweetener in a mixing bowl.
- Transfer the mixture to the prepared baking pan and press down firmly.
- Place a second sheet of parchment paper on top and press down harder.
- Set in freezer for about 30 minutes to help bars hold their shape.
- Cut into desired shapes after removing from the freezer.
Leave a Reply