
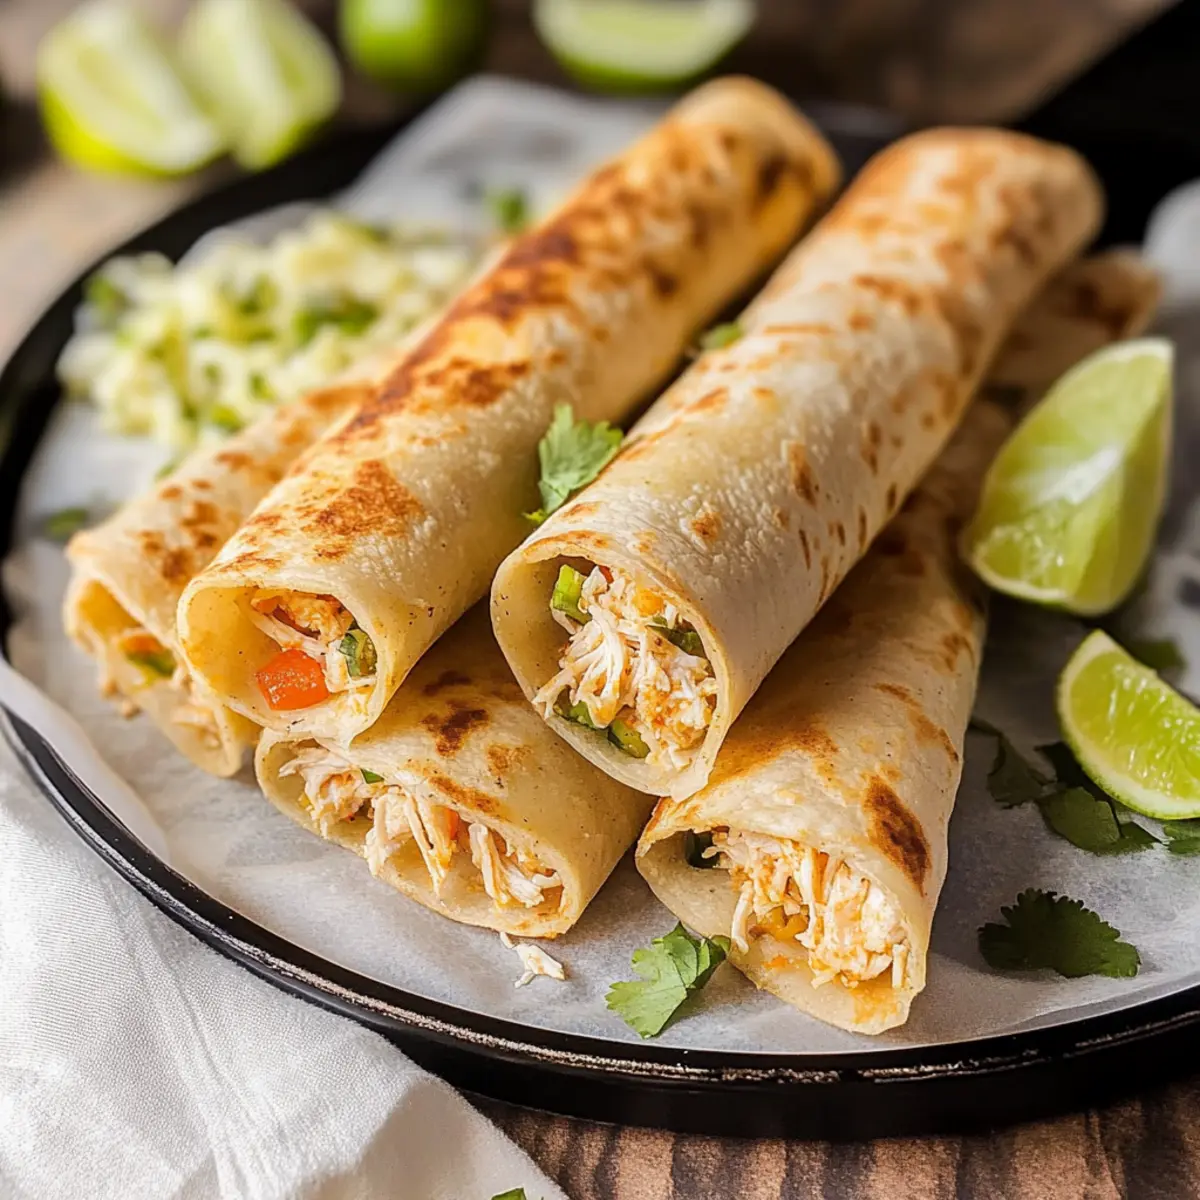
As I stood in my kitchen, the enticing aroma of sizzling chicken wafted through the air—what a delightful moment this was, a prelude to a mouthwatering feast! Today, I’m excited to share my take on Gluten-Free Chicken Taquitos, a recipe that brings together crispy, golden tortillas with a deliciously seasoned filling of shredded chicken and vibrant bell peppers. Not only is this easy taquito recipe a quick weeknight solution for those hectic evenings when cooking feels just out of reach, but it’s also tailored for anyone avoiding gluten and dairy. Who doesn’t love a guilt-free indulgence that satisfies those cravings? Grab your ingredients and prepare for a culinary adventure that will have your family and friends asking for seconds. So, are you ready to roll into the perfect taquito experience?
Why Choose Gluten-Free Chicken Taquitos?
Flavorful, each bite bursts with the savory goodness of spices and tender chicken, making these taquitos a hit for any meal.
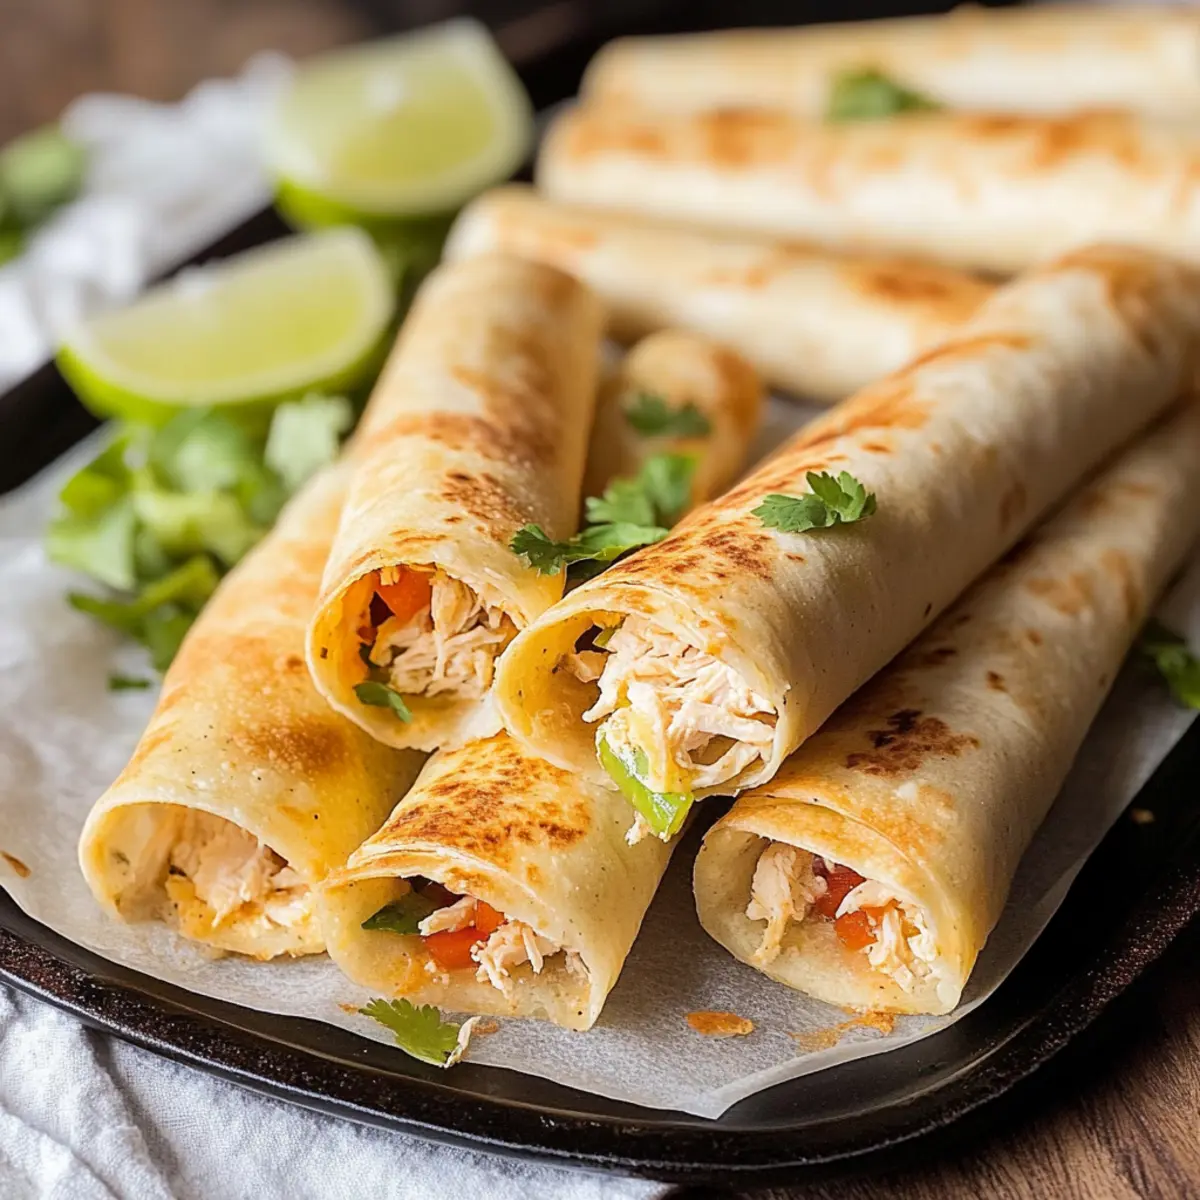
Crisp Texture: The golden tortillas offer a satisfying crunch, elevating your culinary experience.
Quick Preparation: Ideal for busy weeknights, you can whip these up in under 30 minutes!
Diet-Friendly: Perfect for gluten-free and dairy-free diets, ensuring everyone can enjoy.
Versatile Filling: Feel free to customize with your favorite veggies or spices; the possibilities are endless!
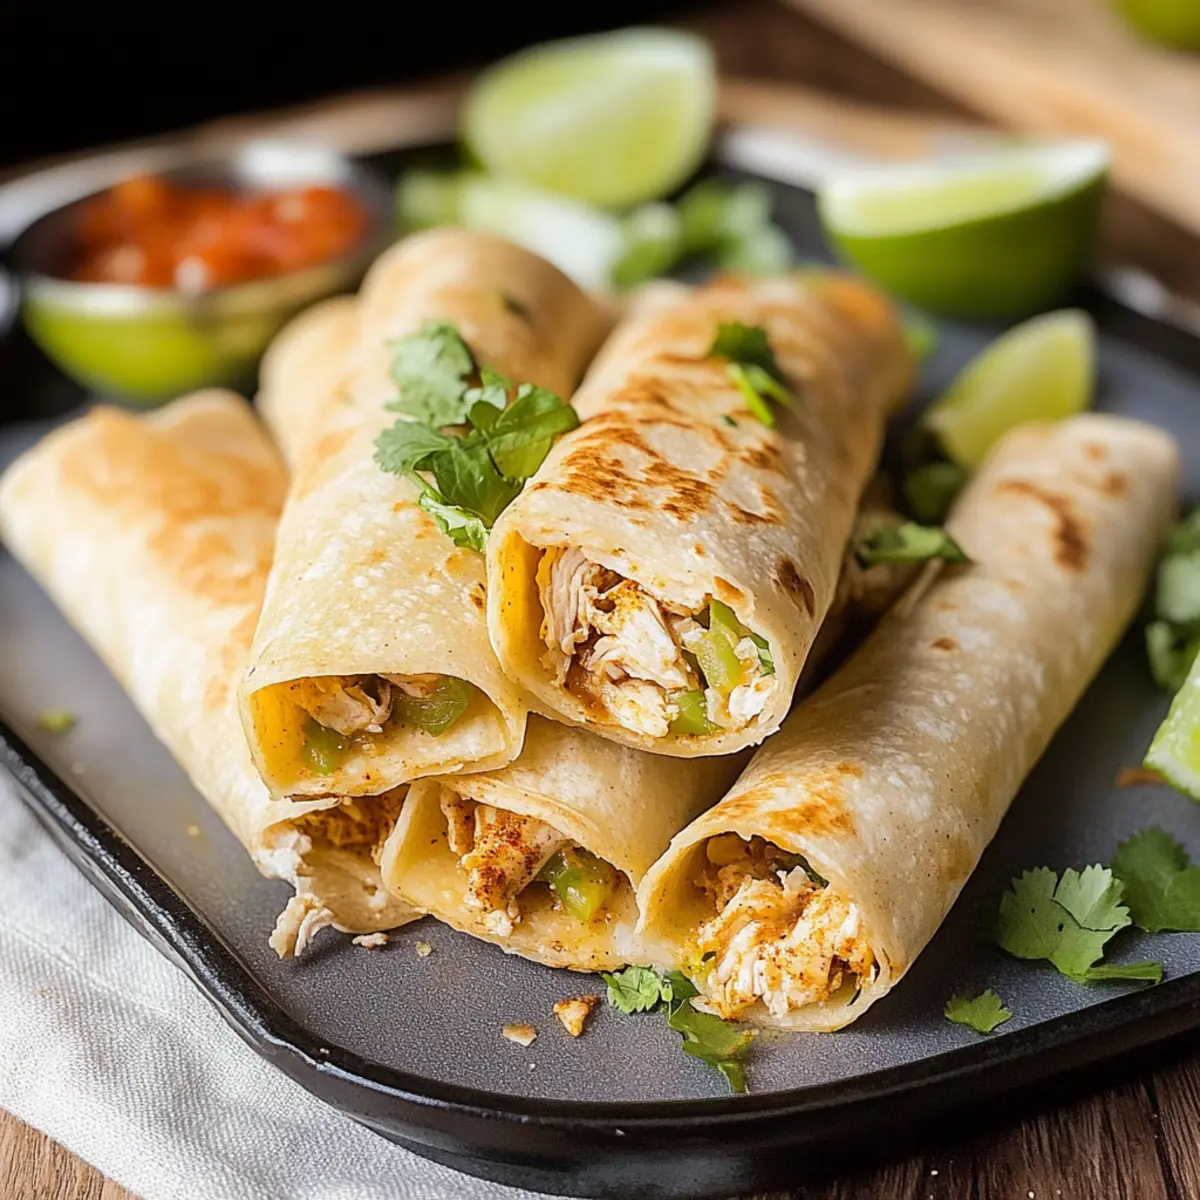
Serve these with fresh guacamole or salsa for an unbeatable combo—if you love this, try making these Cheesy Dynamite Chicken or Grilled Chicken Veggie delights!
Gluten-Free Chicken Taquitos Ingredients
For the Taquitos
• Cassava Flour Tortillas – These are the perfect gluten-free base; brands like Siete Foods work wonderfully.
• Shredded Chicken – A hearty main protein; using rotisserie chicken makes it extra convenient.
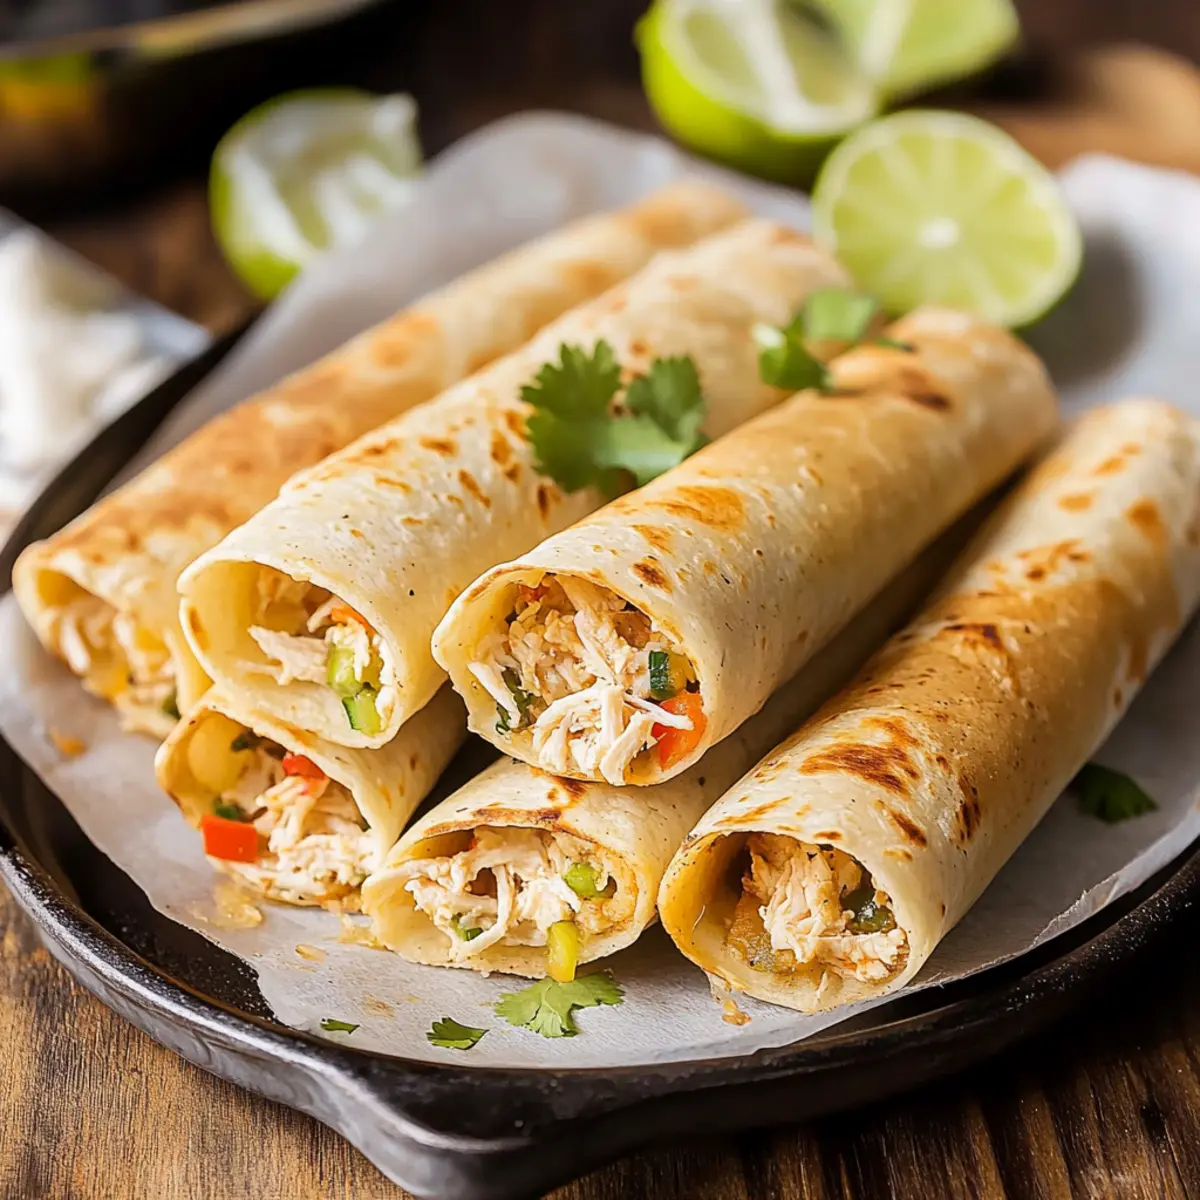
• Diced Bell Pepper – Adds vibrant color and sweetness; feel free to use different bell pepper hues!
• Diced Red Onion – Contributes a mild, sweet flavor; yellow or white onions can be used if needed.
• Mayo – Brings creaminess to the filling; avocado oil mayo is an excellent choice, or swap it for Greek yogurt for a twist.
• Lime Juice – Brightens up the flavors; use fresh-squeezed juice for the best taste.
• Chopped Cilantro – Introduces a refreshing herbal aroma; you can omit it or replace it with parsley if you’re not a fan.
• Chili Powder – Packs a warm, spicy kick to the filling; adjust based on your heat preference or use taco seasoning as an alternative.
• Garlic Powder – Ensures depth of flavor; fresh minced garlic can be used but may change the texture slightly.
• Salt – Enhances the overall flavor; customize the amount to your preference.
Optional Dipping Sauce
• Guacamole – A classic accompaniment that adds creaminess; make it fresh for a richer flavor.
• Salsa – Provides a zesty kick; choose your preferred heat level.
Step‑by‑Step Instructions for Gluten Free Chicken Taquitos
Step 1: Prepare the Filling
In a large mixing bowl, combine shredded chicken, diced bell pepper, diced red onion, mayo, lime juice, chopped cilantro, chili powder, garlic powder, and salt. Stir the mixture thoroughly until all ingredients are well combined, making sure the spices are evenly distributed for an explosion of flavor in each taquito. This filling can be prepared ahead of time and stored in the refrigerator while you set up your cooking area.
Step 2: Preheat the Skillet
Place a cast iron or nonstick skillet over medium heat, allowing it to warm for about 3–4 minutes. Lightly spray the skillet with avocado oil to prevent sticking and give the taquitos a beautifully crisp finish. As the skillet heats up, you’ll want to check for a faint shimmer on the surface which indicates it’s ready for cooking.
Step 3: Soften the Tortillas
To ensure the cassava flour tortillas are pliable, microwave two at a time wrapped in a damp paper towel for 15–20 seconds. This will help prevent them from cracking when filled. It’s vital to keep the tortillas warm and moist while you prepare the rest of the ingredients, so you might want to cover them with a kitchen towel until ready to assemble.
Step 4: Assemble the Taquitos
Take a softened tortilla and place a spoonful of the chicken filling along the center. Carefully roll the tortilla tightly around the filling and secure it snugly to keep the contents inside. Repeat this for each tortilla, placing rolled taquitos seam-side down on a clean plate so they’re ready to cook. This gluten-free chicken taquito recipe comes together beautifully with each bite packed with flavor.
Step 5: Cook the Taquitos
Place 3-4 taquitos in the preheated skillet, ensuring they are not overcrowded to achieve an even crispiness. Cook for about 5 minutes or until the undersides turn a golden brown. Gently flip the taquitos using tongs, then cook for an additional 4–5 minutes until both sides are crisp and irresistibly crunchy, enhancing their appeal for your dinner table.
Step 6: Serve and Enjoy
Once the Gluten Free Chicken Taquitos are golden and crispy, carefully remove them from the skillet and place them on a bed of fresh romaine lettuce. Serve immediately with vibrant guacamole and zesty salsa on the side, garnishing with extra cilantro and lime wedges for a burst of freshness. Enjoy this satisfying meal that’s sure to be a hit with everyone at the table!
Expert Tips for Gluten-Free Chicken Taquitos
• Warm Tortillas First: This prevents cracking when you roll them; warming on a damp paper towel makes all the difference for your gluten-free taquitos.
• Don’t Overfill: Fill the tortillas with just the right amount of chicken mixture to ensure they roll up easily and don’t burst during cooking.
• Correct Heat Level: Cook on medium heat to avoid burning the tortillas; too high can lead to a charred outer layer while the insides remain cold.
• Single Layer Cooking: Ensure taquitos are cooked in a single layer in the skillet for even browning and crispiness—crowding leads to soggy results.
• Use Quality Ingredients: Opt for high-quality cassava flour tortillas and fresh produce to enhance flavor and texture in your chicken taquito recipe.
Gluten Free Chicken Taquitos Variations
Feel free to let your culinary creativity shine as you play with these delightful variations!
- Vegetarian Option: Substitute shredded chicken with black beans or refried beans for a hearty vegetarian taquito.
- Spicy Kick: Add diced jalapeños or a dash of hot sauce to your filling for a fiery flavor boost.
- Different Tortillas: Experiment with almond flour tortillas for a nutty twist that stays gluten-free.
- Herbed Bliss: Incorporate fresh herbs like oregano or thyme into your filling for a fragrant lift.
- Zesty Citrus: Swap lime juice for fresh orange juice, adding a sweet and tangy profile to your taquitos.
- Crunchy Topping: Top your taquitos with crushed tortilla chips before final cooking for extra texture and crunch.
- Creamy Avocado: For a rich filling, mash avocado into the mix instead of mayo for a luscious dairy-free alternative.
Don’t forget, if you loved these, you might enjoy trying out my Poblano Chicken Tortilla for something new, or treat yourself to Chicken Taquitos Crunchy for a texture contrast!
How to Store and Freeze Gluten-Free Chicken Taquitos
Fridge: Store cooked gluten-free chicken taquitos in an airtight container for up to 3 days. Reheat in the oven to regain their crispiness.
Freezer: For longer storage, freeze taquitos in a single layer on a baking sheet. Once frozen, transfer to a resealable bag for up to 2 months.
Reheating: To reheat frozen taquitos, bake them at 375°F (190°C) for 15-20 minutes until heated through and crisp. Avoid microwaving to maintain their crunch.
Preparation Tips: You can assemble the taquitos ahead of time and keep them covered in the fridge for up to 24 hours before cooking, making weeknight meals even easier!
What to Serve with Gluten-Free Chicken Taquitos
The perfect taquito experience is just a few side dishes away, creating a delightful, memorable meal for everyone.
-
Fresh Guacamole:
Creamy and rich, fresh guacamole adds the ultimate contrast to the crispy taquitos, enhancing the flavor profile beautifully. -
Zesty Salsa:
This vibrant accompaniment brings a zesty punch that complements the savory taquitos; don’t forget to choose a heat level you love! -
Crisp Romaine Salad:
A crunchy salad tossed with a light vinaigrette adds freshness and balances out the richness of the taquitos, making every bite delightful. -
Black Bean Salad:
Packed with protein and fiber, a black bean salad drizzled with lime offers a refreshing side that pairs perfectly with the taquitos. -
Spicy Mexican Corn:
Sweet corn with a hint of spice is a delightful textural contrast to the taquitos, rounding out your meal with a sweet and savory balance. -
Iced Hibiscus Tea:
This refreshing drink, with its tart yet slightly sweet flavor, perfectly cleanses the palate between bites, enhancing your dining experience.
Make Ahead Options
These Gluten-Free Chicken Taquitos are perfect for meal prep enthusiasts! You can prepare the filling up to 3 days in advance by mixing together shredded chicken, bell pepper, red onion, mayo, lime juice, cilantro, chili powder, garlic powder, and salt, then store it in an airtight container in the refrigerator. This not only saves you time during the week but also ensures the flavors meld beautifully. To maintain quality, refrigerate the tortillas separately and wrap them tightly to prevent drying out. When you’re ready to serve, simply soften the tortillas and roll them with the filling, then cook as directed, and enjoy restaurant-quality results with minimal effort!
Gluten-Free Chicken Taquitos Recipe FAQs
What type of tortillas should I use for gluten-free chicken taquitos?
I recommend using cassava flour tortillas, as they provide the best texture and flavor for gluten-free chicken taquitos. Brands such as Siete Foods or Rise & Puff have fantastic options that hold up well during cooking.
How should I store leftover taquitos, and how long will they last?
Store cooked gluten-free chicken taquitos in an airtight container in the refrigerator for up to 3 days. To reheat and restore their crispy texture, pop them in the oven rather than the microwave, which can make them soggy.
Can I freeze gluten-free chicken taquitos? If so, how?
Absolutely! To freeze, place the assembled taquitos in a single layer on a baking sheet and freeze until solid. Then, transfer them to a resealable bag, where they can stay good for up to 2 months. When ready to enjoy, bake the frozen taquitos at 375°F (190°C) for 15-20 minutes until heated through and crispy.
What should I do if my tortillas keep cracking while rolling?
You can avoid cracking by warming the tortillas first! Simply wrap them in a damp paper towel and microwave for 15-20 seconds. This makes them pliable and more manageable when rolling around your delicious filling.
Are there any common allergies I should be aware of with this recipe?
This recipe is designed to be gluten-free, dairy-free, and Paleo-friendly, making it suitable for many dietary restrictions. However, if anyone is allergic to specific ingredients like chicken or certain spices, feel free to omit or substitute those according to your needs. Always double-check ingredient labels for potential allergens!
Can I meal prep these taquitos ahead of time?
Of course! You can assemble the taquitos up to 24 hours in advance. Simply keep them covered in the refrigerator until you’re ready to cook them. This makes weeknight meals even easier when you’re short on time.
Crispy Gluten-Free Chicken Taquitos You’ll Crave Tonight
Ingredients
Equipment
Method
- In a large mixing bowl, combine shredded chicken, diced bell pepper, diced red onion, mayo, lime juice, chopped cilantro, chili powder, garlic powder, and salt. Stir thoroughly until well combined.
- Place a cast iron or nonstick skillet over medium heat for about 3-4 minutes. Lightly spray with avocado oil.
- Microwave two tortillas at a time wrapped in a damp paper towel for 15-20 seconds to soften.
- Take a softened tortilla, place a spoonful of filling, and roll snugly. Place rolled taquitos seam-side down on a clean plate.
- Place 3-4 taquitos in the skillet, cooking for about 5 minutes until golden brown. Flip and cook for an additional 4-5 minutes until crispy.
- Carefully remove from skillet and serve on a bed of romaine lettuce with guacamole and salsa on the side.
Leave a Reply