
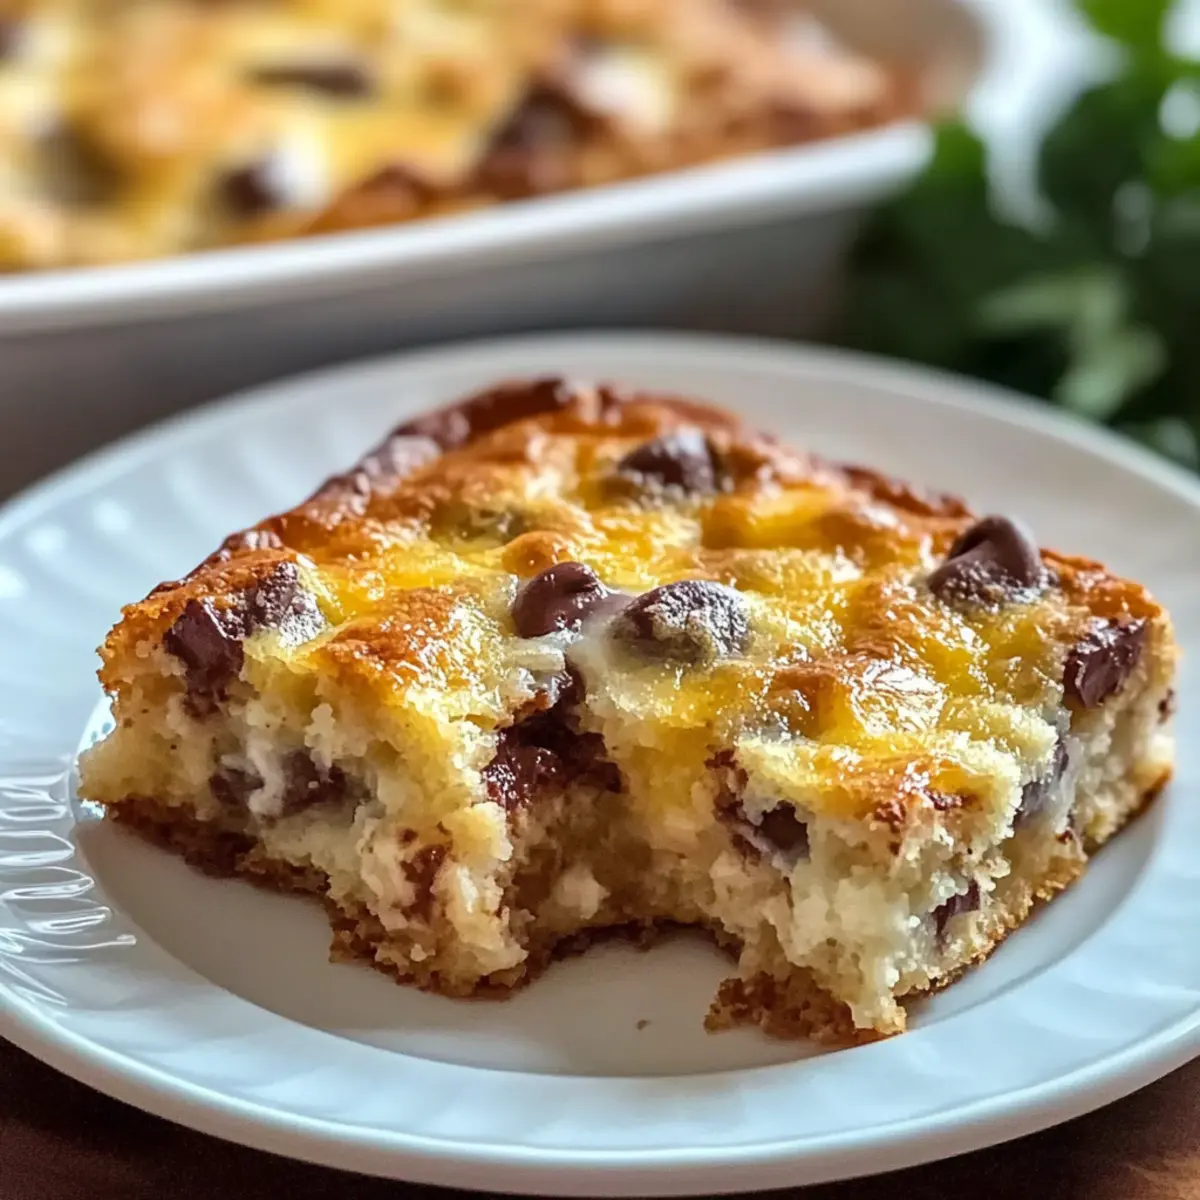
There’s something magical about the smell of freshly baked cookies wafting through the house, instantly transforming an ordinary day into something special. Each time I mix the ingredients for these Classic Chocolate Chip Cookies, I’m transported back to my childhood—when I’d eagerly wait by the oven, heart racing at the thought of warm, gooey goodness. This recipe not only guarantees soft and chewy perfection, but it also caters to everyone, featuring gluten-free variations for those who need them.
With a quick prep time, these cookies are perfect for last-minute gatherings or cozy family nights. Just imagine biting into a warm cookie, the chocolate melting in your mouth, no more reaching for store-bought treats! Are you ready to bake a batch that will transport you right back to those sweet moments?
Why Are These Cookies So Irresistible?
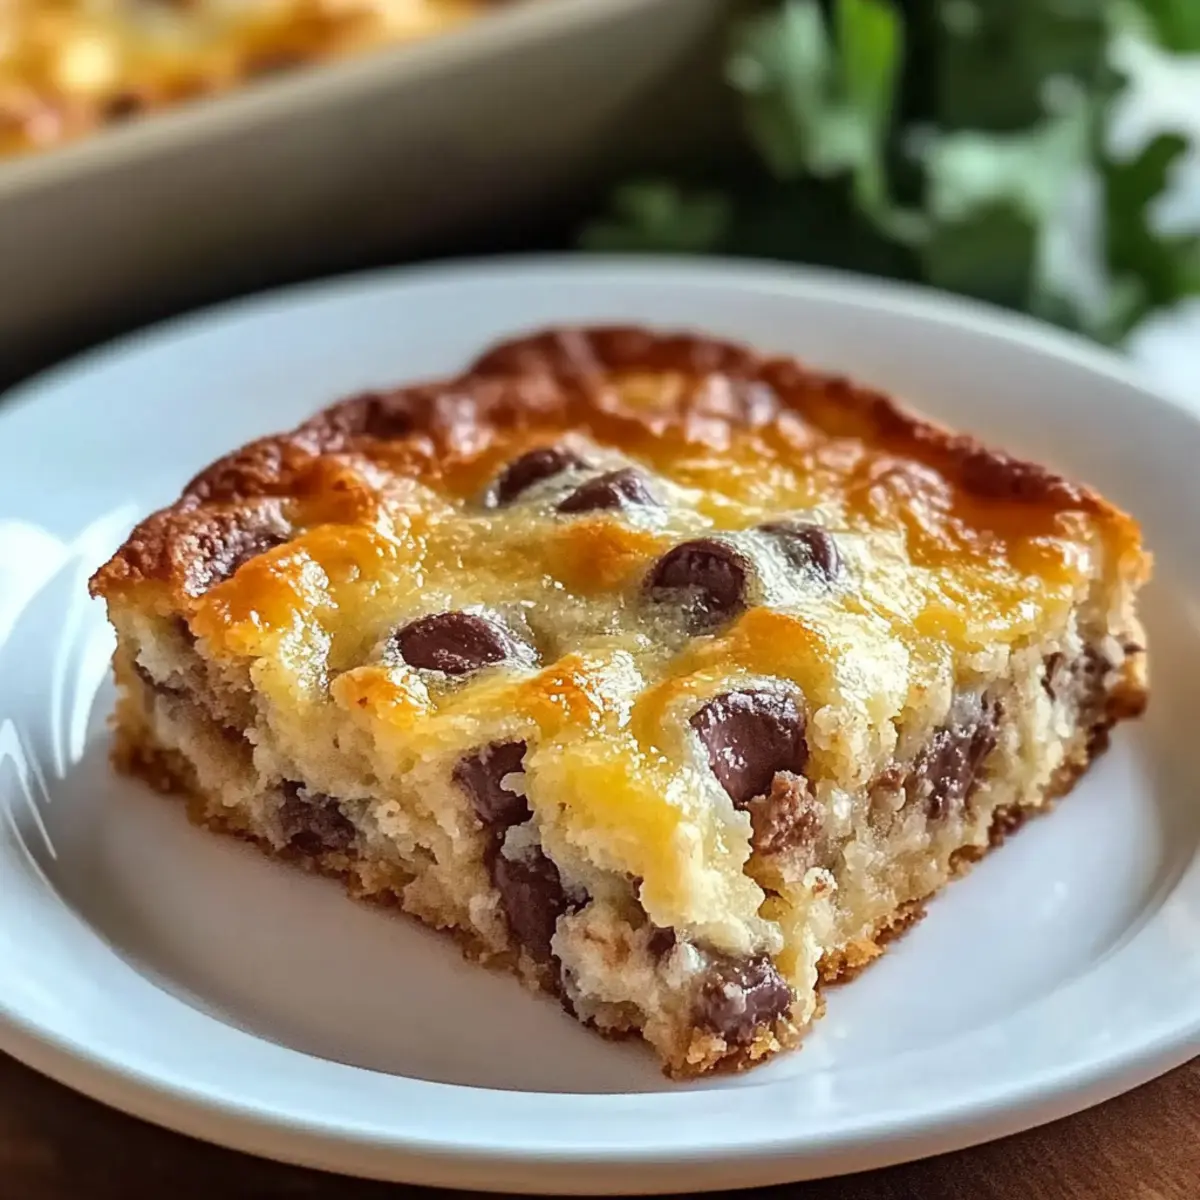
Nostalgic, the aroma of these cookies fills your home with warmth, bringing back fond childhood memories. Versatile, whether you like them soft and chewy or with gluten-free options, there’s a perfect fit for everyone. Quick and Easy, this straightforward recipe takes mere minutes to prepare—ideal for busy days! Mouthwatering, each bite reveals melt-in-your-mouth chocolate that satisfies even the sweetest cravings. If you’re in the mood for more delightful recipes, check out my Easy Sausage and Egg Casserole for a hearty breakfast or my Cheesy Egg Toast for a tasty twist!
Chocolate Chip Cookie Ingredients
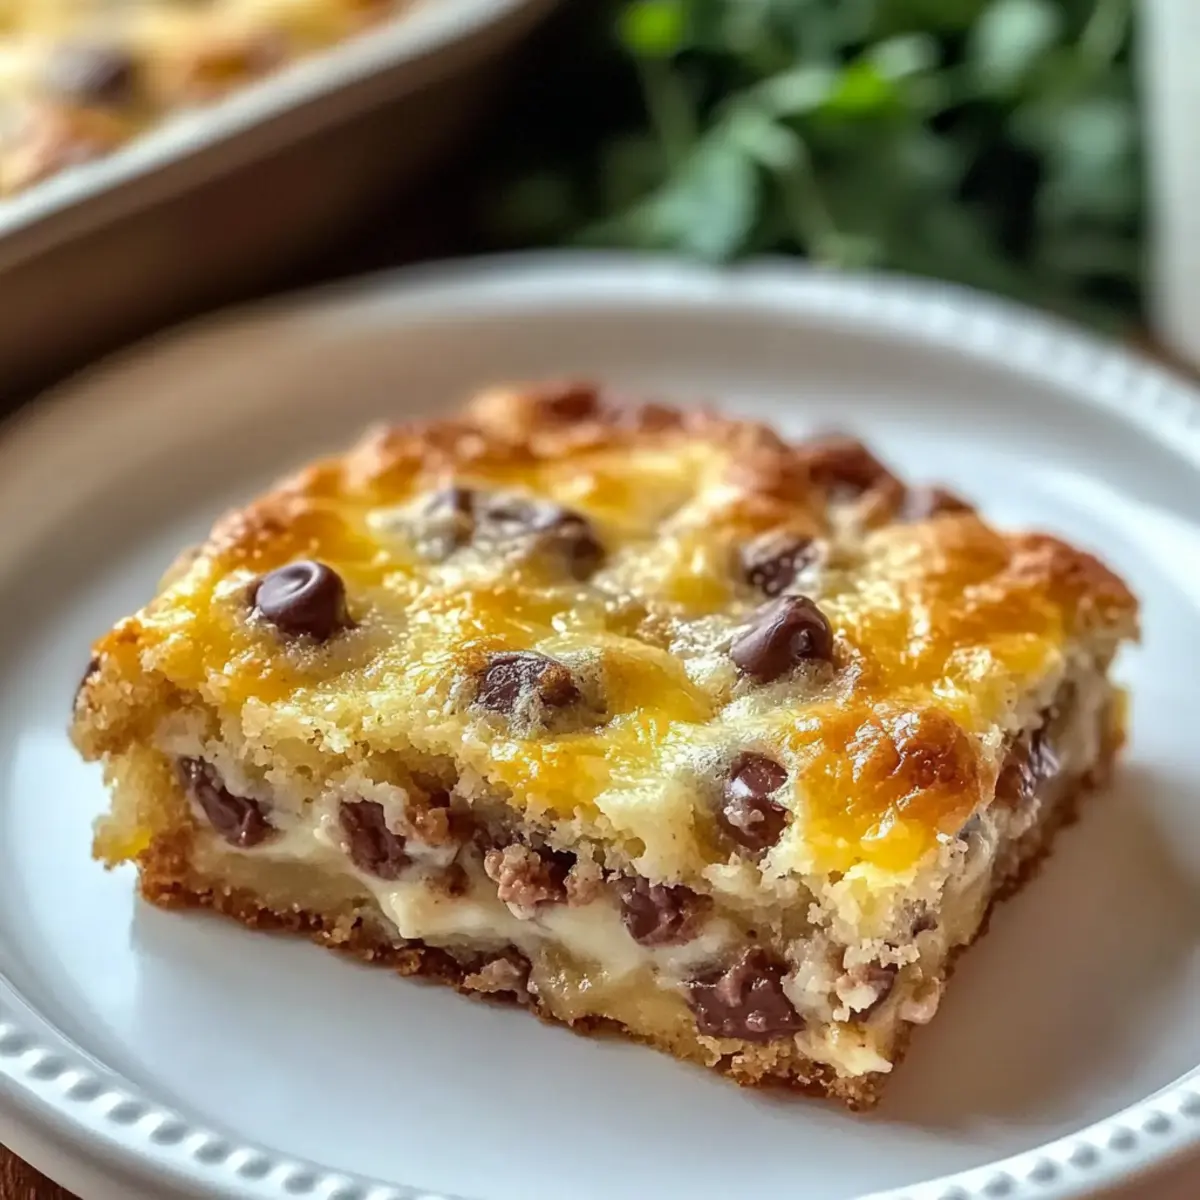
• Classic chocolate chip cookies are made with simple ingredients you likely already have in your pantry!
For the Batter
- All-purpose Flour – Provides structure; substitute with a gluten-free flour blend for a gluten-free version.
- Baking Soda – Acts as a leavening agent for a light texture; necessary for rising, no substitute needed.
- Salt – Enhances flavor; use sea salt for a gourmet touch.
- Unsalted Butter – Adds richness and moisture; can be swapped with coconut oil for a dairy-free option.
- Brown Sugar – Contributes moisture and deep caramel flavor; coconut sugar works for lower glycemic needs.
- Granulated Sugar – Sweetens the dough; alternative sweeteners can be used if preferred.
- Eggs – Binds the ingredients and helps with texture; replace with flax eggs for a vegan alternative.
- Vanilla Extract – Adds depth; pure vanilla is recommended for the best taste.
For the Chocolate
- Chocolate Chips – Provide that irresistible sweetness and texture; choose dark, semi-sweet, or dairy-free chips based on your preference.
Step-by-Step Instructions for Easy Sausage and Egg Casserole
Step 1: Preheat and Prepare Pans
Begin by preheating your oven to 350°F (175°C). While the oven warms up, grease a 9×13-inch baking dish with non-stick spray or butter to ensure an easy release of the casserole. This Easy Sausage and Egg Casserole will bake to golden perfection, so preparing your dish now will save you time later.
Step 2: Cook the Sausage
In a large skillet over medium heat, add the sausage and cook for about 5–7 minutes, using a wooden spoon to break it into crumbles. Stir frequently until the sausage is browned and cooked through, ensuring no pink remains. Once done, drain any excess fat and set the cooked sausage aside to cool slightly before adding it to the casserole mix.
Step 3: Whisk the Eggs
In a large mixing bowl, crack the eggs and add milk, salt, and pepper. Using a whisk, beat the mixture vigorously for about 2 minutes, until fully combined and frothy. This step is essential for a fluffy texture in your Easy Sausage and Egg Casserole. Set the bowl aside to continue to the next tasty layer.
Step 4: Combine Ingredients
In another bowl, mix together the cubed bread and shredded cheese. Add the cooked sausage to this mixture, ensuring it’s evenly distributed. Pour the egg mixture over the bread, sausage, and cheese, gently folding everything together. Ensure all bread pieces are well-coated with the egg mixture to achieve a moist casserole.
Step 5: Bake Your Casserole
Carefully pour the combined ingredients into the prepared baking dish. Spread the mixture evenly and smooth the top with a spatula. Place the dish in the preheated oven and bake for 30–35 minutes, or until the casserole is set in the center and lightly golden on top. The aroma will start to fill your kitchen, giving you a hint of the delicious breakfast ahead.
Step 6: Cool and Serve
Once your Easy Sausage and Egg Casserole is done baking, remove it from the oven and allow it to cool for about 5 minutes. This resting time makes slicing easier. Cut into squares for serving, and feel free to garnish with fresh herbs or a sprinkle of cheese, if desired, before enjoying this warm, hearty breakfast delight.
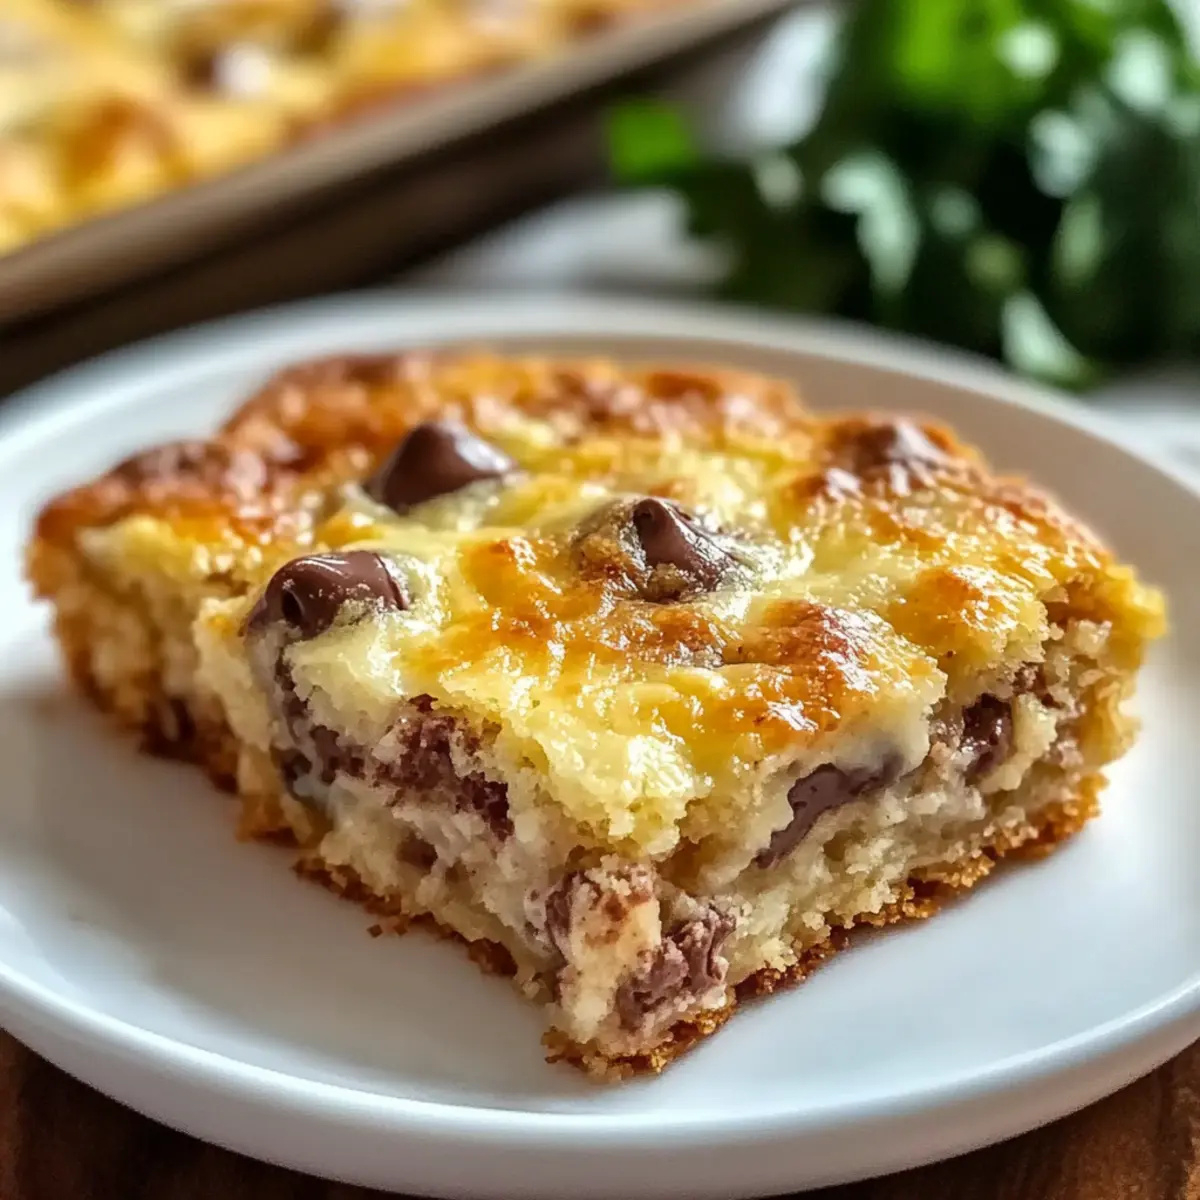
Easy Chocolate Chip Cookie Variations
Feel free to get creative and put your own spin on these delightful cookies!
-
Gluten-Free: Substitute all-purpose flour with a gluten-free flour blend for a safe and scrumptious dessert option that’s just as satisfying.
-
Dairy-Free: Swap unsalted butter for coconut oil or vegan butter to make these cookies dairy-free while still keeping that rich flavor.
-
Nutty Crunch: Add chopped walnuts or pecans to the dough for an added layer of crunch that perfectly complements the gooey chocolate.
-
Oatmeal Twist: Mix in quick oats to create a hearty texture that’s both chewy and delicious; the oats soak up the chocolate bliss beautifully.
-
Sweet and Savory: Toss in a pinch of sea salt on top just before baking to enhance the chocolate’s sweetness—this little touch is sure to impress!
-
Spice It Up: Incorporate a dash of cinnamon or even chili powder for a surprising, warm flavor that adds an exciting kick to each cookie.
-
Flavor Infusions: Use different flavored extracts, such as almond or coffee, instead of vanilla for a delightful twist on the classic cookies.
-
Chocolate Combo: Combine dark, milk, and white chocolate chips for a triple chocolate treat, catering to all chocolate lovers in your family.
As you embark on this baking adventure, don’t forget to try my Sweet Potato Casserole or the timeless Green Bean Casserole for more tasty ways to elevate your meals!
Expert Tips for Classic Chocolate Chip Cookies
-
Chill the Dough: Refrigerating the dough for at least 30 minutes enhances the flavor and texture, resulting in thicker, chewier cookies.
-
Don’t Overmix: Once you add the dry ingredients, mix until just combined. Overmixing can lead to tough cookies instead of the intended soft and chewy texture.
-
Use Room Temperature Ingredients: Using eggs and butter at room temperature helps create a better emulsion, leading to a more uniform batter and dough.
-
Customize Your Cookies: Feel free to experiment with different types of chocolate chips or add nuts for a unique twist on this classic chocolate chip cookie recipe.
-
Watch the Baking Time: Bake until the edges are golden, even if the center looks slightly underbaked. They’ll continue to set as they cool on the baking sheet.
-
Store Properly: Keep cookies in an airtight container at room temperature for up to a week to maintain freshness and softness.
Storage Tips for Classic Chocolate Chip Cookies
Room Temperature: Store your cookies in an airtight container at room temperature for up to 1 week. This keeps them fresh and soft, ready for snacking anytime!
Fridge: If you prefer a firmer texture, store them in the fridge for up to 2 weeks, but let them sit out for a few minutes before enjoying to regain their chewiness.
Freezer: For longer-lasting treats, freeze the cookies in a single layer on a baking sheet. Once frozen, transfer them to a zip-top bag and store for up to 3 months. Thaw at room temperature before enjoying.
Reheating: To enjoy warm cookies, briefly microwave them for about 10-15 seconds. Refreshing your classic chocolate chip cookies will bring back the warm, gooey goodness that makes them irresistible!
What to Serve with Classic Chocolate Chip Cookies
There’s nothing quite like the sweet allure of freshly baked cookies to inspire a delightful meal spread.
- Cold Glass of Milk: The classic pairing! The creamy richness perfectly complements the warm, gooey chocolate of the cookies.
- Ice Cream Scoop: Vanilla or chocolate ice cream takes dessert to another level, creating a dreamy, melt-in-your-mouth experience. Imagine the bliss of cookie and ice cream in every bite!
- Fruit Salad: Bright, fresh fruits add a refreshing contrast to the sweetness of the cookies. Strawberries or blueberries bring both color and tang!
- Decadent Hot Chocolate: Warm, rich hot chocolate is a cozy companion for your cookies. This comforting combination is perfect for chilly evenings.
- Coffee or Espresso: A nice brew balances the sweetness with a bold flavor, making every cookie taste even better with each sip.
- Nutty Trail Mix: The crunch of nuts and dried fruits adds texture and depth to your dessert table. Consider a mix with dark chocolate pieces for a harmonious blend!
- Mini Cheesecakes: Creamy and tangy, these delightful cakes create an elegant dessert experience alongside your cookies for a special touch.
- Spiced Chai Tea: The warm spices in chai tea enhance the flavors of the cookies, making for a delightful afternoon treat.
- Lemon Bars: Tangy and sweet, their refreshing zest provides a wonderful contrast—perfect for elevating your cookie experience!
Make Ahead Options
These Classic Chocolate Chip Cookies are perfect for busy home cooks looking to save time! You can prepare the cookie dough up to 3 days in advance and refrigerate it in an airtight container. This allows the flavors to meld beautifully; just be sure to let it sit at room temperature for about 10-15 minutes before baking to soften slightly. Alternatively, if you want to prep even further, roll the dough into balls and freeze them for up to 3 months. When you’re ready to bake, simply place the frozen dough on a baking sheet and add a couple of extra minutes to the bake time for fresh, warm cookies that taste just as delicious as if they were made that same day!
Classic Chocolate Chip Cookies Recipe FAQs
What type of flour should I use for chocolate chip cookies?
All-purpose flour provides the ideal structure for classic chocolate chip cookies. If you’re looking for a gluten-free option, I recommend using a certified gluten-free flour blend that is designed for baking, ensuring the best results.
How should I store my chocolate chip cookies?
Store your chocolate chip cookies in an airtight container at room temperature for up to 1 week. This keeps them fresh and maintains their soft texture, perfect for when those cravings hit! If you prefer them firmer, you can refrigerate them for up to 2 weeks, just remember to let them warm up a bit before enjoying.
Can I freeze chocolate chip cookie dough?
Absolutely! To freeze your cookie dough, scoop the cookie portions onto a lined baking sheet and freeze them in a single layer until firm. Then, transfer the frozen dough balls to a zip-top bag and store them for up to 3 months. When you’re ready to bake, just preheat your oven and bake straight from the freezer; you might need to add an extra minute or two to the baking time.
Why didn’t my cookies spread while baking?
If your cookies didn’t spread, it could be due to a few reasons. Perhaps the dough was too cold, so I recommend letting it sit at room temperature for about 10-15 minutes before baking. Additionally, be sure you’re using the right ratios of butter and flour; too much flour will lead to cookies that are too dense. If necessary, check your measurements carefully next time!
Are these cookies safe for people with nut allergies?
While classic chocolate chip cookies can be made nut-free, it’s important to ensure your other ingredients, especially chocolate chips, are free from cross-contamination. Always choose brands that explicitly state they are nut-free if allergies are a concern. If you’re baking for someone with allergies, feel free to opt for dairy-free chocolate chips and other substitutions to cater to their needs.
What are the best chocolate chip options for these cookies?
For classic chocolate chip cookies, semi-sweet chocolate chips are a traditional favorite, lending a nice balance of sweetness. However, feel free to experiment with dark chocolate for a richer flavor or even milk chocolate for those who prefer a sweeter bite. You can also mix in some white chocolate chips for a delightful contrast!
Easy Sausage and Egg Casserole: A Cozy Breakfast Delight
Ingredients
Equipment
Method
- Preheat your oven to 350°F (175°C). Grease a 9x13-inch baking dish.
- In a skillet over medium heat, cook the sausage for 5-7 minutes until browned. Drain excess fat.
- In a mixing bowl, whisk together the eggs, milk, salt, and pepper until frothy.
- In another bowl, combine cubed bread and shredded cheese. Mix in the cooked sausage, then add the egg mixture.
- Pour the mixture into the prepared baking dish and smooth the top. Bake for 30-35 minutes until golden.
- Allow to cool for 5 minutes, slice into squares, and serve.
Leave a Reply