
Early mornings can feel like a mini crisis when you’re racing against the clock and craving something nutritious. That’s where these Three-Ingredient Peanut Butter Yogurt Bowls come to the rescue! With just a handful of ingredients, you can whip up a creamy and protein-packed delight that’s perfect for breakfast, a snack, or even a light dessert. This versatile recipe not only satisfies those afternoon cravings but can also be customized to suit everyone’s taste buds—making it a family favorite. Whether you’re layering on fresh fruits, a sprinkle of chocolate chips, or even a drizzle of honey, you’ll discover a delicious way to brighten up your day. Ready to dive into this easy, heartwarming recipe? Let’s get mixing!
Why You’ll Love Peanut Butter Yogurt Bowls
Simplicity at Its Core: With just three simple ingredients, you’ll have a deliciously creamy treat in no time. Perfect for those busy mornings!
Protein-Packed Delight: Rich in protein and healthy fats, these bowls will keep you energized throughout the day. A great option for breakfast or post-workout snacks!
Endless Customization: From bananas to chocolate chips, you can personalize this recipe to meet your cravings and dietary needs. Try adding fresh berries or crunchy granola for a fun twist!
Family-Friendly: This recipe appeals to kids and adults alike, creating a wholesome bonding experience in the kitchen. It’s a fantastic way to introduce healthy eating habits to your family.
Meal Prep Dream: Great for make-ahead snacks, you can store these in jars for convenient grab-and-go options during the week. For another quick and healthy snack, don’t miss out on these Yogurt Peanut Butter treats!
Peanut Butter Yogurt Bowls Ingredients
• For the Yogurt Base
- Greek Yogurt – A creamy base providing protein and tangy flavor; swap for non-dairy yogurt for a vegan option.
- Smooth Peanut Butter – Adds rich flavor and creaminess; use almond butter or sunflower seed butter if you have allergies.
- Honey – A sweetener that balances the tang from yogurt; for infants, substitute with maple syrup to avoid honey risks.
• For the Toppings
- Banana – Slices add natural sweetness and creaminess; try using ripe bananas for extra flavor.
- Chocolate Chips – Perfect for a sweet touch; use dark chocolate for a healthier option.
- Peanuts – Add crunch and extra protein; roasted peanuts enhance the flavor.
- Berries – Fresh strawberries, blueberries, or raspberries lend a vibrant color and freshness.
- Granola – For a delightful crunch, sprinkle some for added texture and flavor; choose low-sugar options for healthier bites.
- Sprinkles and Oreos – A fun addition for kids; ideal for treating the sweet tooth and making the bowls visually appealing.
These Peanut Butter Yogurt Bowls are not only simple and delicious but also a versatile base for your creativity!
Step‑by‑Step Instructions for Peanut Butter Yogurt Bowls & Pots
Step 1: Combine the Base
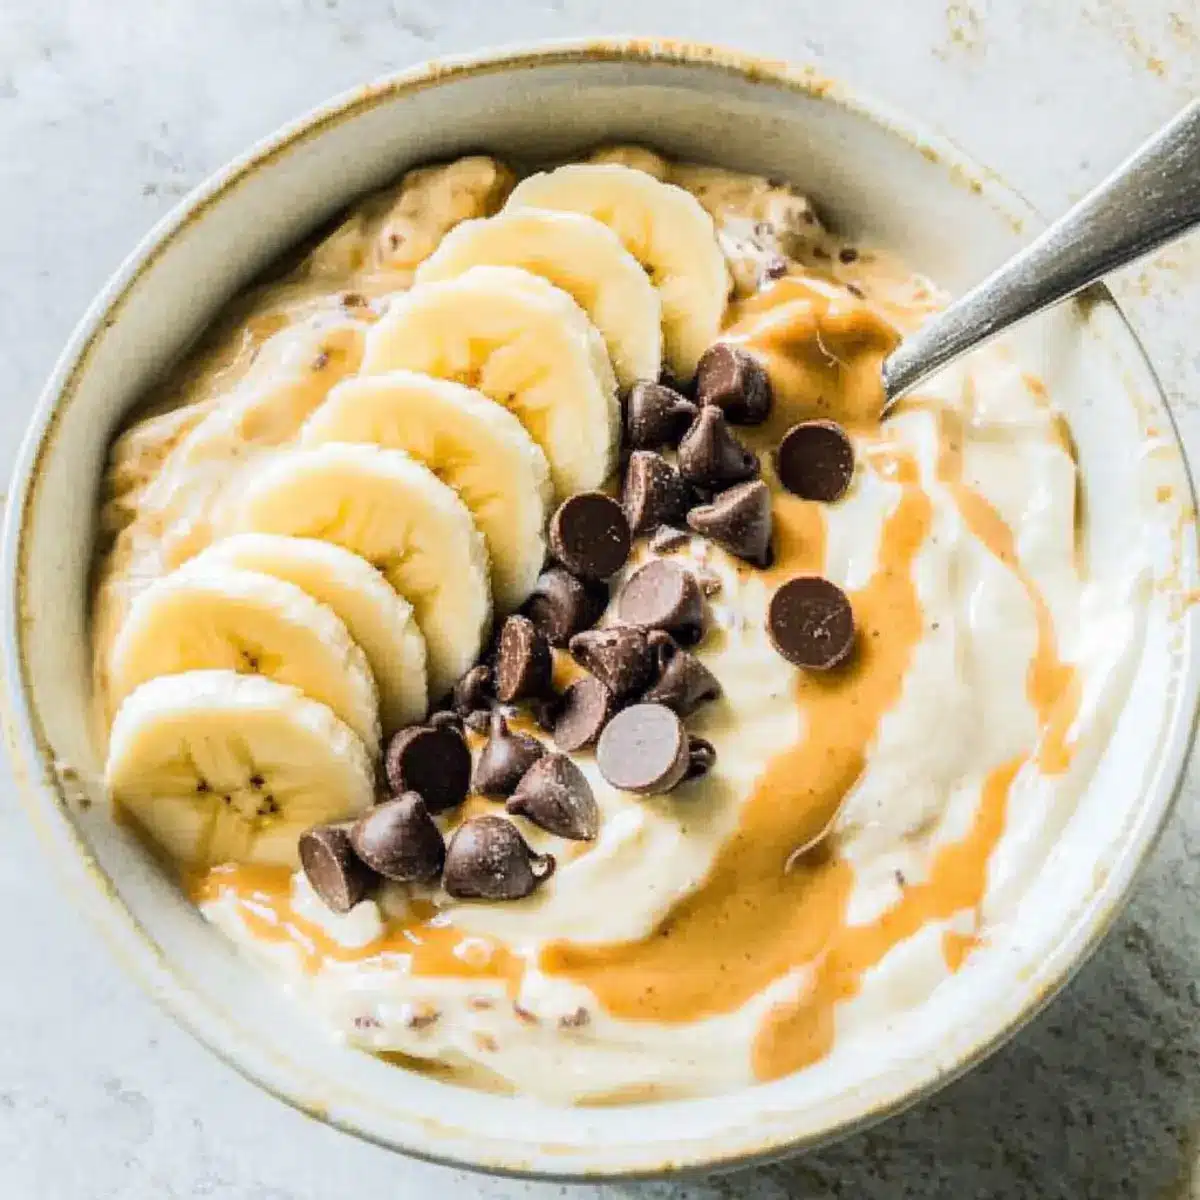
In a mixing bowl, add 1 cup of Greek yogurt, 2 tablespoons of smooth peanut butter, and 1 tablespoon of honey. Using a whisk or spatula, stir the mixture vigorously for about 1-2 minutes, ensuring all ingredients are fully blended. The consistency should be smooth and creamy, resembling a luxurious mousse, perfect for your Peanut Butter Yogurt Bowls.
Step 2: Taste and Adjust
After mixing, take a moment to taste your yogurt blend. If you desire a sweeter flavor, drizzle in an extra half tablespoon of honey. Stir for another 30 seconds until well combined. This step allows you to customize the sweetness according to your palate, making your Peanut Butter Yogurt Bowls tailored just for you!
Step 3: Serve with Toppings
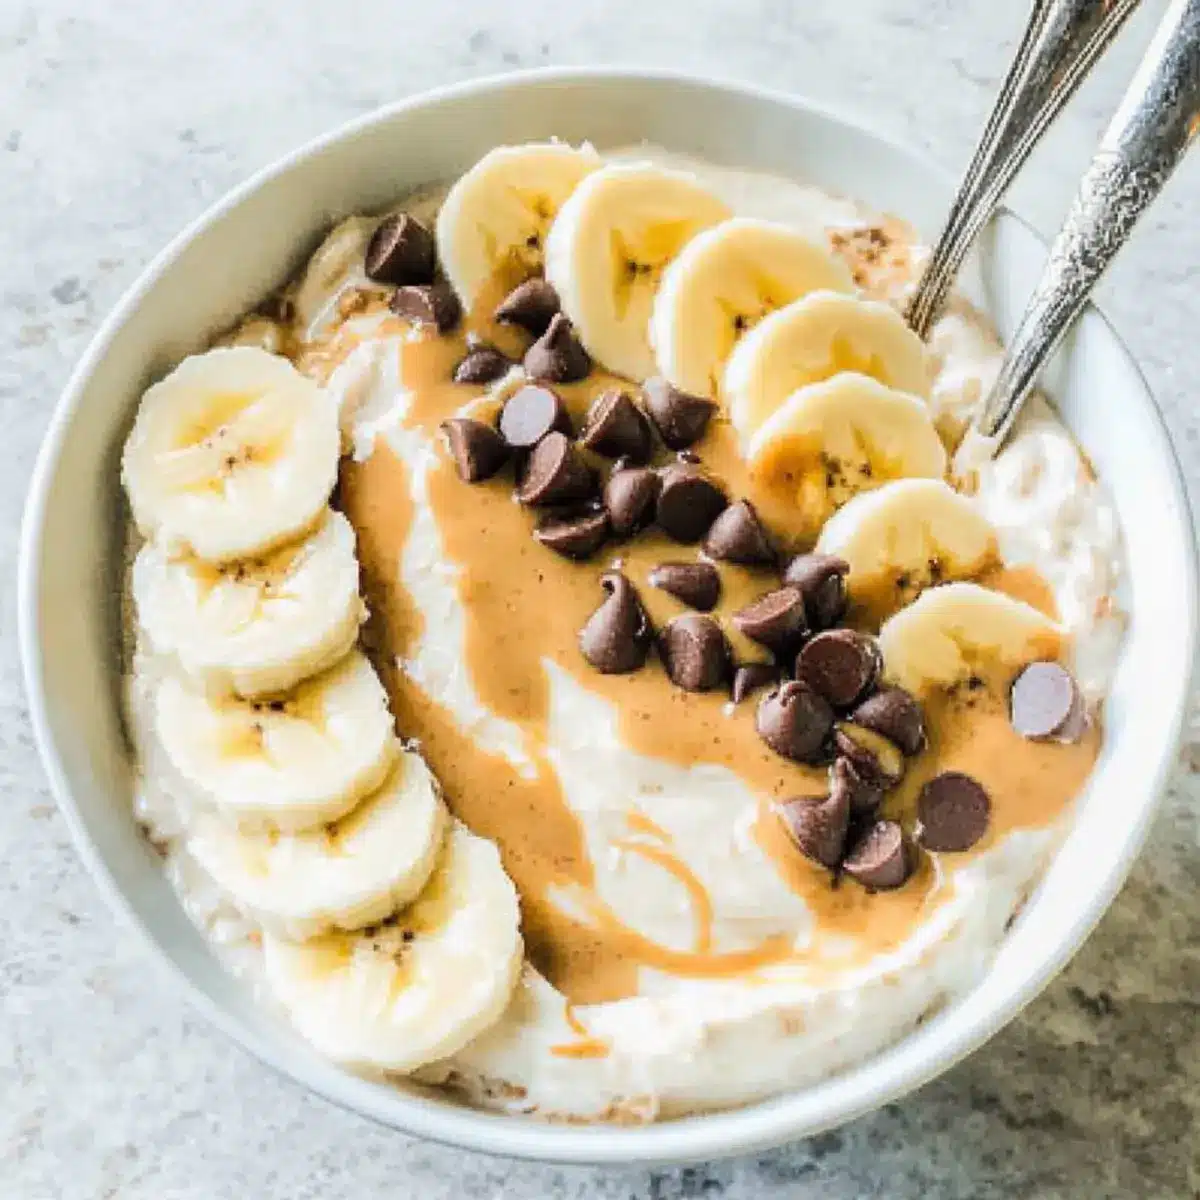
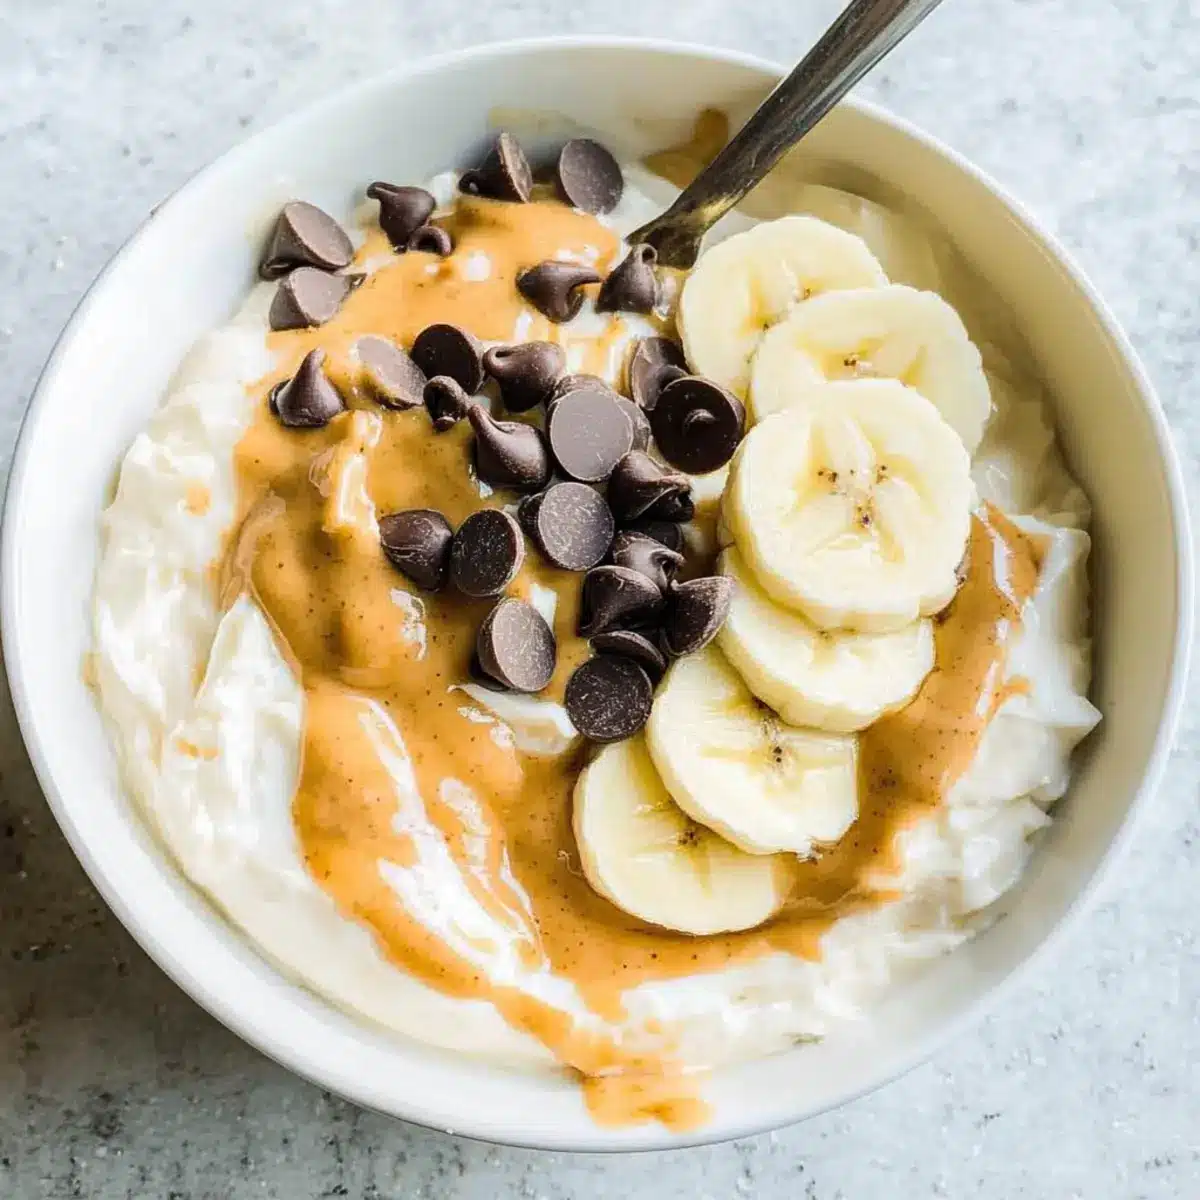
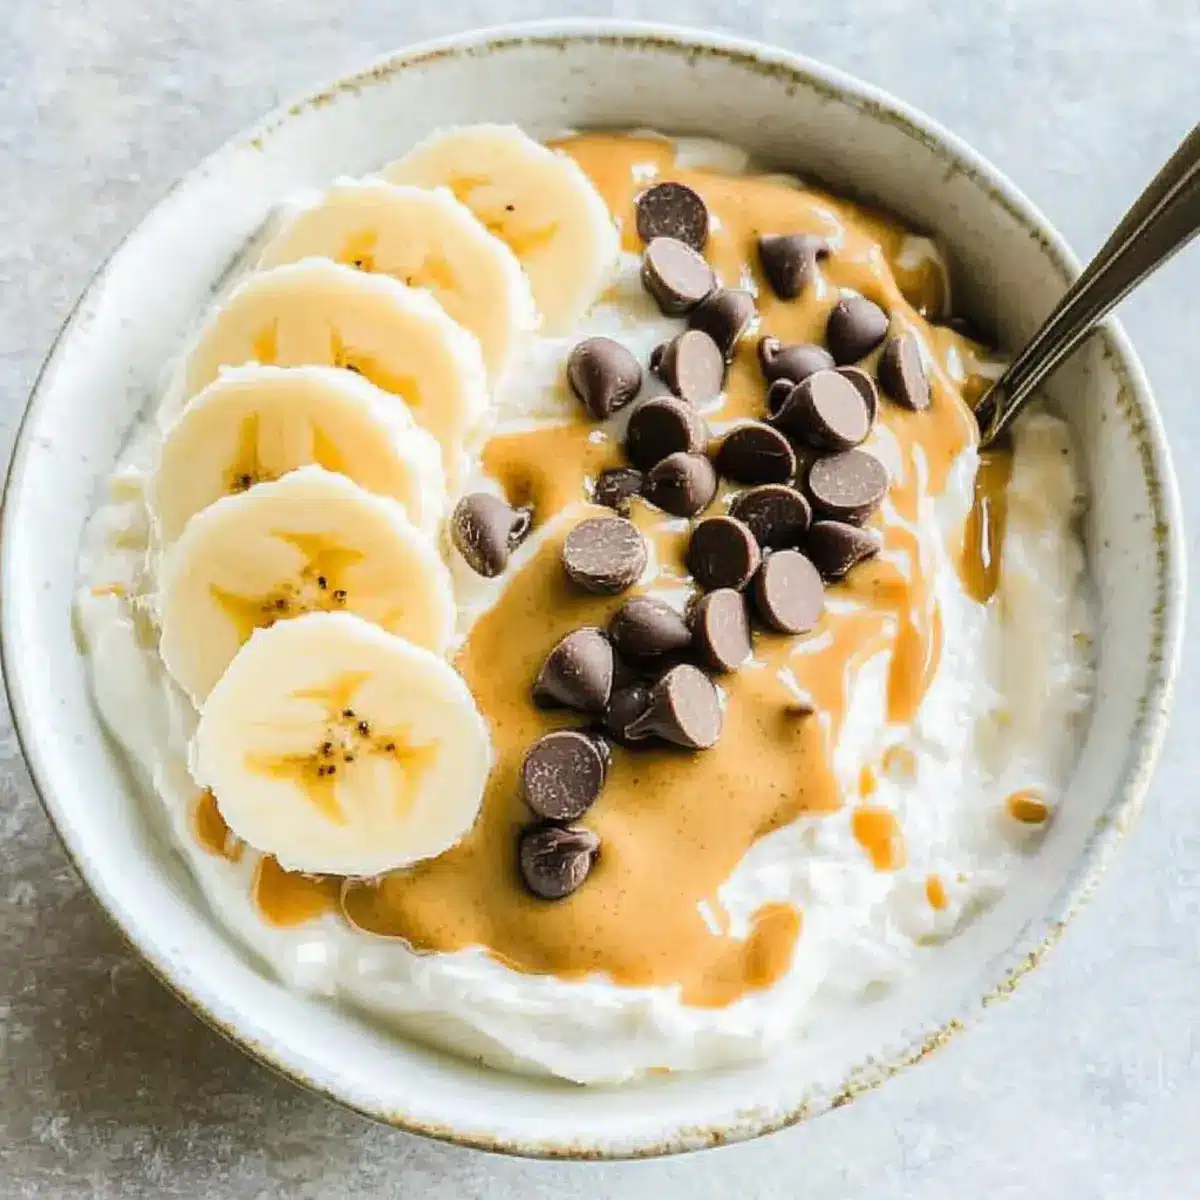
Grab your serving bowls or jars and evenly distribute the creamy peanut butter yogurt mixture. Once your base is ready, add your choice of toppings, such as banana slices, chocolate chips, or fresh berries. Arranging the toppings on top will not only enhance the visual appeal but also give you that delightful burst of flavor in each bite.
Step 4: Store for Meal Prep
If you’re making these bowls in advance, transfer the leftover yogurt mixture into airtight containers. You can store these delicious Peanut Butter Yogurt Bowls in the refrigerator for up to 5 days. This makes for a convenient grab-and-go option during busy mornings or afternoons, helping you maintain a healthy routine effortlessly.
Step 5: Enjoy Anytime
These Peanut Butter Yogurt Bowls are perfect for any time of day—breakfast, snacks, or even dessert! Serve them chilled and relish in the creamy, rich flavors. Feel free to get creative with toppings each time you prepare them, making them a versatile treat the whole family can enjoy together!
What to Serve with Three-Ingredient Peanut Butter Yogurt Bowls?
Indulging in these creamy, protein-packed bowls sets the stage for a delightful meal that nourishes both body and soul.
-
Granola Parfaits: Layer with crunchy granola for a delightful contrast in texture and added fiber to your meal.
-
Fresh Fruit Slices: Brighten your bowls with vibrant apple or pear slices, enhancing the fruity essence and providing refreshing crispness.
-
Nutty Energy Bites: Pair with homemade energy bites for a sustaining snack packed with protein, making your breakfast or afternoon treat even more fulfilling.
-
Honey Toast: Serve with honey-drizzled whole-grain toast for an added crunch and delightful sweetness to complement the creamy yogurt.
-
Smoothie on the Side: A refreshing smoothie blends beautifully, adding a burst of fruity goodness to your meal while keeping things light and nutritious.
-
Chia Seed Pudding: Combining chia pudding alongside adds a delightful texture, plus a fiber boost that elevates the overall indulgence.
-
Herbal Tea: Savoring a cup of herbal tea, like chamomile or peppermint, complements the yogurt’s richness and offers a soothing touch.
-
Dark Chocolate Squares: Finish with a few pieces of dark chocolate, providing a decadent yet healthy treat that lingers long after your meal.
Each of these options brings harmony to your Peanut Butter Yogurt Bowls, making every bite of your meal feel like a warm embrace.
Expert Tips for Peanut Butter Yogurt Bowls
-
Choose Thick Yogurt: Use full-fat Greek yogurt for a creamier texture. Avoid using low-fat options which can make the bowls watery.
-
Balance Sweetness: Adjust the amount of honey based on your yogurt’s tartness. Start with less and add more for perfect Peanut Butter Yogurt Bowls.
-
Experiment with Toppings: Try different combinations, like adding chia seeds for health benefits or using coconut flakes for a tropical twist.
-
Store Properly: Keep your bowls in airtight containers in the fridge to maintain freshness for up to 5 days; this prevents spoilage and preserves taste.
-
Kid-Friendly Fun: Let kids choose their toppings! This not only makes it a fun activity but encourages them to explore healthy eating in a way they enjoy.
How to Store and Freeze Peanut Butter Yogurt Bowls
Fridge: Store in airtight containers for up to 5 days. This keeps your Peanut Butter Yogurt Bowls fresh and ready for quick grab-and-go meals.
Freezer: For long-term storage, freeze in portions for up to 3 months. Thaw in the fridge overnight before serving to maintain creamy texture.
Reheating: These bowls are best enjoyed cold. If you’ve froze them, skip the microwave to preserve texture—just let them thaw!
Meal Prep: Perfect for weekend meal prep, you can assemble ingredients ahead of time and mix just before serving for delightful freshness throughout the week.
Make Ahead Options
These Three-Ingredient Peanut Butter Yogurt Bowls are ideal for busy home cooks looking to save time during hectic mornings! You can prepare the yogurt base—consisting of Greek yogurt, peanut butter, and honey—up to 3 days in advance, simply store it in airtight containers in the refrigerator to maintain its fresh creaminess. For a delightful breakfast or snack, portion the yogurt mixture into jars and add toppings like banana slices or granola just before serving to keep them crunchy and vibrant. By prepping ahead, you’ll enjoy delicious, protein-packed bowls ready to grab, making healthy eating a breeze during your bustling week!
Peanut Butter Yogurt Bowls Variations
Get ready to make these Peanut Butter Yogurt Bowls your own with exciting twists and flavor swaps!
- Nut-Free: Use sunflower seed butter for a nut-free alternative that’s equally creamy and delicious.
- Vegan Delight: Swap Greek yogurt for a non-dairy yogurt, and choose maple syrup instead of honey for a fully plant-based dish.
- Granola Twist: Add your favorite granola for an unexpected crunch; this elevates the texture while adding delightful bursts of flavor.
- Chocolate Peanut Butter: Mix in cocoa powder with the peanut butter for a chocolatey twist that’s perfect for dessert enthusiasts!
- Fruit Fusion: Top with a medley of seasonal fruits, like strawberries or peaches, for freshness and a vibrant splash of color.
- Savory Option: Try mixing in a pinch of sea salt with the base, then top with sliced avocado and cherry tomatoes for a savory breakfast.
- Overnight Oats Upgrade: Stir the peanut butter yogurt into your overnight oats instead of just using yogurt for a filling, protein-packed breakfast.
- Spicy Kick: Sprinkle a dash of cinnamon or cayenne pepper for an unexpected heat that contrasts beautifully with the creamy sweetness.
Embrace these variations to keep your family excited and engaged in a healthy eating journey! If you’re curious about other delightful snacks, check out these Greek Yogurt Banana muffins—they’re a wonderful way to sneak in healthy ingredients!
Peanut Butter Yogurt Bowls Recipe FAQs
How do I choose ripe bananas for my Peanut Butter Yogurt Bowls?
Absolutely! Look for bananas that are slightly speckled with brown spots, which indicates they’re ripe and sweet. If they have too many dark spots all over, they may be overripe, affecting your yogurt’s flavor.
What’s the best way to store Peanut Butter Yogurt Bowls?
Very! You can store your Peanut Butter Yogurt Bowls in airtight containers in the fridge for up to 5 days. This helps to keep them fresh. Make sure the lid is sealed tightly to avoid any absorption of odors from the refrigerator.
Can I freeze Peanut Butter Yogurt Bowls?
Certainly! To freeze, divide your mixture into portions and place them in freezer-safe containers. They can be frozen for up to 3 months. When you’re ready to eat, simply thaw them in the fridge overnight, and avoid microwaving to maintain that creamy texture you love!
What should I do if my yogurt mixture is too runny?
Oh, that can happen! If your yogurt mix is too runny, try adding an extra tablespoon of Greek yogurt to thicken. Another option is to use a strainer or cheesecloth to drain some excess liquid. Stir well until you achieve that desired creamy consistency.
Are these Peanut Butter Yogurt Bowls suitable for people with nut allergies?
Absolutely! If you or someone in your home has nut allergies, substitute the peanut butter with sunflower seed butter or a soy-based spread. Both alternatives maintain creaminess and flavor while ensuring everyone can enjoy this delightful treat!
How can I customize Peanut Butter Yogurt Bowls for kids?
So fun! Let the kids choose their toppings! Set up a “toppings bar” and include options like mini chocolate chips, colorful sprinkles, and different fruits. It turns healthy eating into a creative and enjoyable experience, making mealtime more exciting!
Peanut Butter Yogurt Bowls & Pots: Your New Healthy Indulgence
Ingredients
Equipment
Method
- In a mixing bowl, add Greek yogurt, peanut butter, and honey. Stir vigorously for about 1-2 minutes until smooth and creamy.
- Taste the mixture and if desired, add more honey to sweeten. Stir for another 30 seconds.
- Distribute the yogurt mixture into bowls or jars and add toppings like banana slices, chocolate chips, or berries.
- For meal prep, store leftovers in airtight containers in the fridge for up to 5 days.
- Serve chilled and experiment with various toppings as desired.
Leave a Reply