
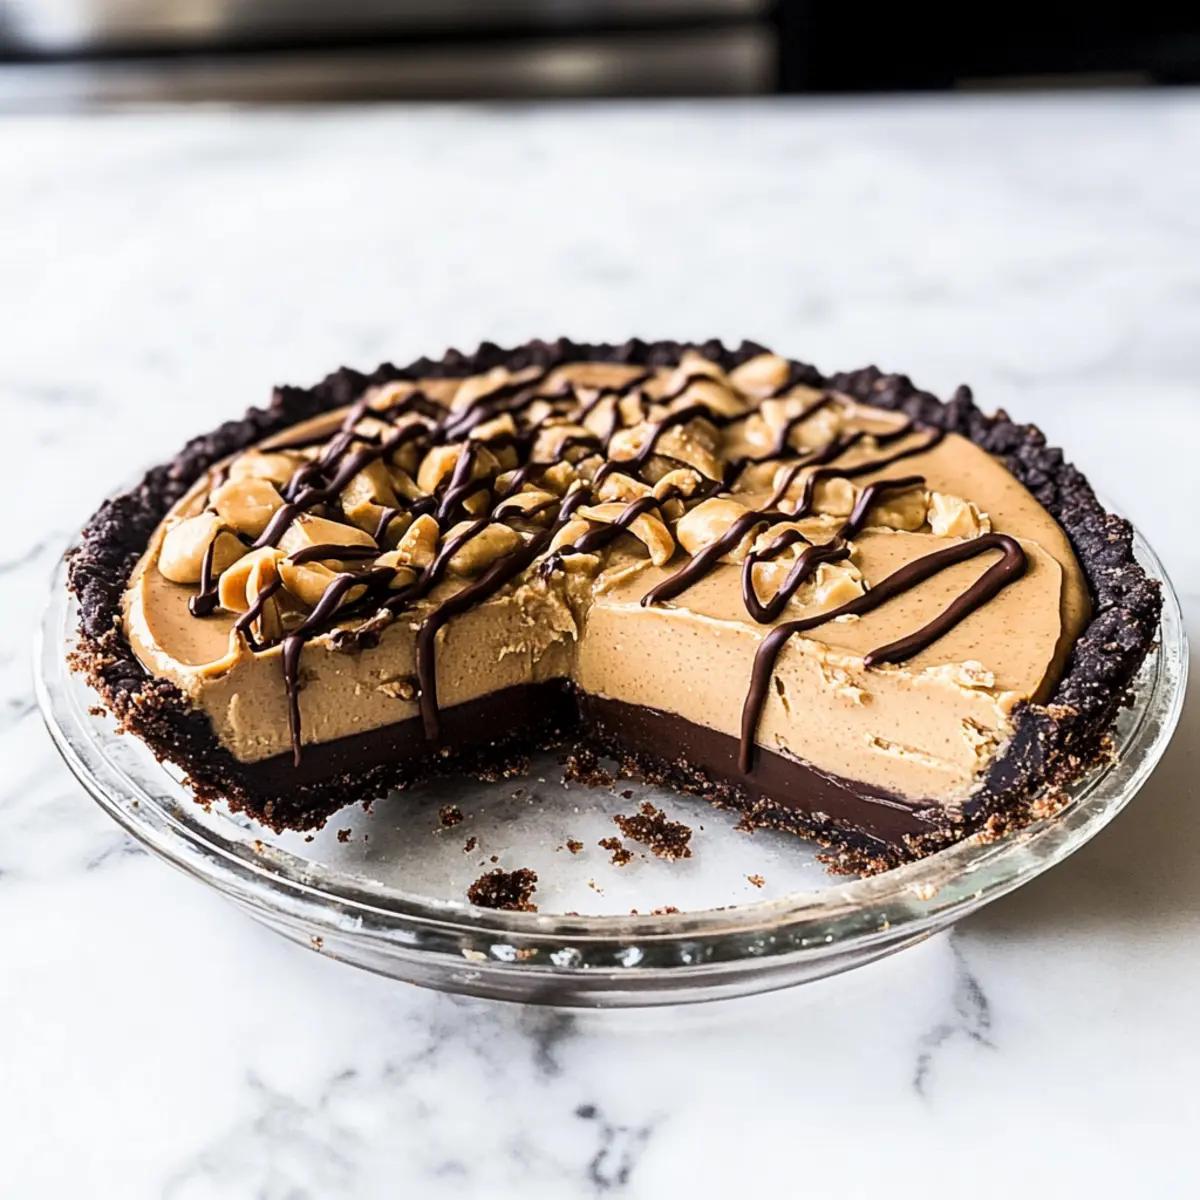
The moment I took that first bite of Peanut Butter Pie, time stood still. It’s like every delicious peanut butter cup I ever enjoyed suddenly transformed into a slice of heaven. This no-bake wonder is an undeniable crowd-pleaser, featuring an irresistible fluffy filling nestled within a crunchy chocolate crust. The beauty of this recipe, aside from its rich taste, lies in its versatility; you can easily swap in crust alternatives or even play with different nut butters based on your preferences. Plus, it’s perfect for those busy days because you can whip it up ahead of time, leaving you free to enjoy all the fun when it’s time to serve. Are you ready to create a dessert that will have everyone asking for the secret? Let’s dive into this sweet adventure together!
Why is Peanut Butter Pie So Loved?
Unmatched Flavor: The rich taste of peanut butter combined with a creamy filling will make your taste buds dance.
Effortless Preparation: This no-bake wonder requires minimal time and skill, so you can enjoy more moments with your loved ones.
Crowd-Pleasing Delight: Whether at a gathering or a quiet night in, this pie never fails to impress.
Versatile Options: Feel free to swap in almond butter or crisp cookie crusts for unique twists! Consider trying it with ingredients from our delightful Yogurt Peanut Butter recipe.
Perfect Make-Ahead Treat: Whip it up ahead of time, and you’ll always have a decadent dessert ready for unexpected guests or family cravings.
Peanut Butter Pie Ingredients
For the Crust
• Chocolate Graham Crackers – Use as the base for a sweet, chocolatey crust; feel free to substitute with Chocolate Teddy Grahams for a fun twist.
• Light Brown Sugar – Adds sweetness and depth to the crust; regular granulated sugar works as a substitute in a pinch.
• Unsalted Butter (7 tablespoons) – This binds the crust together and enriches its flavor; make sure it’s melted for easy mixing.
For the Filling
• Cream Cheese (8 ounces) – Provides a creamy texture; ensure it’s at room temperature for smooth blending.
• Powdered Sugar (¾ cup + 2 tablespoons) – Sweetens the filling while helping create that airy texture; adjust based on your sweetness preference.
• Creamy Peanut Butter (1 cup) – The star of the show, giving that iconic peanut butter flavor; you can swap it for almond butter for an allergy-friendly option.
• Heavy Whipping Cream (1 cup) – Adds lightness to the filling; whip until thick for the best texture.
• Vanilla Extract (1 teaspoon) – Enhances the overall flavor profile of the pie.
For Drizzling and Garnishing
• Chocolate and Peanut Butter (for drizzling) – Optional, but these toppings elevate both flavor and appearance!
• Mini Reese’s Cups and Peanut Butter Chips (for garnish) – Add a delightful crunch and an extra layer of peanut butter goodness on top.
Step‑by‑Step Instructions for Peanut Butter Pie
Step 1: Prepare the Crust
In a food processor, combine chocolate graham crackers and light brown sugar, blending until finely ground. Pour in the melted unsalted butter and pulse until the mixture resembles wet sand. Press this mixture firmly into the bottom and up the sides of a 9-inch pie plate. Bake at 350°F for 10-12 minutes, or until fragrant, then allow to cool completely before filling.
Step 2: Make the Filling
In a mixing bowl, beat the softened cream cheese, powdered sugar, and creamy peanut butter together with an electric mixer on medium speed for about 3 minutes, until the mixture is light and fluffy. Make sure there are no lumps, creating a silky filling that embodies the irresistible flavor of peanut butter.
Step 3: Whip the Cream
In a separate bowl, pour in the heavy whipping cream and begin whipping using an electric mixer. Whip until it thickens, then add the remaining powdered sugar and the vanilla extract. Continue whipping until stiff peaks form, and the cream has a thick, airy consistency. This light texture will beautifully complement the creamy peanut butter pie filling.
Step 4: Combine
Gently fold the whipped cream into the peanut butter mixture using a spatula. Be careful not to deflate the whipped cream, as you want to retain that airy fluffiness. Once fully incorporated, you’ll have a creamy mixture that showcases the rich flavor of the peanut butter pie. Pour this filling into the cooled pie crust, smoothing the top evenly.
Step 5: Chill
Cover the pie loosely with plastic wrap and place it in the freezer for at least 3 hours, or refrigerate for about 6 hours until set. This chilling time allows the flavors to meld and ensures that your peanut butter pie achieves the perfect consistency, making it easy to slice and serve.
Step 6: Decorate
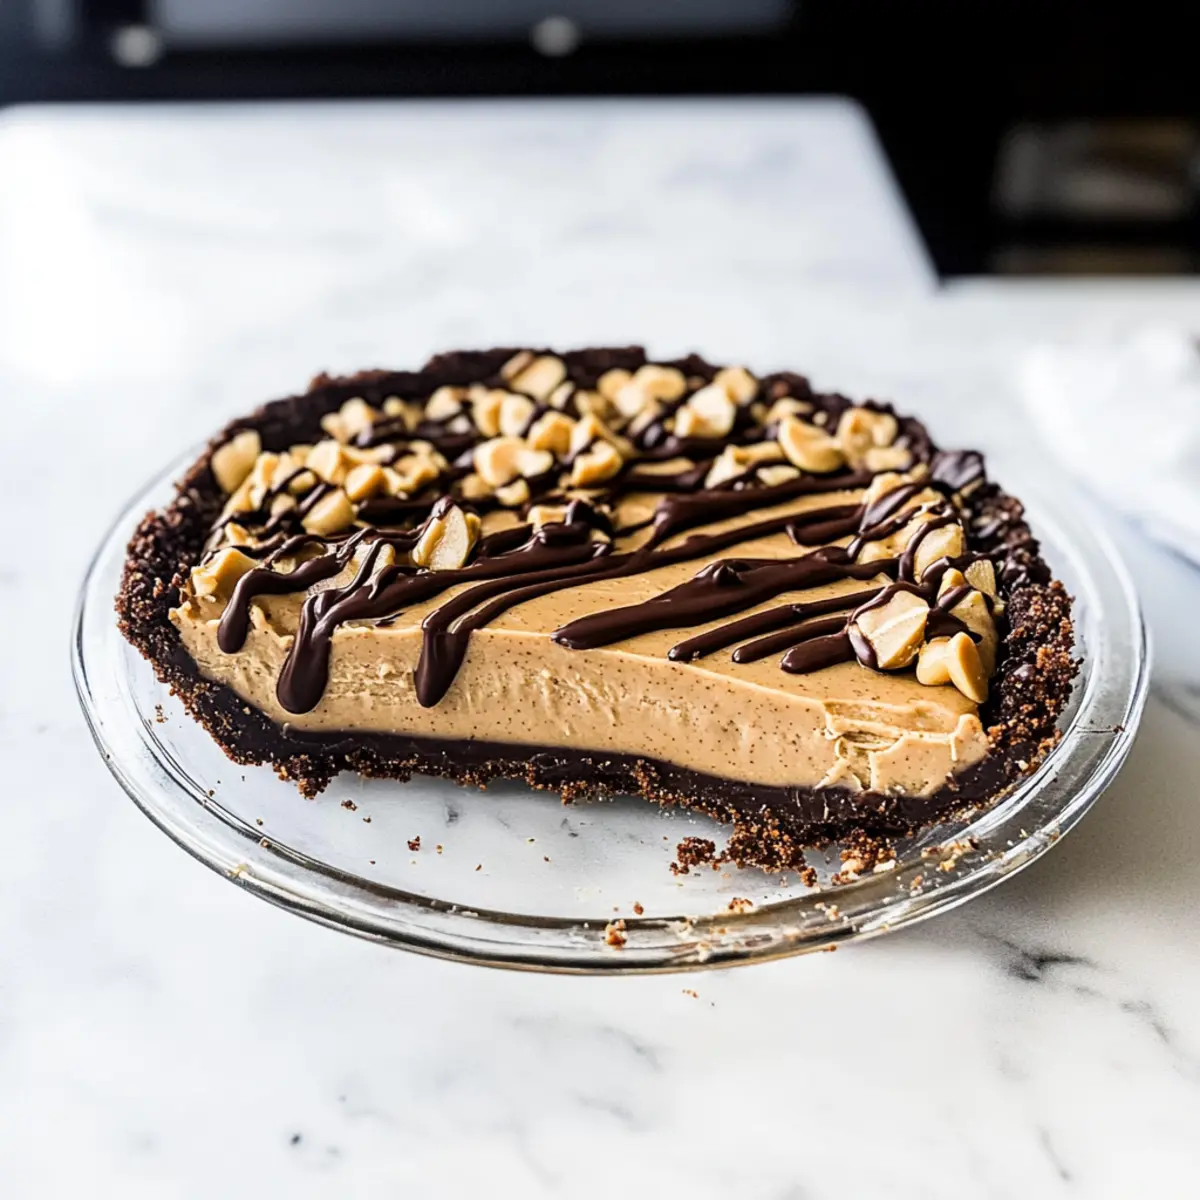
Once chilled, melt some peanut butter and chocolate in a microwave-safe bowl, stirring until smooth. Drizzle this mixture artfully over the top of the pie for added flavor and visual appeal. Then, garnish with mini Reese’s cups and peanut butter chips, creating a delightful presentation that will thrill any peanut butter lover.
Step 7: Serve
Slice your delicious Peanut Butter Pie and serve it either frozen or freshly chilled. If you’ve frozen it, let it thaw slightly to enhance the creamy texture. This indulgent dessert is perfect for any occasion and is sure to have your family and friends asking for seconds.

What to Serve with No-Bake Peanut Butter Pie
This delightful dessert creates a memorable dining experience when paired with complementary delights.
-
Creamy Whipped Cream: A dollop adds an airy touch that enhances the pie’s rich flavors. Its lightness contrasts beautifully with the dense filling.
-
Chocolate Ice Cream: Pairing this pie with a scoop of chocolate ice cream introduces an extra layer of decadence. The chocolate notes elevate the overall experience.
-
Fresh Berries: Juicy strawberries or raspberries offer a refreshing tartness that balances the sweetness of the pie. Their vibrant colors also make for a stunning presentation.
-
Salted Caramel Sauce: Drizzling this sweet and salty treat over the pie intensifies the flavors. It creates an indulgent twist that’s hard to resist.
-
Coffee: A warm cup of coffee complements the dessert’s richness, enhancing the peanut butter notes as you sip and savor.
-
Nutty Granola Parfait: Layering granola and yogurt alongside the pie brings additional crunch and creaminess. This pairing adds textures and a wholesome feel to the spread.
-
Chocolate Hazelnut Spread: Serve this spread on the side for those who crave an extra indulgent experience. It’s a delightful way to enhance the nutty flavors.
-
Lemon Sorbet: A refreshing lemon sorbet can cleanse the palate, providing a zesty contrast to the creamy pie. It’s a refreshing option after a rich meal.
Make Ahead Options
Making this Peanut Butter Pie ahead of time is a fantastic way to save precious moments during busy weeks! You can prepare the crust up to 24 hours in advance; simply bake and let it cool completely, then wrap it tightly in plastic wrap and store it at room temperature. The filling can be made up to 3 days ahead; just beat together the ingredients and fold in the whipped cream before pouring the mixture into the chilled crust. For best results, cover the assembled pie with plastic wrap and refrigerate. When ready to serve, drizzle with melted peanut butter and chocolate, add your favorite garnishes, and enjoy this smooth, creamy Peanut Butter Pie that tastes just as delicious even after refrigerating!
Peanut Butter Pie Variations & Substitutions
Feel free to get creative and customize your Peanut Butter Pie to suit your taste and preferences!
-
Nut-Free Swap: Replace creamy peanut butter with sunflower seed butter for a safe nut-free alternative without sacrificing flavor or texture.
-
Gluten-Free Crust: Use a gluten-free chocolate cookie crust for a delicious option that everyone can enjoy, making sure it’s chewy and enjoyable.
-
Vegan Delight: For a vegan version, substitute cream cheese with a dairy-free cream cheese and use coconut cream instead of heavy whipping cream, creating an equally creamy and delicious pie.
-
Flavor Infusion: Add a sprinkle of cinnamon or a dash of espresso powder to the filling to enhance the peanut butter flavor remarkably.
-
Fruit Twist: Pair your pie with sliced bananas or strawberries on top for a fresh contrast that beautifully complements the rich filling.
-
Dairy-Free Option: Opt for a dairy-free cream cheese and coconut whipped cream to keep it creamy yet light, perfect for those avoiding dairy.
-
Cookie Crust Variation: Instead of chocolate graham crackers, try using crushed Oreos for a different flavor profile. The chocolatey goodness can elevate your pie to new heights!
-
Heat Element: If you enjoy a kick, mix in a hint of cayenne pepper or chili powder to the filling, perfectly balancing the sweetness with a warming spice.
These variations can transform your classic Peanut Butter Pie into something uniquely yours, making it even more delightful for your family and friends. If you’re looking to experiment, try some candies or toppings inspired by our Christmas Gooey Butter recipe for some extra sweetness!
Expert Tips for Peanut Butter Pie
• Room Temperature Cream Cheese: Ensure your cream cheese is fully softened before mixing; this prevents lumps and gives a silky filling.
• Watch the Whipping: Avoid over-whipping the heavy cream, which can lead to a grainy texture; stop when stiff peaks form to maintain fluffiness.
• Slice with Ease: For smoother slices, run your knife under hot water before cutting—it makes a world of difference in presentation!
• Adjust Sweetness: Taste as you go and adjust the powdered sugar in the filling to suit your preferred sweetness for the best peanut butter pie experience.
• Make Ahead: This easy dessert can be prepped a day in advance, making it a perfect make-ahead treat for gatherings or unexpected guests.
• Explore Variations: Don’t hesitate to substitute creamy peanut butter with almond butter for an allergy-friendly option; it’s just as delicious!
How to Store and Freeze Peanut Butter Pie
Fridge: Store your Peanut Butter Pie tightly covered in the refrigerator for up to 3 days to keep it fresh and delicious.
Freezer: For longer storage, wrap the pie securely with plastic wrap and then aluminum foil. It can be frozen for up to 1 month.
Thawing: When ready to enjoy, thaw the pie in the fridge for several hours or overnight to restore its creamy texture.
Serving Tip: If serving directly from the freezer, allow it to sit at room temperature for about 10 minutes before slicing for smoother cuts.
Peanut Butter Pie Recipe FAQs
What should I consider when selecting ingredients for Peanut Butter Pie?
Absolutely! Ensure your cream cheese is at room temperature for easy blending, which helps achieve a smooth filling. When choosing peanut butter, opt for a creamy variety for the best consistency. If you have allergies, almond butter is a wonderful alternative that brings a different yet delectable flavor. Also, check your chocolate graham crackers for freshness; they should be intact without any dark spots or signs of staleness.
How long can I store my Peanut Butter Pie in the fridge?
You can keep your Peanut Butter Pie tightly covered in the refrigerator for up to 3 days. Store it in an airtight container to maintain its deliciousness, ensuring the crust remains crunchy while the filling stays creamy.
Can I freeze Peanut Butter Pie and how do I do it?
Very! To freeze your Peanut Butter Pie, carefully wrap it in plastic wrap and then cover it with aluminum foil for extra protection. It can be frozen for up to 1 month. When you’re ready to enjoy it, thaw the pie in the fridge overnight or for about 4-6 hours before serving. This gradual thawing helps maintain the creamy texture of the filling.
What if my whipped cream isn’t thickening?
If your whipping cream isn’t thickening, ensure it’s cold and has enough time to whip! For optimal results, chill your mixing bowl and beaters in the freezer for 10-15 minutes before using them. When whipping, avoid over-mixing; stop as soon as you reach stiff peaks. If you find it’s still runny after whipping, try adding a tablespoon or two of powdered sugar to help stabilize the cream.
Can I make Peanut Butter Pie ahead of time?
Absolutely! This pie is perfect for making ahead. You can prep it a day in advance and keep it in the refrigerator. The flavors meld beautifully overnight, and it will save you time on the day of your gathering, allowing you to have more fun with family and friends. Just remember to allow enough chilling time for the filling to set properly.
Is Peanut Butter Pie suitable for everyone?
While this Peanut Butter Pie is a delightful treat, it does contain ingredients that may not suit everyone. The main allergens are peanuts and dairy. If you’re serving kids or guests with peanut allergies, using almond butter instead of creamy peanut butter is a great alternative. Always check allergen information on packaged ingredients to ensure safety for all!

Irresistible Peanut Butter Pie That Everyone Will Love
Ingredients
Equipment
Method
- Combine chocolate graham crackers and light brown sugar in a food processor. Blend until finely ground. Add melted unsalted butter, pulse until resembling wet sand. Press into a 9-inch pie plate. Bake at 350°F for 10-12 minutes, then cool.
- In a bowl, beat cream cheese, powdered sugar, and peanut butter until light and fluffy, about 3 minutes.
- In another bowl, whip heavy cream until thick. Add remaining powdered sugar and vanilla, continue whipping until stiff peaks form.
- Gently fold whipped cream into peanut butter mixture. Pour filling into cooled crust, smoothing the top.
- Cover with plastic wrap and chill in freezer for at least 3 hours or refrigerate for 6 hours.
- Melt peanut butter and chocolate in the microwave, drizzle over chilled pie, and garnish with mini Reese’s cups and peanut butter chips.
- Slice and serve the pie either frozen or freshly chilled.
Leave a Reply