
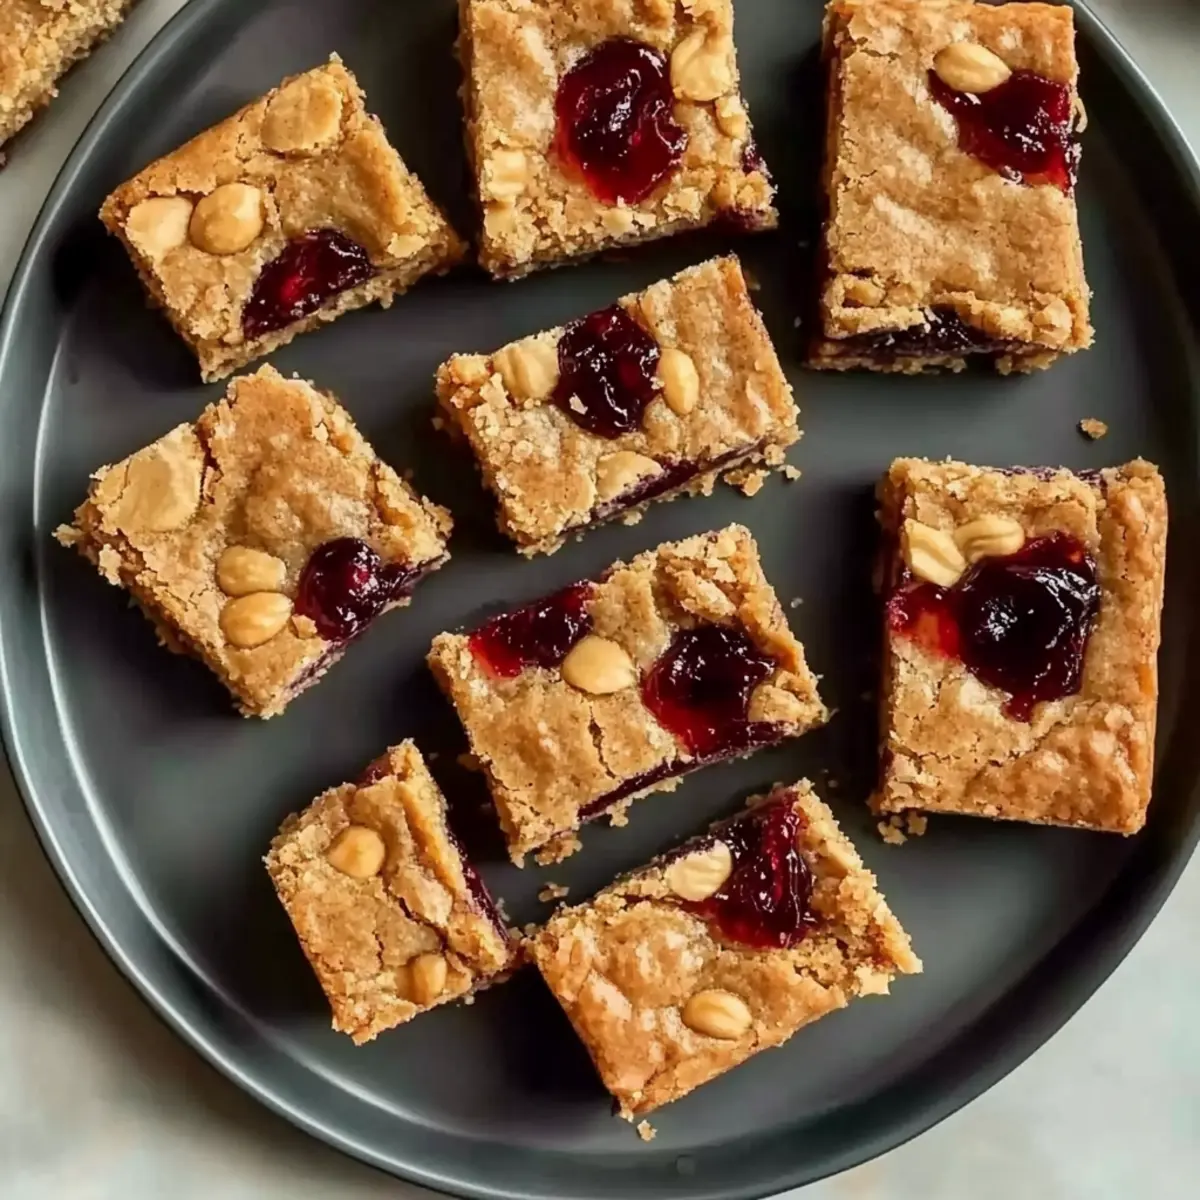
As I rummaged through my pantry one afternoon, I stumbled upon a jar of crunchy peanut butter and a few lonely jelly packets left from picnics past. Instantly, a wave of nostalgia washed over me, reminding me of warm, sunlit afternoons spent devouring classic PB&J sandwiches. That’s when the inspiration struck: why not turn that beloved sandwich into something new? Enter the Peanut Butter and Jelly Bars—an easy dessert that can be whipped up in no time. With their chewy texture and customizable flavors, these bars are not only kid-friendly but also sure to delight guests at any gathering. Perfect for a quick snack or a sweet addition to family lunches, these bars transform tradition beautifully. What flavor spin will you add to yours?
Why Make Peanut Butter and Jelly Bars?
Quick and Easy: These bars come together in no time, making them ideal for those busy afternoons when the sweet tooth strikes.
Kid-Friendly Delight: Perfectly enjoyable for children, this recipe is a fun way to get them involved in the kitchen!
Customizable Flavors: With options to swap the jelly for your favorite jam or even add chocolate chips, every batch can be unique!
Crowd-Pleasing Snack: Whether for after-school treats or gatherings, these bars are sure to impress everyone.
Make-Ahead Convenience: Whip up a batch in advance and they’ll stay fresh for days, ensuring you always have a delightful snack on hand.
If you’re also interested in making more delicious treats, check out my recipes for Yogurt Peanut Butter or Butterscotch Bars Deliciously.
Peanut Butter and Jelly Bars Ingredients
• For the Base
- Crunchy Peanut Butter – Provides a rich peanut flavor and chewy texture; swap for creamy for a smoother consistency.
- Light Brown Sugar – Adds sweetness and moisture; remember to pack it for accurate measurement.
- Unsalted Butter – Creates a rich base; softened for easy mixing; can substitute with salted butter but adjust salt accordingly.
- Large Egg – Binds ingredients together and adds moisture; ensure it’s at room temperature for even mixing.
- Vanilla Extract – Enhances the overall flavor; consider almond extract for a unique twist.
• For the Dry Mix
- All-Purpose Flour – Provides structure to the bars; can use a gluten-free flour blend as a substitute.
- Salt – Balances sweetness; adjust to taste if using salted butter.
- Baking Powder – Helps the bars rise slightly, important for that chewy texture.
• For the Fruity Layer
- Grape Jelly or Jam – Adds fruity sweetness and moisture; swap it out for your favorite flavor like strawberry or apricot.
• For the Topping
- Salted Peanuts – Adds crunch and extra peanut flavor; omit for a nut-free version.
These Peanut Butter and Jelly Bars promise to delight your taste buds while allowing for personal customization—what flavor will you choose?
Step‑by‑Step Instructions for Peanut Butter and Jelly Bars
Step 1: Preheat and Prepare the Pan
Preheat your oven to 350°F (175°C). While the oven warms, line an 8×8-inch baking pan with aluminum foil, allowing some overhang for easy removal. Lightly spray the foil with cooking spray to prevent sticking. This step ensures your Peanut Butter and Jelly Bars can be removed easily after baking, ready for a delightful serving.
Step 2: Cream the Peanut Butter Mixture
In a large mixing bowl, combine 1 cup of crunchy peanut butter, 1 cup of packed light brown sugar, and ½ cup of softened unsalted butter. Using an electric mixer, beat these ingredients together on medium speed until the mixture is smooth and creamy, about 2-3 minutes. The mixture should look fluffy and well-combined, showcasing a rich peanut flavor that will form the base of your bars.
Step 3: Add Egg and Vanilla
Next, add 1 large egg and 1 teaspoon of vanilla extract to the peanut butter mixture. Continue beating until everything is fully incorporated and smooth, which should take around 1-2 minutes. This step adds moisture and enhances the flavor profile, ensuring the Peanut Butter and Jelly Bars have a deliciously rich taste.
Step 4: Mix the Dry Ingredients
In a separate bowl, whisk together 1 cup of all-purpose flour, ½ teaspoon of salt, and ½ teaspoon of baking powder. Gradually add this dry mixture to the wet ingredients in the peanut butter bowl. Stir gently with a spatula until just combined, being careful not to overmix. This creates a thick batter that’s going to hold the jelly filling beautifully within the bars.
Step 5: Press the Base into the Pan
Take about two-thirds of the batter and press it evenly into the bottom of the prepared baking pan. Use your hands or a spatula to create a uniform layer, making sure it reaches the corners. This base layer will provide a sturdy foundation for your Peanut Butter and Jelly Bars, ensuring they hold up when cut into squares.
Step 6: Spread the Jelly
Open your favorite jelly or jam—about ½ cup—like grape or strawberry, and evenly spread it over the peanut butter base. Use a spatula to ensure an even distribution, reaching all the corners. This fruity layer adds a delightful sweetness that perfectly complements the rich peanut butter, making each bite a nostalgic treat.
Step 7: Crumble Remaining Batter
Take the remaining batter and crumble it over the jelly layer. Ensure that you cover the jelly with small clumps of batter, but it’s okay if some jelly peeks through—you want that fruity goodness to show! This crumbled topping creates a beautiful golden crust as it bakes, adding texture to your Peanut Butter and Jelly Bars.
Step 8: Sprinkle with Peanuts
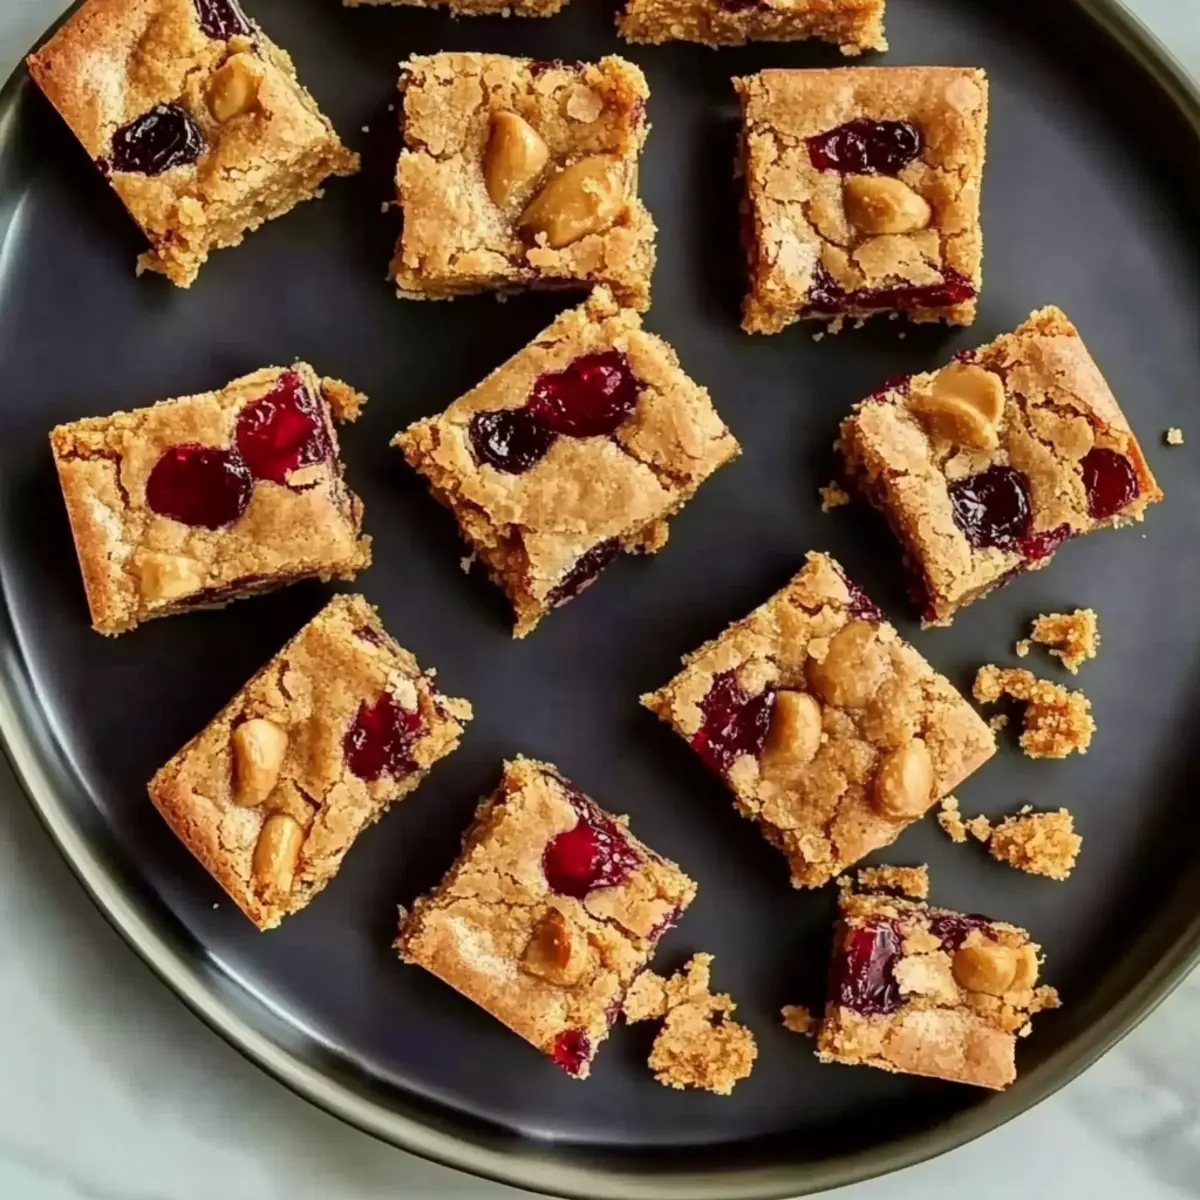
If you desire extra crunch, sprinkle chopped salted peanuts on top of the crumbled batter. This step is optional but enhances both flavor and texture, giving the bars a delightful crunch in every bite. The peanuts will toast beautifully in the oven, complementing the creamy peanut butter and sweet jelly.
Step 9: Bake the Bars
Bake in your preheated oven for 30 to 35 minutes, or until the top is golden brown. You can check for doneness by looking for a firm surface; it should not jiggle in the center. The aroma of peanuts and jelly will fill your kitchen, signaling that your Peanut Butter and Jelly Bars are almost ready to enjoy.
Step 10: Cool and Cut
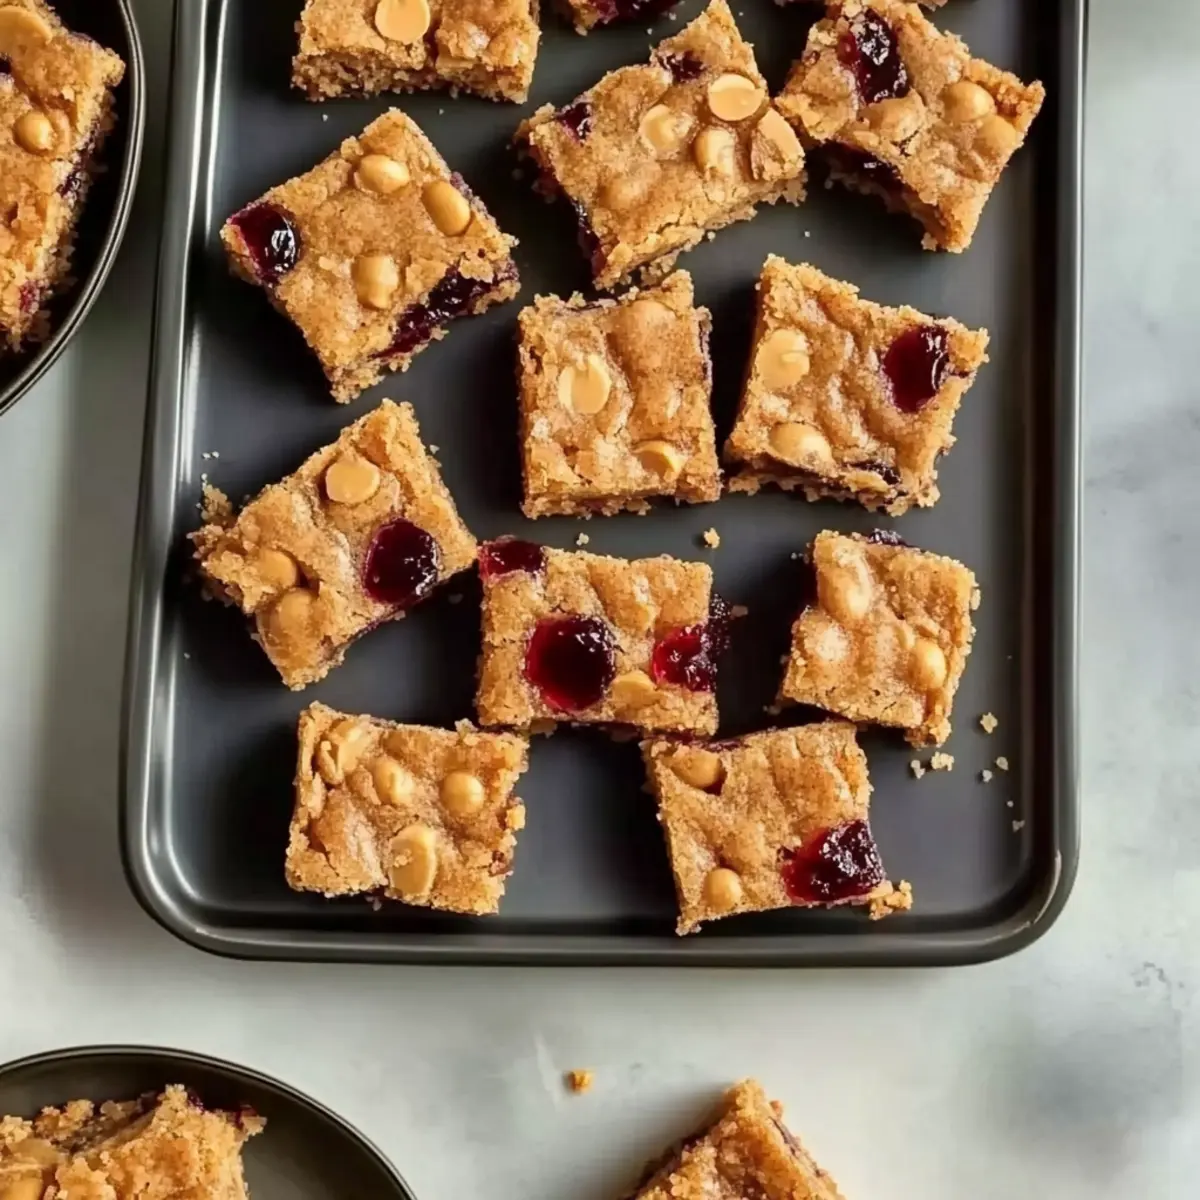
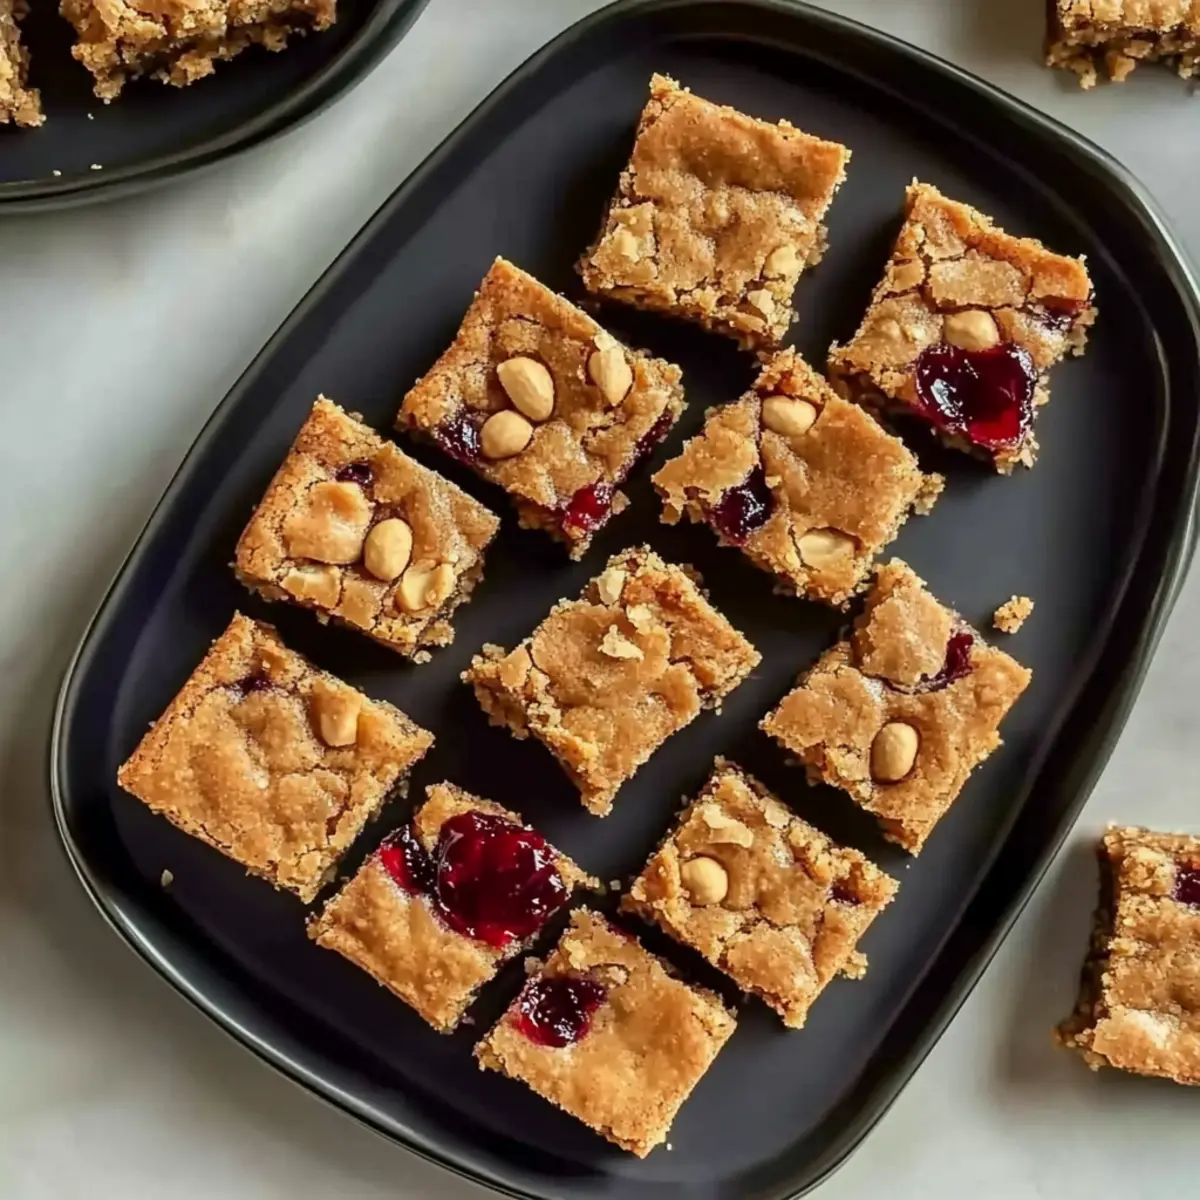
Once baked, allow the bars to cool completely in the pan before lifting them out using the foil overhang. Set on a wire rack for about 15-20 minutes. Once cooled, cut into squares for serving. This cooling process helps the bars firm up, making them easier to slice and increasing their chewy texture, ready for a delightful treat.
Make Ahead Options
These Peanut Butter and Jelly Bars are a fantastic choice for busy home cooks looking to save time during hectic weekdays! You can prepare the base of the bars up to 24 hours in advance by making the batter and pressing it into the pan, then covering it tightly in the refrigerator to maintain quality. Additionally, you can spread the jelly layer and crumble the remaining batter on top before baking but store it in the fridge until you’re ready to bake. When you’re set to serve, simply pop them in the oven and bake as directed. You’ll have delicious, freshly baked bars ready to enjoy with minimal effort!
Storage Tips for Peanut Butter and Jelly Bars
Room Temperature: Store bars in an airtight container at room temperature for up to 3 days. This keeps them chewy and easy to grab for a snack!
Fridge: If you prefer them chilled, these Peanut Butter and Jelly Bars can be kept in the fridge for up to a week. Just let them come to room temperature before serving for the best texture.
Freezer: For longer storage, wrap the bars individually in plastic wrap and place them in a freezer bag. They can be frozen for up to 3 months. Thaw overnight in the fridge before enjoying.
Reheating: If you like your bars warm, pop them in the microwave for about 10-15 seconds. This brings back their gooey texture, perfect for a cozy treat!
What to Serve with Peanut Butter and Jelly Bars?
These delightful bars are perfect for crafting a whimsical and satisfying dessert spread that will win over every palate.
- Milk: A classic pairing, a cold glass of milk complements the rich peanut butter and fruity jelly, enhancing the nostalgic flavor experience.
- Fresh Fruit Salad: The light, refreshing crunch of seasonal fruits contrasts beautifully with the chewy texture of the bars, adding a splash of color and nutrition.
- Vanilla Ice Cream: Creamy and smooth, a scoop of vanilla ice cream provides a delightful temperature contrast to warm bars, melting slightly into each bite for indulgence.
- Chocolate Dipping Sauce: For an extra touch of decadence, a drizzle of warm chocolate sauce creates a heavenly combination of peanut butter and chocolate, elevating flavors to new heights.
- Nutty Coffee: Pair with a cup of nut-flavored or roasted coffee; the warm beverage will enhance the earthy tones of the peanut butter.
- Caramel Sauce: A drizzle of salted caramel sauce adds a sweet and salty flair, making each bite a taste of heaven.
- Hot Chocolate: For cozy evenings, hot chocolate perfectly marries with the bars, offering gooey chocolate richness that pairs wonderfully with the peanut butter base.
- Yogurt Parfait: Layering these bars with yogurt and berries in a parfait provides a creamy, fruity contrast, perfect for a breakfast treat or snack.
- Herbal Tea: A soothing herbal tea offers a gentle flavor that balances the sweetness of the bars, making for a comforting afternoon snack.
- Chocolate Milkshake: For an extra indulgent treat, a chocolate milkshake mirrors the flavors and textures of the bars while adding creamy bliss!
Expert Tips for Peanut Butter and Jelly Bars
- Room Temperature Ingredients: Ensure all ingredients are at room temperature for easy mixing, which helps create a uniform batter and prevents lumps.
- Avoid Overmixing: Be careful not to overmix the batter; this can lead to tough bars rather than the desired chewy texture.
- Cool Before Cutting: Allow the bars to cool completely in the pan, as they will firm up upon cooling. Cutting them too early may result in a mess!
- Customize Wisely: While variations are fun, balance flavors. If adding chocolate or other toppings, consider reducing the sweetness to avoid an overwhelming dessert.
- Even Jelly Distribution: Spread jelly evenly to ensure each bar has a delightful fruity layer in every bite. This helps achieve that iconic peanut butter and jelly flavor profile.
Peanut Butter and Jelly Bars Variations
Feel free to get creative with these delicious bars—your taste buds will thank you!
-
Almond Butter: Swap crunchy peanut butter with almond butter for a nutty twist that adds a different flavor profile.
Embrace the almond essence; it pairs wonderfully with fruity jams! -
Jam Flavors: Try swapping the grape jelly for strawberry, raspberry, or apricot for a unique flavor experience.
Change it up each time you bake—your family will never get bored! -
Chocolate Chips: Add chocolate chips into the batter or a layer of chocolate spread beneath the jelly for a richer treat.
A little chocolate never hurt anyone, right? -
Coconut Flakes: Sprinkle unsweetened coconut flakes on top of the batter for added texture and a tropical nuance.
This will transport your taste buds to a sunny beach! -
Nut-Free Option: Omit salted peanuts to create a nut-free version that’s still tasty and chewy.
Kids with nut allergies can still join in on the fun! -
Oatmeal Crunch: Incorporate oats into the topping mix for added crunch and heartiness.
It creates an earthy base that complements the sweetness of the jelly beautifully. -
Spiced Pumpkin: For a fall twist, replace the jelly with spiced pumpkin puree—deliciously seasonal!
Your Peanut Butter and Jelly Bars will sparkle with autumnal flavor!
Delve into the wonders of homemade desserts and explore more delightful options like Christmas Gooey Butter or Hibiscus Lemon Bars.
Peanut Butter and Jelly Bars Recipe FAQs
How do I choose the right ripeness for the ingredients?
Absolutely! When selecting your ingredients, especially for the peanut butter, make sure it’s creamy and not too dry; this ensures a moist and chewy texture for your bars. For the jelly, look for brands with real fruit as the first ingredient for the best flavor.
What are the best storage methods for Peanut Butter and Jelly Bars?
You can store your Peanut Butter and Jelly Bars in an airtight container at room temperature for up to 3 days. If you prefer them chilled, they keep well in the fridge for up to a week. Just let them sit at room temperature before serving for optimal texture.
Can I freeze the bars for later enjoyment?
Yes! For longer storage, wrap each bar in plastic wrap or foil and place them in a freezer-safe zip-top bag. They can be frozen for up to 3 months. When you’re ready to indulge, simply thaw them overnight in the fridge, or for a warm treat, microwave for about 10-15 seconds.
What should I do if my bars turn out too crumbly?
If your bars are crumbly, it may be due to overmixing or too little moisture. Ensure you mix until just combined, and if needed, you can add a touch more melted butter or a splash of milk to help bind them better next time.
Are there any dietary concerns I should consider?
Very! If you’re making these bars for kids or guests with allergies, consider using nut-free alternatives, or ensure you pick a jelly that’s free from allergens. For gluten sensitivities, substitute the all-purpose flour with a gluten-free blend. Always check labels to ensure all ingredients are allergy-safe.
How can I enhance the flavor of my Peanut Butter and Jelly Bars?
I often recommend adding a pinch of cinnamon or a splash of maple syrup to elevate the depth of flavor. You can also play with different jam varieties—strawberry, raspberry, or even lemon curd will give you a delightful twist!
Peanut Butter and Jelly Bars: Nostalgic Treat Made Easy
Ingredients
Equipment
Method
- Preheat your oven to 350°F (175°C) and prepare an 8x8-inch baking pan.
- In a large mixing bowl, combine peanut butter, brown sugar, and softened butter. Beat until smooth and creamy.
- Add egg and vanilla extract to the mixture and beat until fully incorporated.
- In a separate bowl, mix flour, salt, and baking powder. Gradually add this to the wet ingredients.
- Press two-thirds of the batter evenly into the bottom of the prepared pan.
- Spread the jelly evenly over the peanut butter base.
- Crumble the remaining batter over the jelly layer.
- Optional: Sprinkle chopped salted peanuts on top.
- Bake for 30 to 35 minutes or until the top is golden brown.
- Cool completely in the pan before lifting out and cutting into squares.
Leave a Reply