
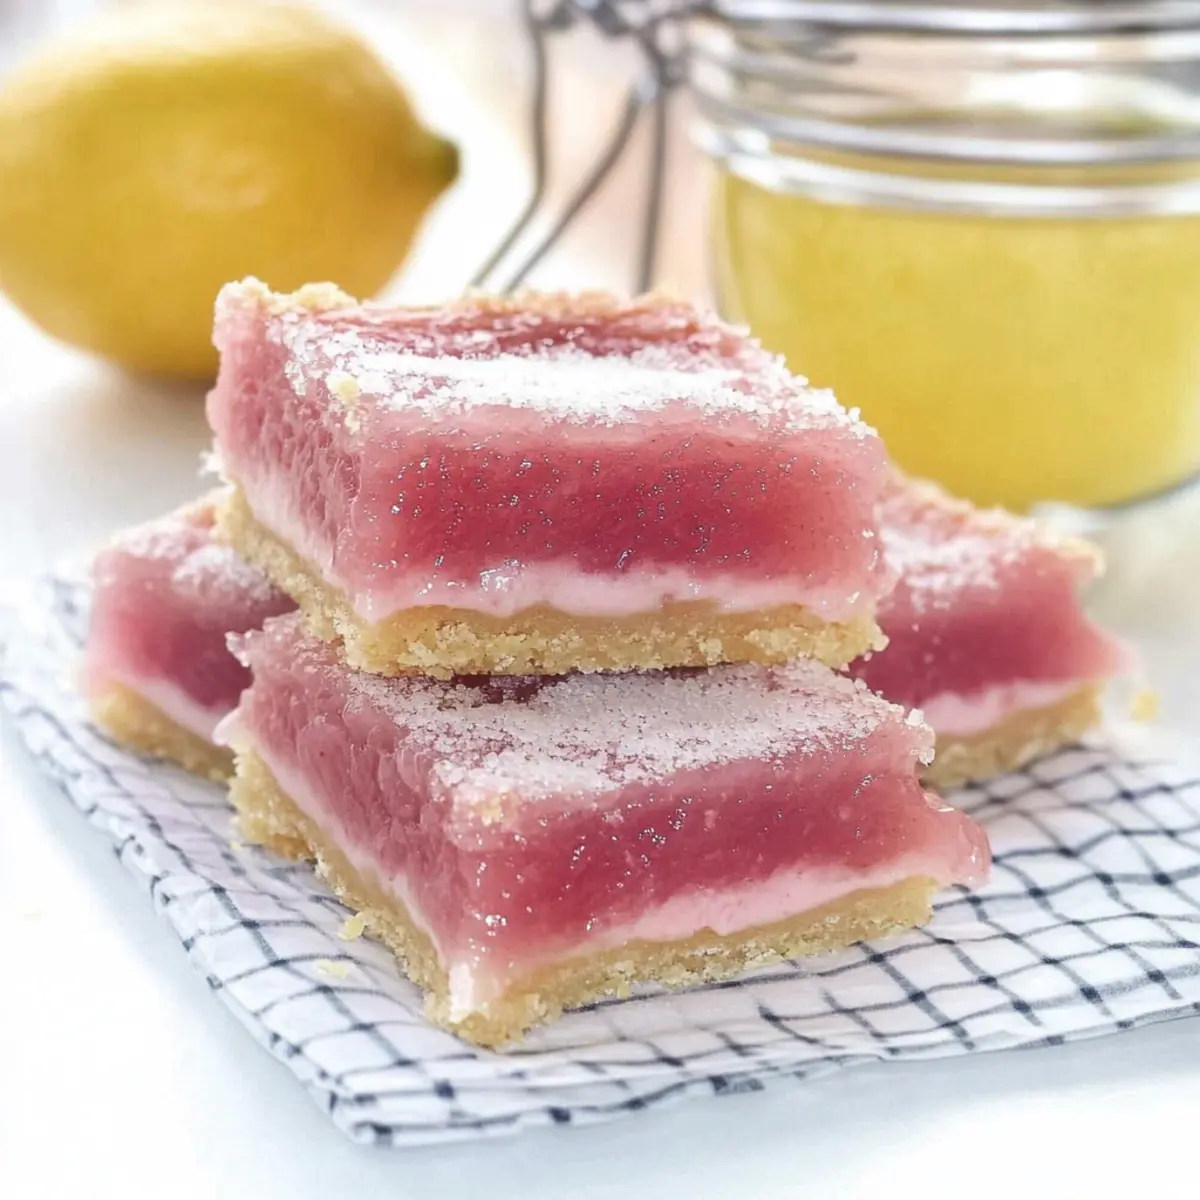
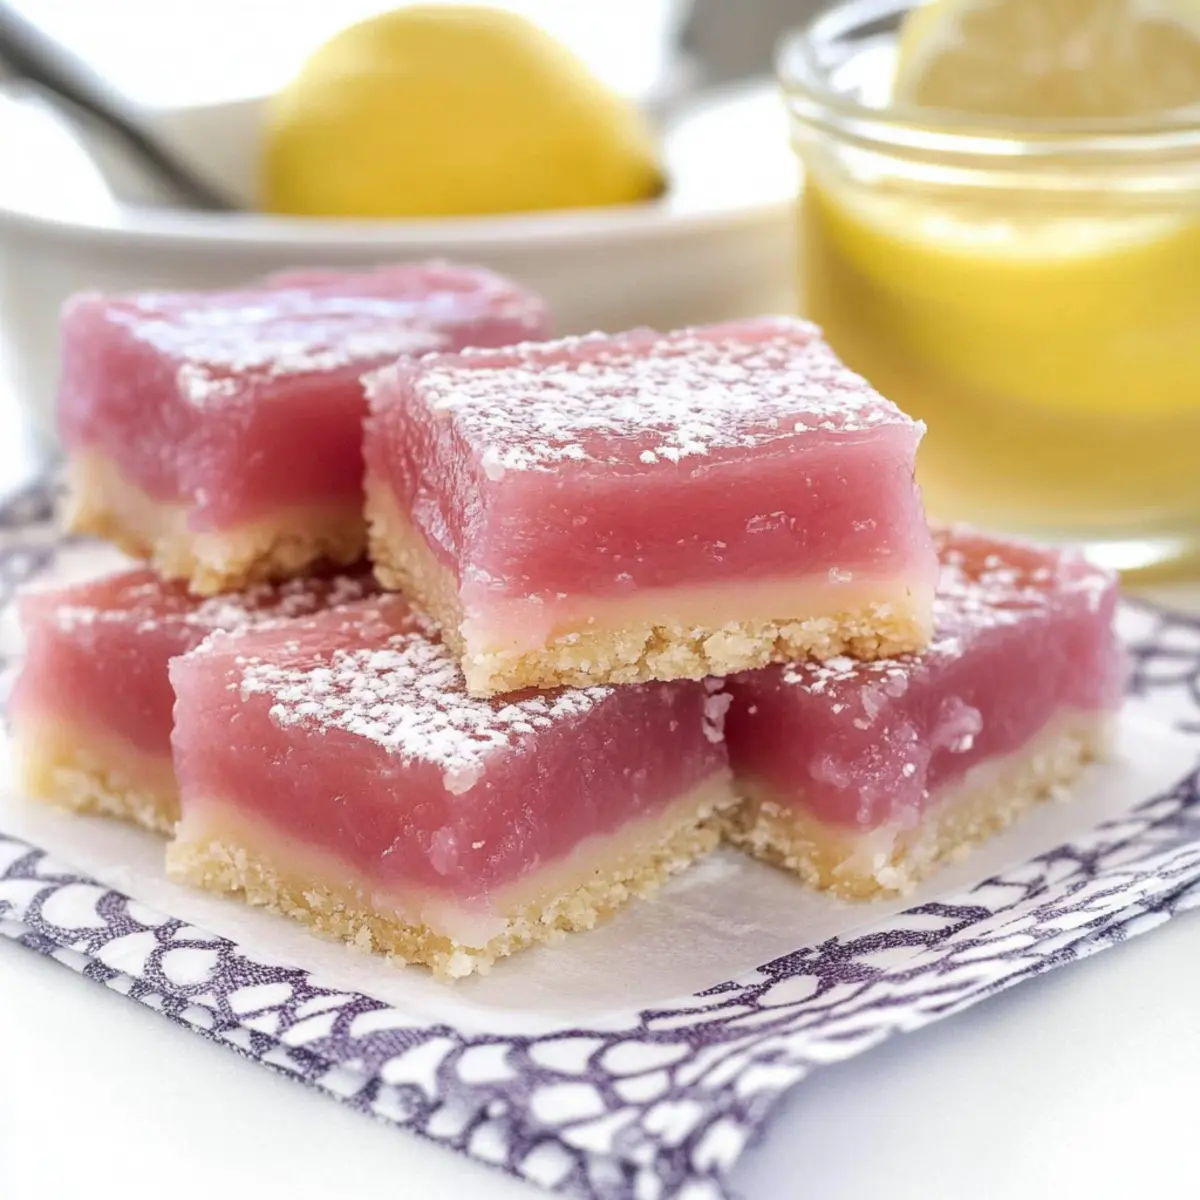
Stepping into my kitchen, I was greeted by an enchanting aroma, a reminder that nature holds the power to elevate our treats. These Hibiscus Lemon Bars are a testament to that, marrying the classic tartness of lemon with the delightful berry notes of hibiscus. The result is an eye-catching dessert that not only boasts a vibrant pink hue but is also rich in vitamin C. Perfect for those of us seeking a sweet, yet refreshing escape from the ordinary dessert routine, these bars offer quick prep and a twist on a beloved classic that will have your taste buds dancing. So, who’s ready to dive into a slice of sunshine and find out just how bright and flavorful life can be?
Why are Hibiscus Lemon Bars a must-try?
Unique Ingredients: The joyful blend of hibiscus and lemon creates a delightful dance of tartness and berry flavor that’s unlike any other dessert.
Vibrant Color: Enjoy the eye-catching pink hue that not only entices but also amps up your dessert presentation!
Quick Prep: With minimal effort, you can whip up these bars in no time, making them perfect for busy bakers.
Health Benefits: Packed with vitamin C, these bars not only satisfy your sweet tooth but also nourish your body.
Versatile Variations: Feel free to experiment with different citrus or add berries to personalize these treats to your liking. For delightful ideas, check out these Cereal Bars Homemade or Mini Lemon Cheesecakes for more dessert inspiration!
Hibiscus Lemon Bars Ingredients
• Dive into these Hibiscus Lemon Bars with the following delicious components that bring this vibrant dessert to life!
For the Crust
- Unsalted Butter (1/2 cup) – Provides richness and tender texture to the crust; substitute with margarine for a non-dairy option.
- Sugar (1/4 cup) – Sweetens the crust, balancing the tartness of lemon; coconut sugar offers a lower GI alternative.
- Flour (1 cup) – Essential for structure in the crust; gluten-free flour can be used as a substitute.
- Salt (pinch) – Enhances flavors and balances sweetness.
- Vanilla Bean Paste (1 tsp) – Adds depth to the crust flavor; vanilla extract is a suitable alternative.
For the Filling
- Fresh Squeezed Lemon Juice (1/2 cup) – The main flavor component that provides acidity; consider Meyer lemons for a milder sweetness.
- Dried Hibiscus or Hibiscus Tea (1 Tbsp) – Infuses the filling with tangy berry notes and a vibrant pink color; ensure it is caffeine-free.
- Large Eggs (3) – Binds the filling together and adds richness; no substitutes are recommended for integrity.
- Sugar (1 1/2 cups) – Adds sweetness to counter the tartness of the lemon and hibiscus; adjust to taste.
For Garnish
- Confectioner’s Sugar – Adds a sweet finishing touch; optional but recommended for beautiful presentation.
Get ready to enjoy these Hibiscus Lemon Bars that burst with flavor and color!
Step‑by‑Step Instructions for Hibiscus Lemon Bars
Step 1: Preheat the Oven
Begin by preheating your oven to 350°F (175°C) to ensure the perfect baking temperature for your Hibiscus Lemon Bars. This step is essential to achieve that ideal golden crust and set filling. While the oven warms up, gather your ingredients and prepare a 9×9 inch baking pan by greasing it to prevent sticking.
Step 2: Cream the Butter and Sugar
In a mixing bowl, cream together 1/2 cup of unsalted butter, 1/4 cup of sugar, and 1 teaspoon of vanilla bean paste until the mixture is light and fluffy. This should take about 3-4 minutes using an electric mixer. The mixture will change texture and color, indicating it’s ready for the next step, providing a rich base for your crust.
Step 3: Combine Dry Ingredients
Next, gently add 1 cup of all-purpose flour and a pinch of salt to the creamed butter and sugar mixture. Mix on low speed until just combined, ensuring you don’t overwork the dough. The result should be a crumbly texture that holds together when pressed; this forms the delicious foundation of your Hibiscus Lemon Bars.
Step 4: Press the Crust into the Pan
Take the crust mixture and evenly press it into the bottom of the greased baking pan, creating a smooth, compact layer. Chill the pan in the refrigerator for about 15 minutes. This chilling step helps to firm up the crust, resulting in a tender texture once baked.
Step 5: Bake the Crust
After chilling, remove the pan from the refrigerator and bake the crust in your preheated oven for about 15 minutes. You’re looking for a light golden-brown color around the edges, which indicates it’s ready. Once done, set it aside to cool while you prepare the filling, ensuring the crust remains firm and crisp.
Step 6: Prepare the Hibiscus Infusion
In a separate bowl, combine 1/2 cup of fresh lemon juice with 1 tablespoon of dried hibiscus or hibiscus tea. Allow this mixture to sit for 15 minutes, letting the hibiscus impart a vibrant pink color and tangy flavor into the lemon juice. Afterward, strain the mixture to remove any solids, ensuring a smooth filling for your Hibiscus Lemon Bars.
Step 7: Mix the Filling Ingredients
Whisk together 3 large eggs and 1 1/2 cups of sugar in a clean bowl until well blended. Then, add the strained hibiscus-lemon mixture and 1/2 cup of flour, stirring until combined. This mixture will create the rich, zesty filling that perfectly contrasts with your buttery crust.
Step 8: Bake the Filling
Pour the filling over the cooled crust in the baking pan, spreading it evenly. Return the pan to the oven and bake for an additional 20-25 minutes, until the center is set and no longer jiggly. The top should have a slight sheen, indicating that your Hibiscus Lemon Bars are nearly ready to cool and slice.
Step 9: Cool and Serve
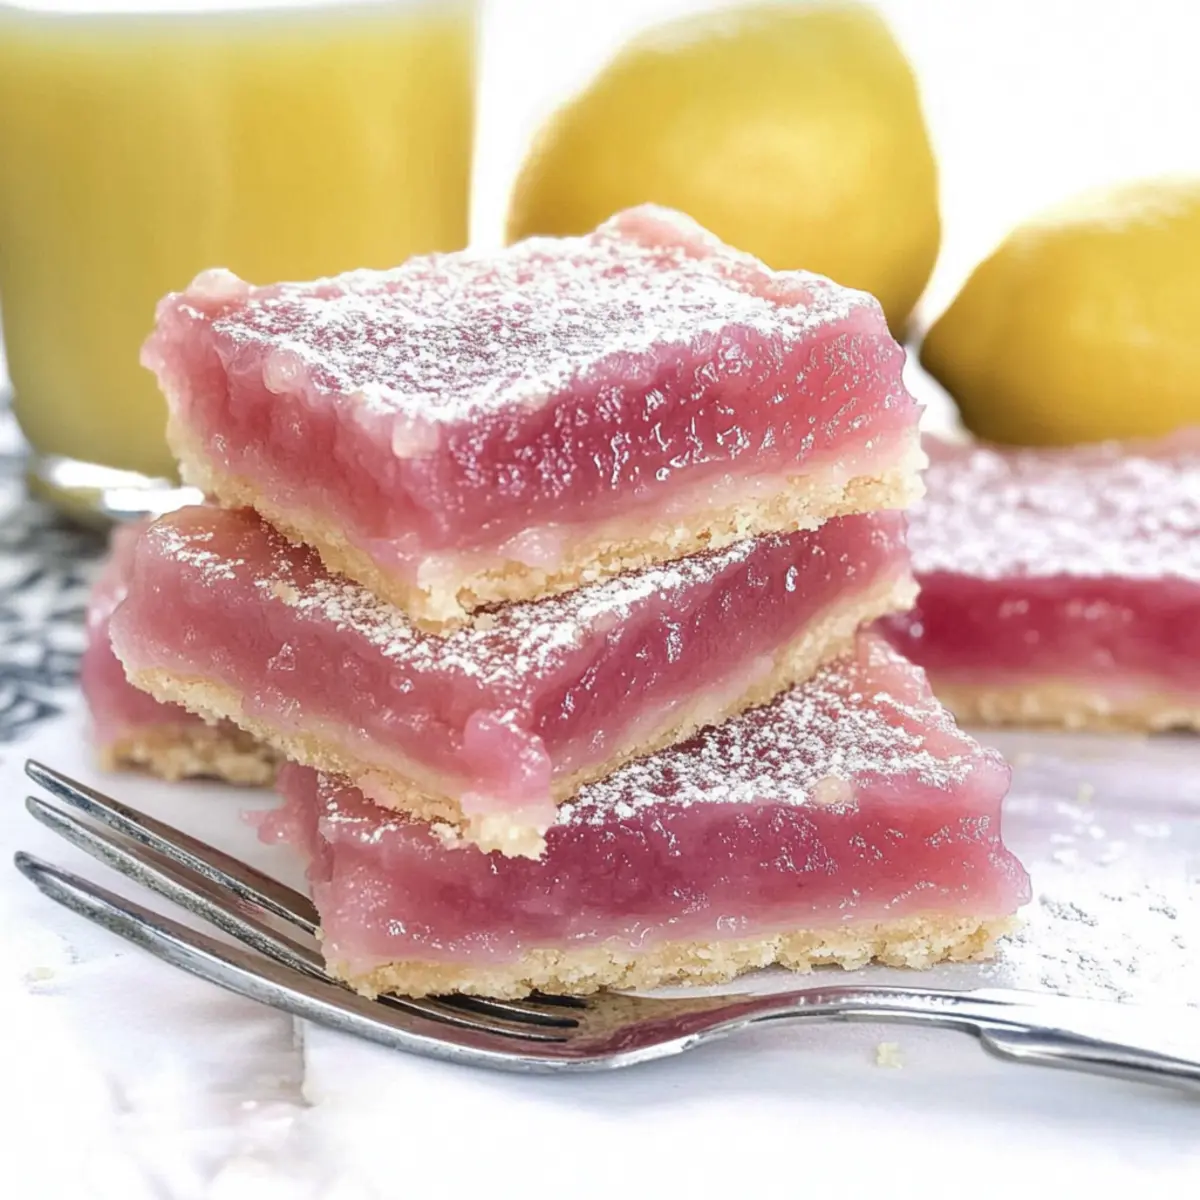
Allow the Hibiscus Lemon Bars to cool completely in the pan at room temperature. Once cooled, carefully slice them into squares and dust with confectioner’s sugar for a beautiful presentation. These bars offer a refreshing tartness, perfect for sharing or enjoying as a delightful treat!
Make Ahead Options
These Hibiscus Lemon Bars are perfect for busy home cooks who want to minimize their prep time! You can prepare the crust and store it covered in the refrigerator for up to 24 hours. Just be sure to let it cool completely before tightly wrapping. The filling can also be mixed ahead of time; refrigerate the prepared mixture for up to 3 days in an airtight container. When you’re ready to bake, simply pour the chilled filling over the crust and bake as directed. This approach saves you precious time, and your Hibiscus Lemon Bars will still be just as vibrant and delicious when served!
Storage Tips for Hibiscus Lemon Bars
Fridge: Store your Hibiscus Lemon Bars in an airtight container in the refrigerator for up to one week; the flavors intensify and improve over time.
Freezer: If you want to keep them longer, these delightful bars can be frozen for up to three months. Wrap them tightly in plastic wrap and place them in a freezer-safe container.
Thawing: To enjoy your frozen Hibiscus Lemon Bars, thaw them overnight in the fridge, and dust with confectioner’s sugar before serving to restore their lovely appearance.
Serving Freshness: For the best texture and flavor, serve chilled or at room temperature, ensuring each slice is a refreshing burst of hibiscus and lemon goodness!
Expert Tips for Hibiscus Lemon Bars
-
Hibiscus Infusion Time: Ensure you steep the hibiscus in lemon juice for at least 15 minutes to achieve the best flavor and vibrant color.
-
Watch the Baking Time: Closely monitor the baking time during the filling stage; an overbaked center can turn dry and lose that creamy texture in your Hibiscus Lemon Bars.
-
Chill the Crust: Don’t skip the chilling step after pressing the crust; it helps develop the perfect texture and prevents the crust from becoming too crumbly during baking.
-
Use a Proper Pan: Opt for a light-colored, metal baking pan for even heat distribution. Dark pans can lead to uneven baking and over-browning.
-
Cool Completely: Allow the bars to cool completely before slicing to ensure clean edges and a well-set filling; this makes for a stunning presentation!
Hibiscus Lemon Bars: Sweet Swaps and Twists
Feel free to explore creative options that enhance your Hibiscus Lemon Bars, making them truly your own!
-
Citrus Swap: Replace fresh lemon juice with lime or grapefruit juice for a refreshing twist; each citrus gives a unique, delicious flavor.
-
Berry Bonus: Add fresh or frozen berries like blueberries or raspberries to the filling for an extra fruity burst; the vibrant colors complement the hibiscus beautifully.
-
Coconut Flour: Try using coconut flour as a gluten-free alternative for a slightly sweet, tropical flavor; just remember to adjust the liquid ratio as needed.
-
Herb Infusion: Incorporate a hint of fresh mint or basil into the filling for a refreshing herbal note; the combination with hibiscus creates a delightful surprise.
-
Honey Sweetener: Substitute sugar with honey or maple syrup for a natural sweetness; this can lend a deeper flavor profile to the bars.
-
Additional Zest: Add in lemon zest along with the lemon juice for an extra citrus punch; this brightens up the flavor and enhances the sunny notes.
-
Spicy Kick: Spice things up by mixing in a dash of cayenne or crushed red pepper flakes; the heat harmonizes beautifully with the dessert’s sweetness.
-
Nut Crust: Use ground almonds or pecans in place of regular flour for a nutty crust that adds a satisfying crunch; this gives your bars a rustic touch.
These variations allow you to tailor your Hibiscus Lemon Bars perfectly to your taste. For even more delightful dessert ideas, consider making some Butterscotch Bars Deliciously or trying out Rigatoni Salad Lemon for a refreshing meal. Enjoy your culinary journey!
What to Serve with Hibiscus Lemon Bars
These delightful Hibiscus Lemon Bars are the perfect centerpiece for a cheerful gathering or a cozy family dessert night, begging for delicious companions!
-
Whipped Cream: A dollop of freshly whipped cream adds a luxurious, creamy contrast to the tartness of the bars, balancing flavors beautifully.
-
Fresh Fruit Salad: A vibrant medley of seasonal berries and citrus brightens the palate and complements the refreshingly fruity notes of the hibiscus.
-
Iced Tea: A glass of sweetened iced tea, perhaps infused with lemon or mint, serves as a thirst-quenching refreshment that harmonizes with the citrusy zing.
-
Almond Biscotti: Crunchy almond biscotti provide a delightful textural contrast and nutty undertones, great for cookie-dipping alongside these bars.
-
Coconut Macaroons: Chewy, sweet coconut macaroons add a tropical flair and richness that pairs surprisingly well with the tangy flavors of the lemon bars.
-
Sparkling Water with Lime: For a refreshing, non-sweet option, sparkling water with a splash of lime enhances the flavors of the dessert without overwhelming it.
-
Chocolate Drizzle: A drizzle of dark chocolate over the bars creates a stunning visual contrast and adds a rich sweetness that complements the tartness.
Each serving option amplifies the experience of the Hibiscus Lemon Bars, creating a balanced symphony of flavors to savor.

Hibiscus Lemon Bars Recipe FAQs
What kind of hibiscus should I use for Hibiscus Lemon Bars?
Absolutely! You can use dried hibiscus flowers or hibiscus tea bags for this recipe. Just ensure they are caffeine-free to keep the vibrant flavors of your bars pure. I often find that dried hibiscus flowers provide a more robust flavor, but tea bags work just as well.
How do I store Hibiscus Lemon Bars?
For maximum freshness, store your Hibiscus Lemon Bars in an airtight container in the refrigerator for up to one week. The flavors actually deepen and become even more delightful as they sit! If you need to save them longer, wrap individual squares in plastic wrap and place them in a freezer-safe container for up to 3 months.
Can I freeze Hibiscus Lemon Bars?
Yes, you certainly can! To freeze them, let the bars cool completely, then wrap them tightly in plastic wrap and place them in a freezer-safe container. When you’re ready to enjoy them, thaw them overnight in the refrigerator. Dust them with confectioner’s sugar to refresh their look before serving!
What if my filling is too runny after baking?
Very! If your filling appears jiggly and runny after baking, it may need more time in the oven. Return it to the oven and check every few minutes until the center is set and no longer wobbly. It’s essential not to overbake, as that could lead to a dry texture. Allow it to cool completely after baking for the best results.
Are Hibiscus Lemon Bars safe for pets?
It’s important to note that while hibiscus is not toxic to dogs or cats, it’s always best to avoid giving them human desserts, especially those containing sugar and lemon. If you have pets, it’s a good idea to keep these delicious bars out of their reach to ensure their safety.
Can I substitute ingredients in this recipe?
Absolutely! You can swap the fresh lemon juice with lime or grapefruit juice for a fun citrus twist. If you prefer a different sweetener, coconut sugar can replace the regular sugar for a lower glycemic index. You can also use gluten-free flour instead of all-purpose flour, ensuring everyone can enjoy this vibrant treat!
Hibiscus Lemon Bars That Burst with Flavor and Color
Ingredients
Equipment
Method
- Preheat your oven to 350°F (175°C) and prepare a greased 9x9 inch baking pan.
- Cream together the butter, sugar, and vanilla bean paste until light and fluffy.
- Add the flour and salt to the mixture, mixing on low until just combined.
- Press the crust mixture into the bottom of the pan and chill for 15 minutes.
- Bake the crust for about 15 minutes until light golden-brown.
- Combine lemon juice and hibiscus, steep for 15 minutes, then strain.
- Whisk together eggs and sugar, then add the strained hibiscus-lemon mixture and flour.
- Pour the filling over the baked crust and bake for 20-25 minutes.
- Cool completely, slice into squares, and dust with confectioner’s sugar.
Leave a Reply