
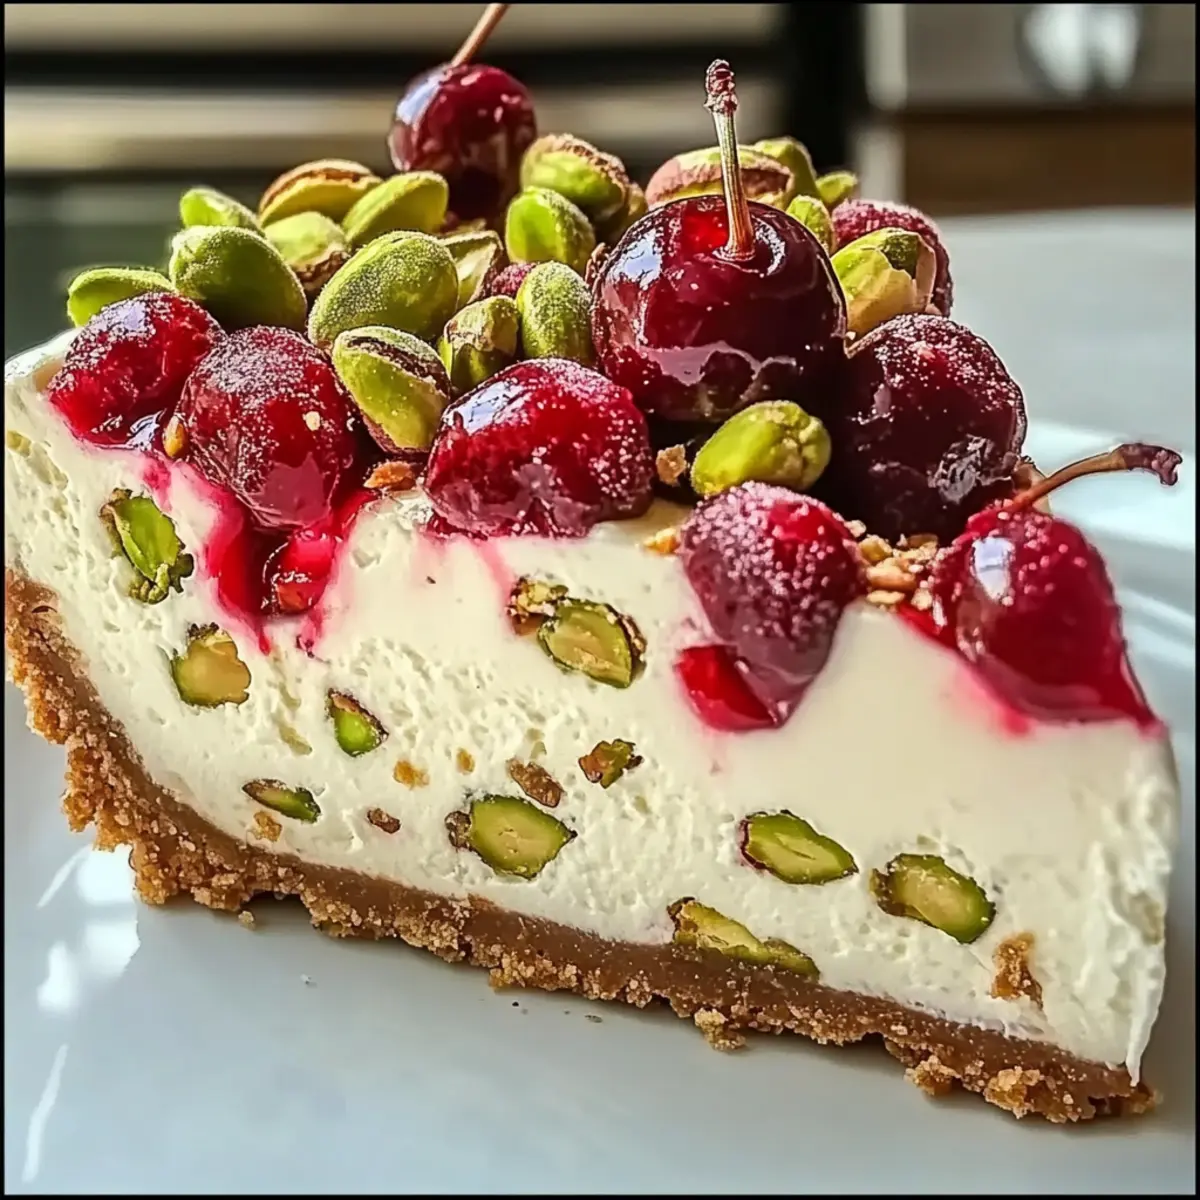
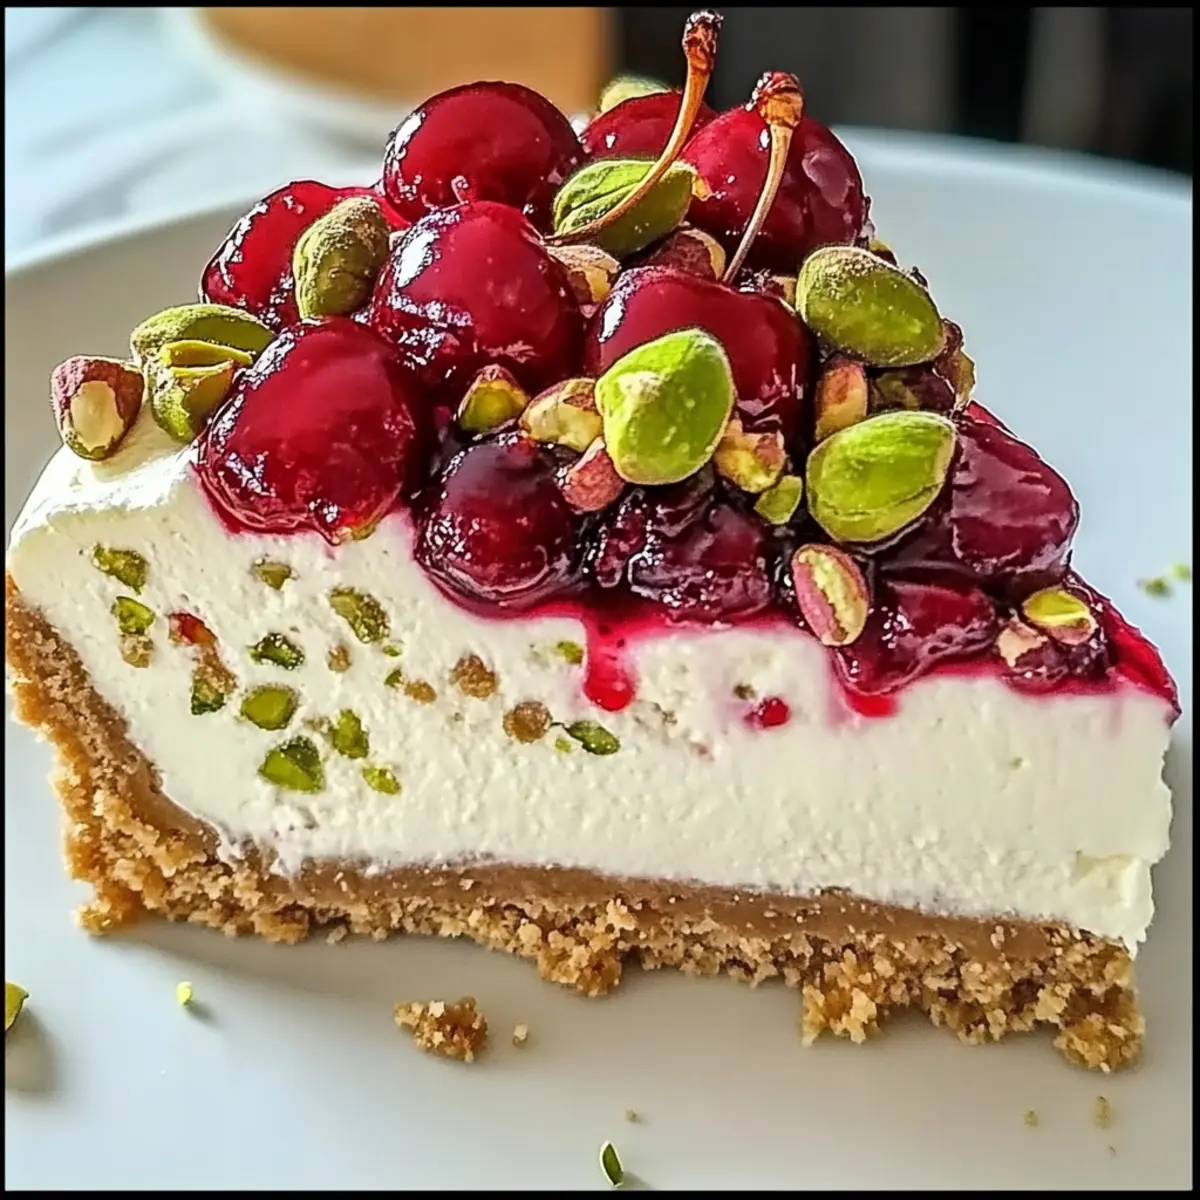
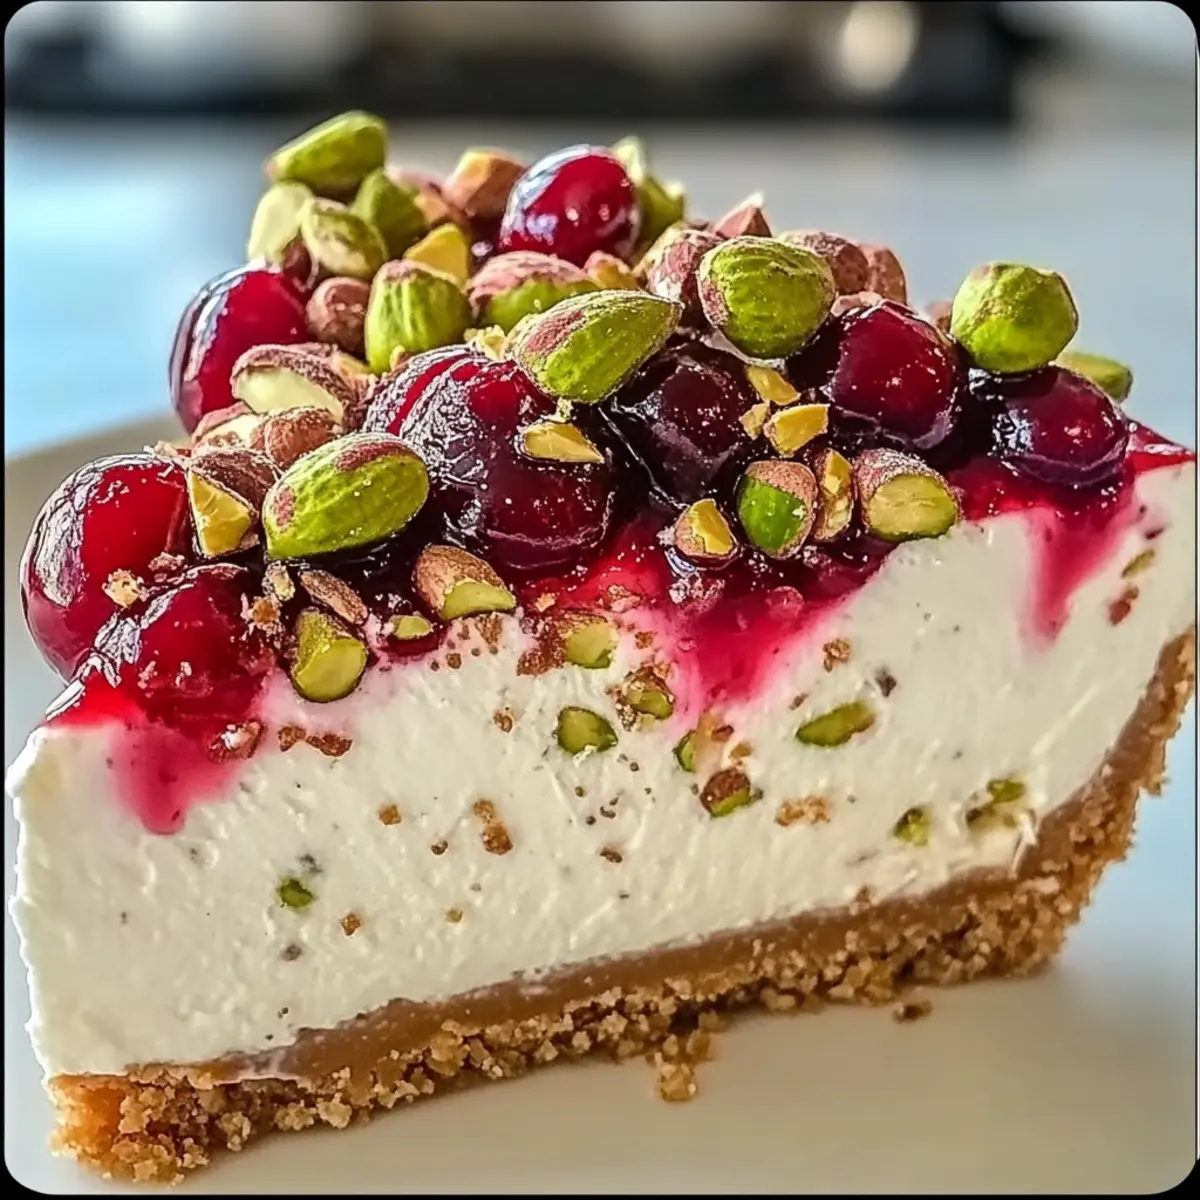
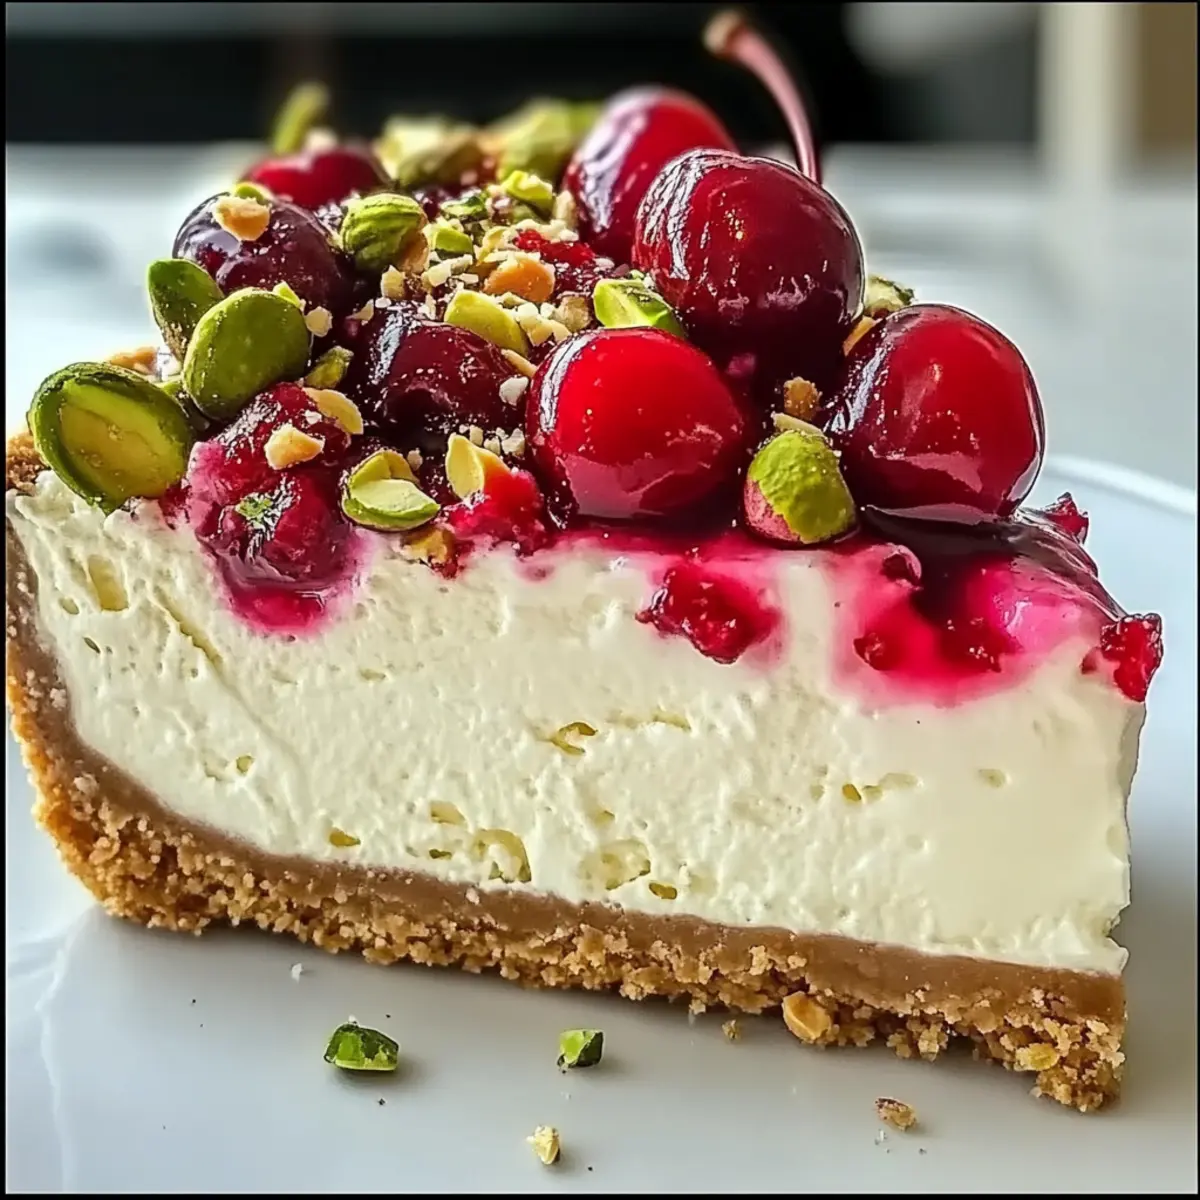
As I pulled my Cherry Pistachio Cheesecake from the oven, the vibrant colors of the maraschino cherries and the crunchy pistachios danced under the kitchen lights, promising a delightful treat. This show-stopping dessert combines a creamy filling with a refreshing zing from lemon and lime zest, making it perfect for any holiday gathering or a cozy night in. What I love most about this cheesecake is not just its stunning appearance but also how effortlessly it comes together. You’re just a few simple steps away from creating a slice of joy that is both rich and indulgent. Whether you’re celebrating a special occasion or simply need a sweet escape, this Cherry Pistachio Cheesecake is bound to impress. Ready to dive into a dessert that’s as delicious as it is beautiful? Let’s get started!
Why is this cheesecake a must-try?
Show-stopping Elegance: This Cherry Pistachio Cheesecake is not just a dessert; it’s a centerpiece that will wow your guests and elevate any occasion.
Effortlessly Simple: With a few easy steps, you can create this creamy delight without any fuss, making it perfect for both novice and seasoned bakers.
Flavorful Fusion: The harmonious blend of sweet maraschino cherries, crunchy pistachios, and zesty citrus creates a taste experience that’s irresistibly rich yet refreshing.
Versatile Delight: Whether it’s a festive gathering or a cozy family dinner, this cheesecake fits seamlessly into any celebration, ensuring everyone leaves with a smile.
Make-Ahead Magic: Prepare it in advance to ease your party prep, allowing you to enjoy the festivities without any last-minute stress!
Indulge in this dessert and consider pairing it with an easy no-bake cheesecake or a delightful cherry shortbread cookie for a wholesome treat!
Cherry Pistachio Cheesecake Ingredients
For the Crust
- Graham Cracker Crumbs – Provides a flavorful base; feel free to substitute with crushed cookies for a unique twist.
- Melted Butter – Binds the crust ingredients together; use unsalted for the best flavor.
- Granulated Sugar – Sweetens the crust; brown sugar can offer a caramel-like depth if desired.
For the Filling
- Cream Cheese – The star of the cheesecake, creating that rich and creamy texture; ensure it’s at room temperature to avoid lumps.
- Granulated Sugar (Filling) – Sweetens the filling; mix well with cream cheese for a smooth consistency.
- Eggs – Essential for binding; add them one at a time to keep the mixture silky smooth.
- Sour Cream – Enhances the creaminess and adds a tangy flavor; can be replaced with Greek yogurt for a lighter option.
- Pistachio Pudding Mix – Infuses flavor and helps with texture; make sure to use the dry powder form.
- Vanilla Extract – Enhances the overall flavor; almond extract can be a lovely alternative for a bolder taste.
- Maraschino Cherries – Adds sweetness and a pop of color; fresh cherries can be used if drained properly to avoid a soggy batter.
For the Topping
- Chopped Pistachios – A delightful crunch and decorative element; opt for roasted and unsalted for the best taste.
This luxurious Cherry Pistachio Cheesecake is not just about taste—it’s about creating beautiful memories around the table!
Step‑by‑Step Instructions for Cherry Pistachio Cheesecake
Step 1: Preheat the Oven
Begin by preheating your oven to 325°F (165°C) while you prepare a 9-inch springform pan. Lightly grease the pan or line the bottom with parchment paper to ensure easy removal later on. This step is crucial for achieving the perfect baking environment for your Cherry Pistachio Cheesecake.
Step 2: Make the Crust
In a mixing bowl, combine graham cracker crumbs, melted unsalted butter, and granulated sugar until well mixed. Press this mixture firmly into the bottom of your prepared springform pan to create a solid crust. Bake it in the preheated oven for 8 minutes, or until golden and fragrant, and then let it cool while you prepare the filling.
Step 3: Prepare the Filling
In a large mixing bowl, beat the softened cream cheese with granulated sugar until it’s smooth and creamy, free of lumps. Gradually add the eggs one at a time, mixing gently after each addition to maintain a silky texture. Incorporate the sour cream, pistachio pudding mix, and vanilla extract, blending until well combined for a rich Cherry Pistachio Cheesecake filling.
Step 4: Combine Add-ins
Gently fold in the chopped maraschino cherries and pistachios into the cheesecake filling. This step adds delightful bursts of flavor and a crunchy texture to your Cherry Pistachio Cheesecake. Make sure they’re evenly distributed throughout the mixture to ensure every slice is a treat!
Step 5: Bake the Cheesecake
Pour the luscious cheesecake filling over the cooled crust in your springform pan. Smooth the top with a spatula for an even surface. Bake in the oven for 45-50 minutes, or until the edges are set but the center retains a slight jiggle. This gentle baking is key to a creamy final texture.
Step 6: Cool & Chill
Once baked, turn off the oven and crack the oven door ajar, allowing the cheesecake to cool gradually for 1 hour. This helps prevent cracks from sudden temperature changes. After the hour, transfer your Cherry Pistachio Cheesecake to the refrigerator and chill it for at least 4 hours, preferably overnight, to fully develop its flavors.
Step 7: Top and Serve
Before serving, spread a layer of cherry pie filling over the chilled cheesecake for added sweetness and a pop of color. Finally, sprinkle chopped pistachios on top to enhance the presentation and add a delightful crunch. Slice the cheesecake and enjoy this stunning dessert with family or friends!
Make Ahead Options
This Cherry Pistachio Cheesecake is perfect for meal prep enthusiasts! You can prepare the crust and filling up to 24 hours in advance. Simply make the crust, let it cool, and then prepare the filling as directed. Pour the filling over the cooled crust, but instead of baking, cover and refrigerate. When you’re ready to enjoy, bake the cheesecake as instructed, adding an extra few minutes if you’re starting from cold. This method helps maintain quality and ensures your cheesecake remains just as delicious as if it were made fresh. With minimal effort, you’ll have a stunning dessert ready to impress at a moment’s notice!
Cherry Pistachio Cheesecake Variations
Feel free to get creative with your Cherry Pistachio Cheesecake and make it your own!
-
Fresh Cherry Swap:
Replace maraschino cherries with fresh cherries for a vibrant, tart flavor. Just be sure to pit and chop them! -
Nut-Free Option:
Omit pistachios entirely for a nut-free version. You can also substitute them with sunflower seeds for added crunch without the nuts. -
Mini Cheesecakes:
Introduce a fun twist by prepping mini cheesecakes in muffin tins. Adjust the baking time to about 20-25 minutes for quicker, adorable treats. -
Chocolate Drizzle:
For a decadent touch, melt dark chocolate and drizzle it over the top before serving. This adds rich depth that complements the cherry nicely. -
Citrus Burst:
Enhance the flavor profile by adding lemon or lime zest directly into the filling. The additional citrus will brighten each bite and elevate the overall taste. -
Graham Cracker Variation:
Swap traditional graham cracker crumbs with crushed shortbread cookies for a sweeter, buttery crust. This simple change creates a delightful contrast with the creamy filling. -
Almond Extract:
Substitute vanilla extract with almond extract to accentuate the nuttiness from the pistachios. This extra layer of flavor is sure to impress!
While you’re exploring these possibilities, don’t forget to check out my delightful Cherry Shortbread Cookies or an easy no-bake cheesecake for a quick and satisfying dessert option.
Storage Tips for Cherry Pistachio Cheesecake
Fridge: Store leftover Cherry Pistachio Cheesecake in an airtight container for up to 5 days. This will keep it fresh while preserving its rich, creamy texture.
Freezer: For longer storage, freeze the cheesecake for up to 2 months. Wrap it tightly in plastic wrap and then foil to prevent freezer burn.
Thawing: To enjoy a slice, simply transfer the frozen cheesecake to the refrigerator and let it thaw overnight before serving.
Serving Suggestions: After thawing, consider garnishing with extra cherries and chopped pistachios to elevate its presentation!
What to Serve with Cherry Pistachio Cheesecake
As you prepare to indulge in the creamy decadence of this Cherry Pistachio Cheesecake, let’s explore delightful accompaniments to elevate your dessert experience.
-
Whipped Cream: A dollop of freshly whipped cream adds a light, airy touch, balancing the rich cheesecake beautifully. It’s the perfect sweet finish for each slice.
-
Fresh Berries: Bright, juicy strawberries or blueberries bring a burst of freshness that contrasts the creaminess of the cheesecake. Their tartness complements the sweetness, making every bite irresistible.
-
Chocolate Sauce: Drizzling warm chocolate sauce over a slice offers a rich and indulgent flavor contrast. The smooth chocolate enhances the nutty pistachio notes in the cheesecake while adding an elegant touch.
-
Mint Garnish: A sprig of fresh mint not only looks stunning but also introduces a refreshing herbal note that lightens each mouthful. It’s an unexpected yet delightful addition to your presentation.
-
Caramel Sauce: A drizzle of salted caramel entwined with maraschino cherries creates a dreamy combination of flavors. The sweet, buttery notes heighten the overall richness of your dessert.
-
Biscotti Cookies: Pairing with crispy biscotti offers a satisfying crunch that complements the creamy cheesecake. Dipping them into coffee or tea while enjoying dessert makes for a comforting moment.
-
Iced Coffee: Enjoying your cheesecake with a glass of cold, creamy iced coffee enhances the flavors while providing a refreshing contrast. The caffeine kick can beautifully awaken the rich taste of your dessert.
-
Sparkling Wine: A glass of bubbly sparkling wine or champagne brings a festive flair, accentuating the flavors without overwhelming them. The effervescence cleanses the palate, letting the cheesecake shine.
-
Fruit Salad: A light fruit salad with citrus and melon offers a refreshing side that cleanses the palate while adding a seasonal flair to your dessert table. It’s vibrant and a healthy addition to balance the richness.
Each of these pairings brings its own unique twist to your Cherry Pistachio Cheesecake experience, ensuring every occasion is memorable and delicious.
Expert Tips for Cherry Pistachio Cheesecake
-
Temperature Matters: Always ensure your cream cheese is at room temperature to avoid lumps in the filling. This step is essential for a silky, smooth Cherry Pistachio Cheesecake.
-
Mix Carefully: When adding eggs, do so one at a time and mix gently to prevent overmixing. This technique helps avoid cracks on the surface after baking.
-
Cool Gradually: Let the cheesecake cool in the oven with the door slightly ajar for an hour after baking. This gradual cooling helps prevent temperature shock and reduces the risk of cracks.
-
Chill Well: Refrigerate your Cherry Pistachio Cheesecake for at least 4 hours, or overnight if possible. Chilling allows the flavors to meld together beautifully and firms up the texture.
-
Top with Care: When decorating with cherry pie filling, spread it evenly to avoid disturbing the cheesecake’s surface. Finish with chopped pistachios for a lovely crunch and vibrant color.
Cherry Pistachio Cheesecake Recipe FAQs
How do I select the right maraschino cherries for this cheesecake?
Absolutely! Look for brightly colored maraschino cherries that are plump and shiny, without any dark spots or signs of syrup leakage. This will ensure vibrant flavor and appearance in your cheesecake.
What’s the best way to store leftover Cherry Pistachio Cheesecake?
To keep your cheesecake fresh, store any leftovers in an airtight container in the refrigerator for up to 5 days. Make sure to cover it well to prevent it from absorbing any unwanted odors from the fridge.
Can I freeze Cherry Pistachio Cheesecake?
Yes, you can freeze your cheesecake for up to 2 months! Just wrap it tightly in plastic wrap and then in foil to prevent freezer burn. When you’re ready to enjoy it again, simply thaw it in the refrigerator overnight before serving.
What should I do if my cheesecake cracks during baking?
If you notice cracks in your cheesecake, don’t worry; it happens! To prevent it next time, make sure not to overmix after adding eggs and avoid sudden temperature changes. Always cool your cheesecake gradually in the oven with the door slightly ajar after baking; this helps prevent cracks from forming.
Are there any dietary considerations for pets regarding this cheesecake?
Absolutely! While the Cherry Pistachio Cheesecake is scrumptious for humans, it’s not suitable for pets. Avoid sharing it with your furry friends, especially since ingredients like sugar and chocolate can be harmful to them.
Could I modify this recipe for allergies?
Certainly! For a nut allergy, you can simply omit the pistachios or replace them with seeds like sunflower seeds. If dairy is a concern, consider using dairy-free cream cheese and sour cream alternatives. Always check labels to ensure all ingredients meet dietary needs.
Decadent Cherry Pistachio Cheesecake for Your Celebrations
Ingredients
Equipment
Method
- Preheat your oven to 325°F (165°C) while preparing a 9-inch springform pan.
- Combine graham cracker crumbs, melted butter, and granulated sugar until well mixed. Press this mixture into the bottom of the prepared springform pan.
- Bake for 8 minutes, or until golden and fragrant. Let it cool.
- In a large mixing bowl, beat the softened cream cheese with granulated sugar until smooth. Add eggs one at a time.
- Incorporate sour cream, pistachio pudding mix, and vanilla extract, blending until well combined.
- Fold in chopped maraschino cherries and pistachios.
- Pour the cheesecake filling over the cooled crust and bake for 45-50 minutes.
- Cool gradually for 1 hour then chill in the refrigerator for 4 hours or overnight.
- Spread a layer of cherry pie filling over the cheesecake and top with chopped pistachios before serving.
Leave a Reply