
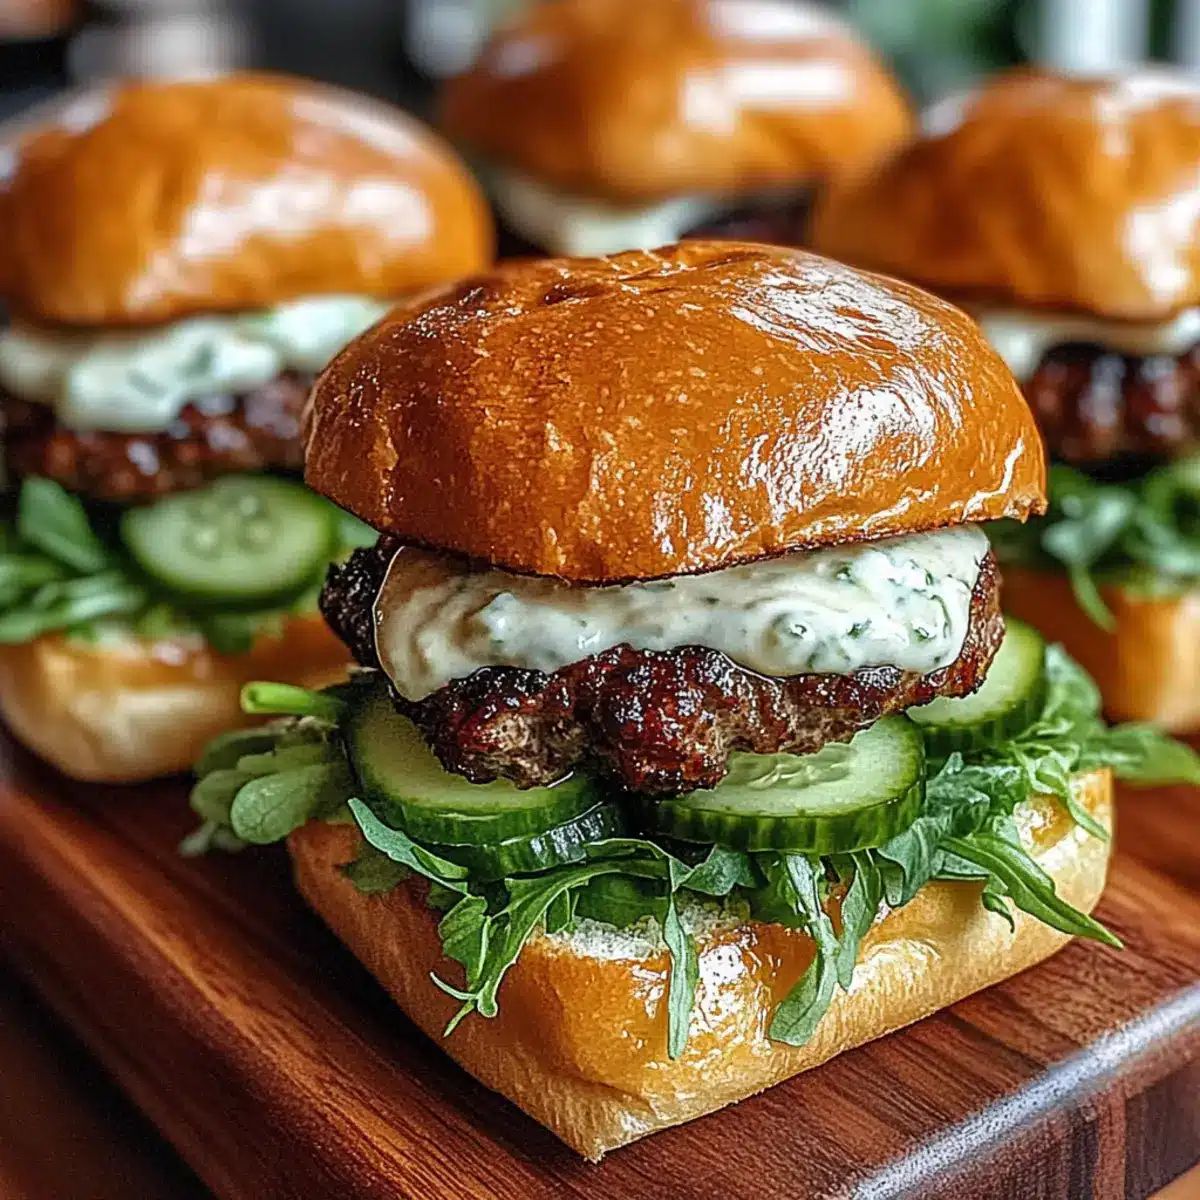
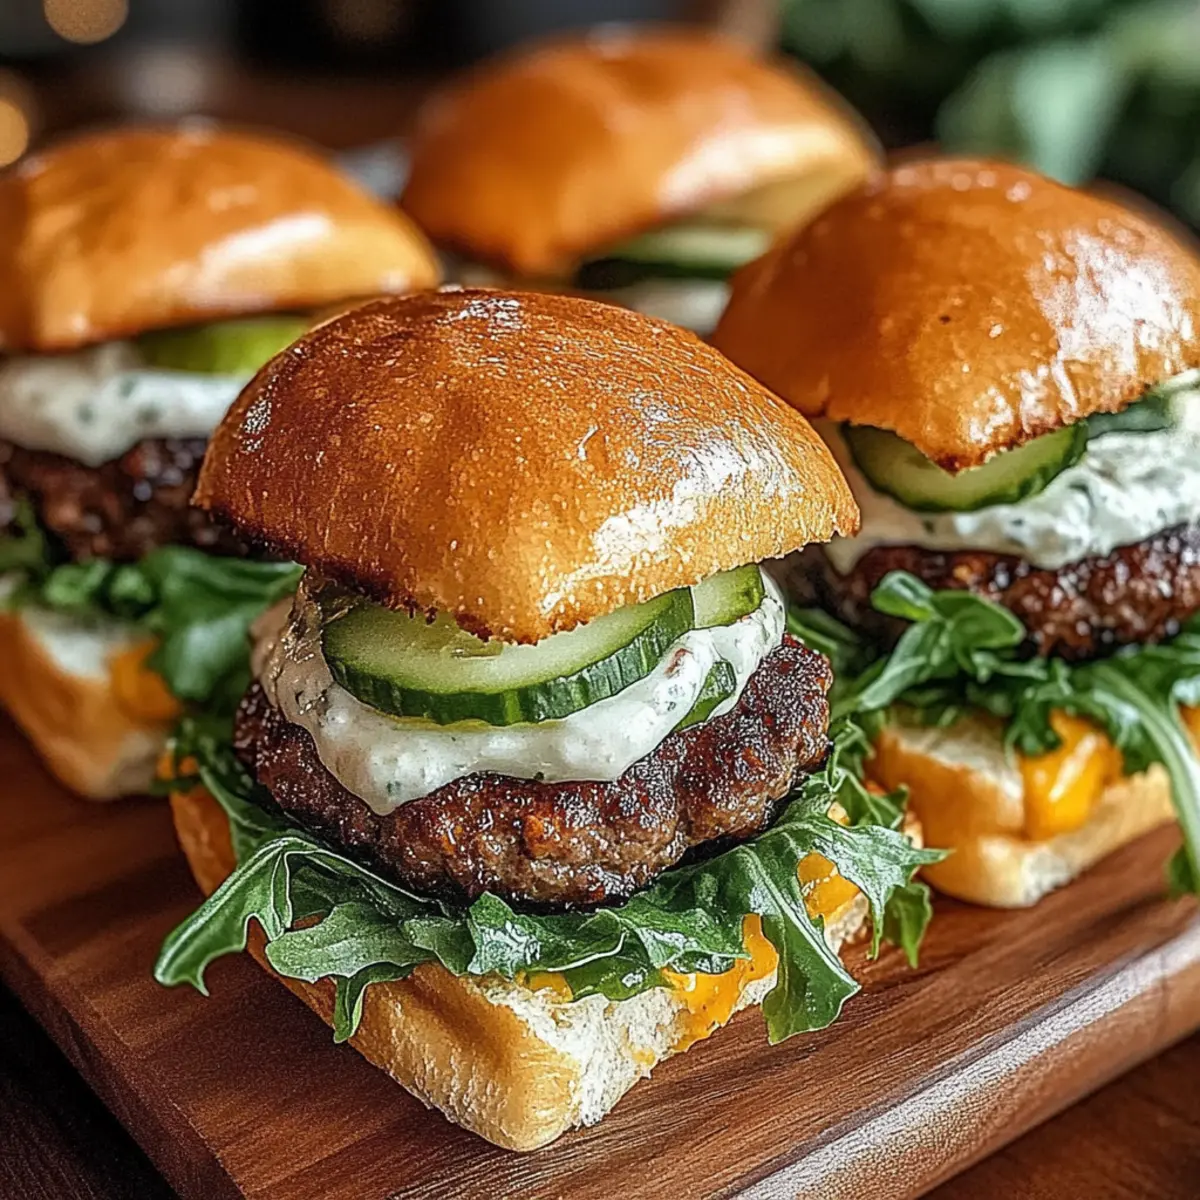
Bite-sized delights that make your heart sing! These Mini Melting Moments Sliders with Garlic Aioli are more than just a meal; they’re a celebration of flavors and textures that will transform any gathering into a joyous occasion. Whether you’re planning a cozy get-together or a lively game night, these juicy burger sliders are your go-to easy recipe, taking less than an hour to whip up. The beauty of this dish lies in its adaptability—substitute ground beef with turkey, lamb, or plant-based options to cater to your guests’ preferences. Plus, with options for gluten-free buns or lettuce wraps, everyone can join the fun! Ready to dive into a world of savory satisfaction and delightful crunch? Let’s get cooking!
Why are Juicy Burger Sliders So Irresistible?
Flavor Explosion: Every bite bursts with savory goodness, from the juicy patties to the creamy garlic aioli.
Quick and Easy: Made in under an hour, these sliders are perfect for busy nights or spontaneous gatherings.
Versatile Options: Switch up the protein with ground turkey or lamb, or make it vegan—this recipe accommodates all tastes!
Crowd-Pleaser: Serving these at parties guarantees delighted guests eager for seconds; they’re a guaranteed hit.
Customizable: Feel free to get creative with toppings or sauces—these sliders are a blank canvas for your culinary imagination!
Juicy Burger Sliders Ingredients
• Get ready to indulge in mini delights that will surely please everyone at your table!
For the Patties
- Ground Beef (1 lb, 80% lean) – Provides richness and satisfying bite; you can easily substitute with ground turkey or lamb for different flavors.
- Salt and Freshly Ground Black Pepper – Essential for seasoning to enhance the meat’s natural flavors.
- Olive Oil (1 tbsp, for searing) – Prevents sticking and helps create a perfect crust on the patties.
For the Buns & Cheese
- Mini Brioche Buns (12) – Adds buttery softness that’s perfect for sliders; consider gluten-free buns or lettuce wraps for dietary needs.
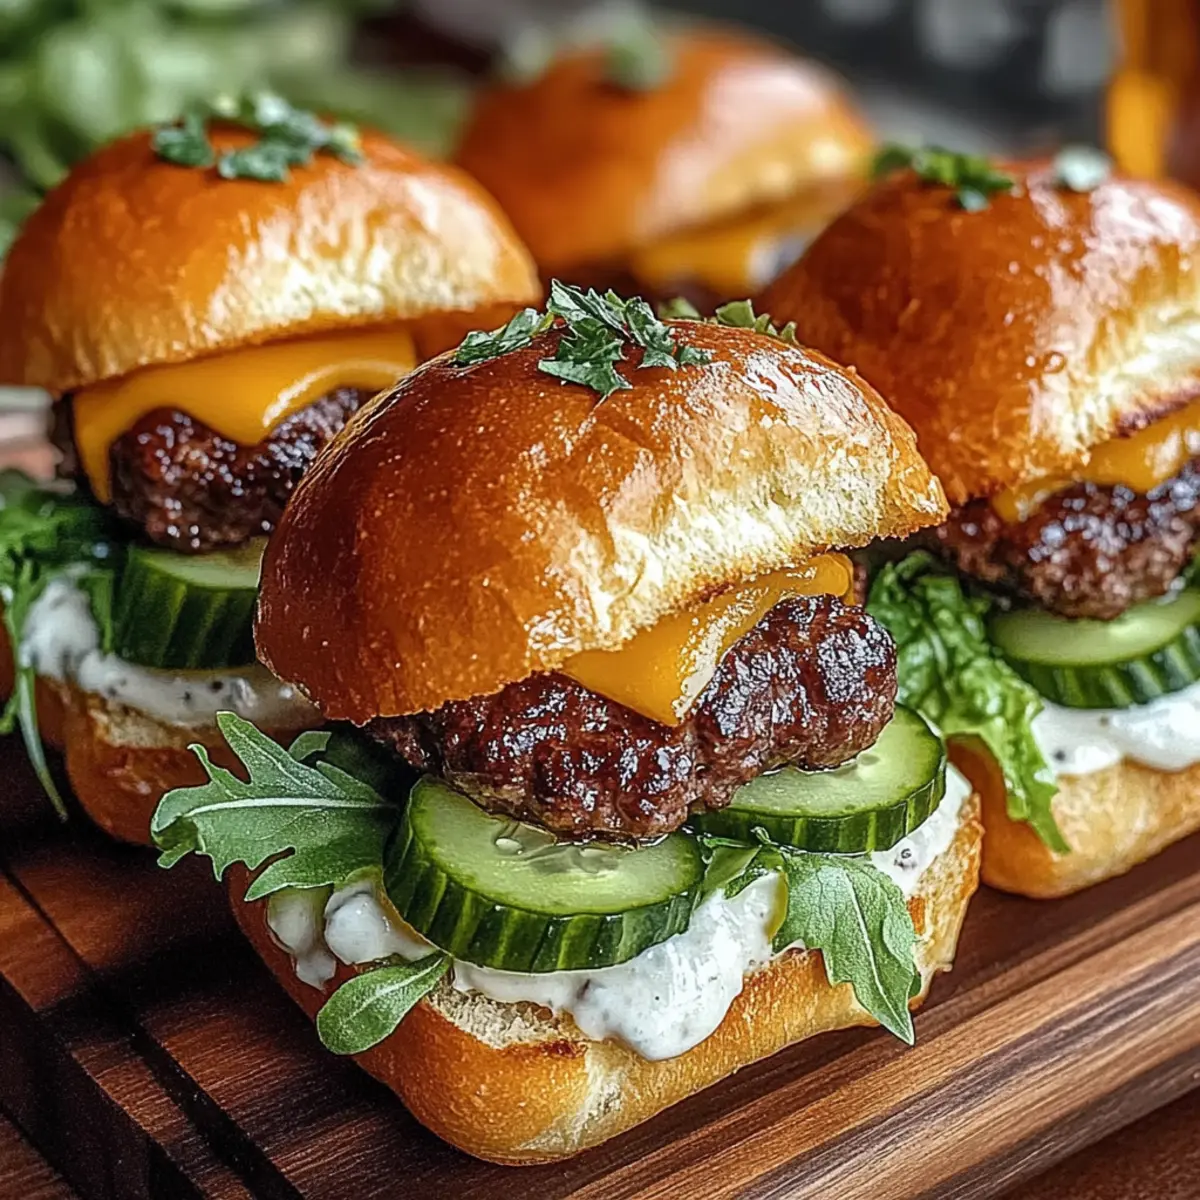
- Sharp Cheddar Cheese (6 slices) – Offers creaminess and a delightful flavor contrast; feel free to swap with pepper jack for a spicy kick or a dairy-free cheese for a vegan option.
For the Toppings
- Mixed Lettuce Leaves (4 cups) – Provides freshness and crunch; use a variety of greens for added texture.
- Quick-Pickled Cucumber (½ cup, thinly sliced) – Creates a zesty brightness in each bite; red onion or jalapeños make excellent substitutes for extra zest.
For the Garlic Aioli
- Mayonnaise (½ cup) – Acts as the base for the garlic aioli, adding richness; opt for vegan mayo for a dairy-free option.
- Garlic (2 cloves, minced) – Infuses the aioli with savory aroma and flavor; adjust according to your taste preference.
- Dijon Mustard (1 tsp) – Adds a touch of tanginess that complements the garlic.
- Fresh Lemon Juice (1 tsp) – Brightens the flavors in the aioli and enhances the overall taste.
With these Juicy Burger Sliders ingredients in hand, you’re all set to create delightful mini burgers that will be the star of your next gathering!
Step‑by‑Step Instructions for Juicy Burger Sliders
Step 1: Prepare the Patties
In a large bowl, gently combine 1 lb of ground beef with salt and freshly ground black pepper, ensuring not to overwork the meat to maintain tenderness. Once well mixed, divide the mixture into twelve equal portions, shaping each into a patty about ½-inch thick with a slight dimple in the center. This helps keep the Juicy Burger Sliders from puffing while cooking.
Step 2: Make the Garlic Aioli
Whisk together ½ cup of mayonnaise, 2 minced garlic cloves, 1 teaspoon of Dijon mustard, and 1 teaspoon of fresh lemon juice in a bowl until smooth. Season with salt and pepper to taste, adjusting the flavors to your liking. Cover the aioli and refrigerate for at least 15 minutes, allowing the flavors to meld and elevate the creamy experience in your Juicy Burger Sliders.
Step 3: Sear the Patties
Heat 1 tablespoon of olive oil in a large skillet over medium-high heat. Once the oil shimmers, add the prepared patties to the skillet, cooking for about 3-4 minutes on each side or until they reach a nice golden-brown crust. For added flavor, place a slice of sharp cheddar cheese on each patty just before they finish cooking, allowing it to melt perfectly for those Juicy Burger Sliders.
Step 4: Toast the Buns
While the patties cook, preheat another skillet or griddle over medium heat. Cut the mini brioche buns in half and place them cut-side down in the skillet. Toast for about 30 seconds, or until they are lightly browned and warm. This step adds a delightful crunch and keeps your Juicy Burger Sliders from getting soggy.
Step 5: Assemble the Sliders
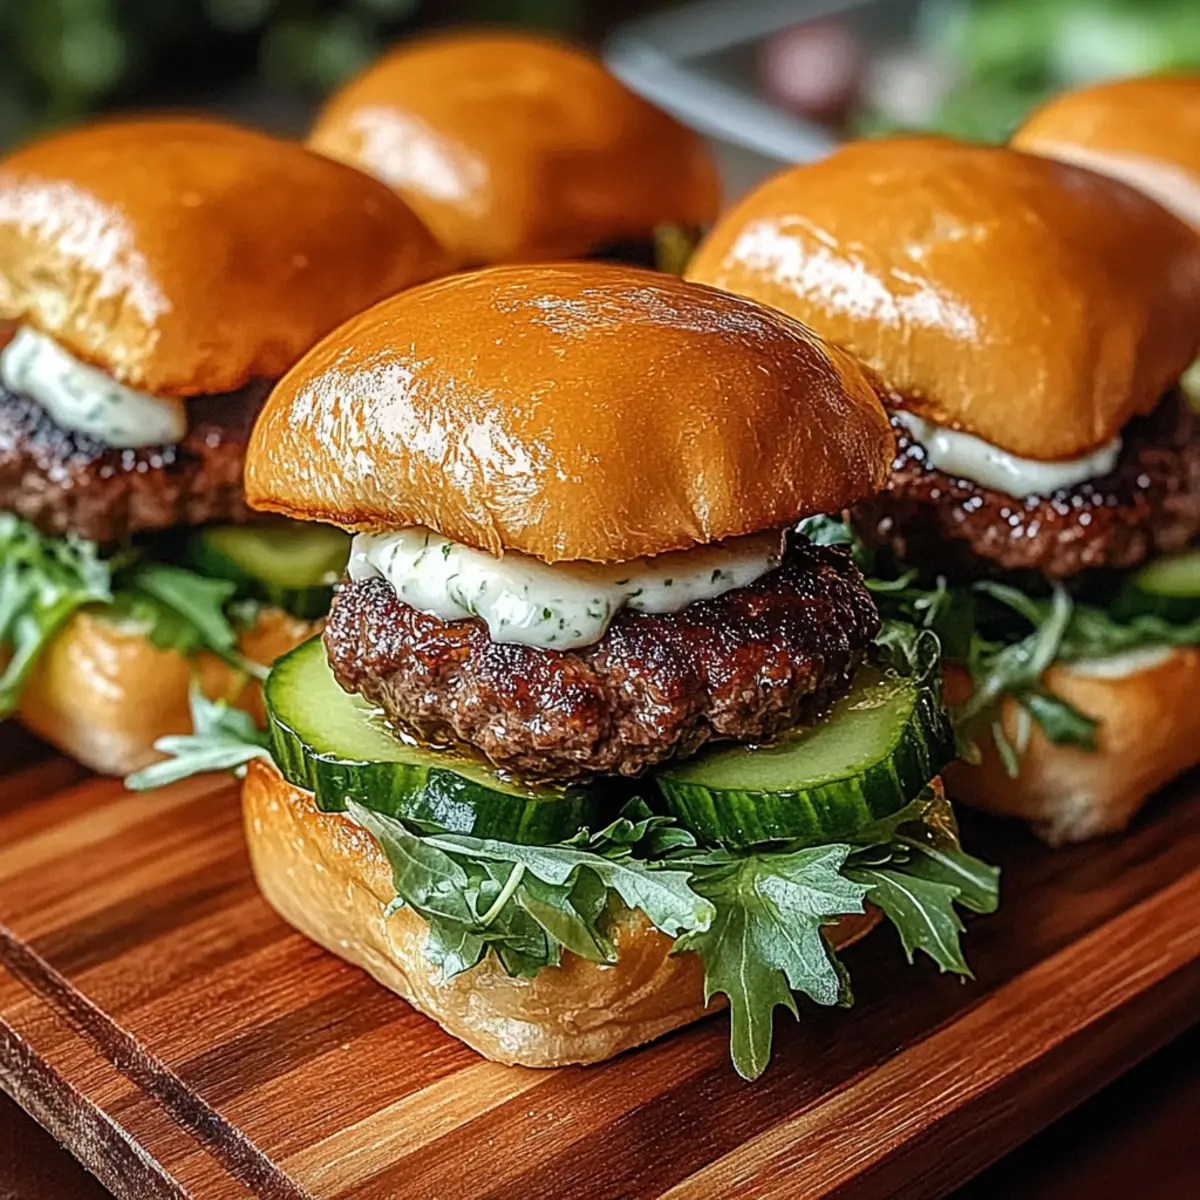
Spread a generous dollop of garlic aioli on the bottom half of each toasted brioche bun. Layer with a handful of mixed lettuce leaves, followed by the melty cheese-topped patties. Add the quick-pickled cucumber slices for that refreshing crunch and finish with the top half of the buns, completing your mouthwatering Juicy Burger Sliders.
Step 6: Serve and Enjoy
Serve the assembled Juicy Burger Sliders immediately while warm, allowing everyone to savor the combination of soft brioche, juicy patties, and creamy aioli. Pair them with sweet potato fries, coleslaw, or your favorite sides for a delightful meal that will be the highlight of any gathering!
Make Ahead Options
These Mini Melting Moments Sliders are a fantastic recipe to prep in advance, making your mealtime a breeze! You can prepare the burger patties up to 24 hours ahead by forming them and storing them tightly wrapped in the fridge to maintain their juiciness. The garlic aioli can also be made a day in advance and stored in an airtight container to let the flavors meld beautifully. When ready to serve, simply sear the patties on the stovetop for about 3-4 minutes per side and toast the buns for a delightful crunch. This way, you’ll enjoy all the deliciousness of your Mini Melting Moments Sliders without any last-minute stress!
Expert Tips for Juicy Burger Sliders
-
Meat Temperature Matters: Keep the ground beef cold before cooking. This helps the patties maintain their shape and juiciness when grilling.
-
Gentle Hands: Mix the meat gently and don’t over-handle it. This keeps your Juicy Burger Sliders light and tender, preventing tough patties.
-
Avoid Squeezing: Don’t press down on the patties while they’re cooking. This will help retain their flavorful juices for that satisfying bite.
-
Perfect Bun Toasting: Lightly toast the buns to prevent sogginess. A quick toast adds a satisfying crunch that enhances your sliders’ texture.
-
Check Internal Temperature: Use a meat thermometer to ensure patties reach an internal temperature of 160°F for safety. Consistency is key for delicious results.
-
Prep Ahead: Set up all components in advance for a smooth assembly line. This makes serving the Juicy Burger Sliders quick and easy, especially when hosting!
How to Store and Freeze Juicy Burger Sliders
Fridge: Keep assembled sliders in an airtight container for up to 3 days. Store without aioli if possible to maintain bun freshness.
Freezer: For longer storage, freeze patties and buns separately for up to 2 months. Wrap them tightly in plastic wrap or foil to prevent freezer burn.
Reheating: To reheat, cook patties in a 350°F oven for about 10 minutes until warmed through. Assemble with toppings just before serving for the best flavor and texture.
Make-Ahead Option: Prepare the sliders in advance by mixing the patties and making the aioli, storing them in the fridge overnight for easy assembly the next day.
What to Serve with Mini Melting Moments Sliders
Treat your guests to a delightful array of sides that will elevate your sliders from simple snack to a full feast!
-
Sweet Potato Fries: These crispy fries add a sweet contrast to the savory patties, making each bite even more enjoyable. Their natural sweetness pairs beautifully with the garlic aioli!
-
Coleslaw: The cool, crunchy texture of coleslaw complements the warm, juicy sliders, adding a refreshing balance that’s perfect for any gathering. Consider a tangy vinegar-based slaw for a zesty bite.
-
Quinoa Salad: Nutty quinoa mixed with fresh vegetables adds a wholesome, vibrant element to your meal. This option is not only healthy but also adds a lovely color to your plate.
-
Grilled Vegetables: Charred veggies underscore the slider’s flavors and provide a satisfying crunch. Try bell peppers, zucchini, and asparagus for a colorful addition!
-
Potato Salad: Creamy potato salad is a classic side that brings a comforting touch to your feast. Keep it herby or add mustard for an extra zing that pairs well with the sliders.
-
Craft Beer or Lemonade: For drinks, a light craft beer or a refreshing pitcher of lemonade will complement the savory goodness of your sliders while keeping the mood festive!
-
Mini Cheesecakes: End the meal on a sweet note with mini cheesecakes, adding a creamy, indulgent finish that will leave your guests smiling. A touch of fruit topping will brighten up each bite!
Juicy Burger Sliders Variations & Substitutions
Let your culinary creativity shine by customizing these sliders to your heart’s content!
- Ground Turkey: Swap the beef with ground turkey for a leaner option, still juicy and flavorful.
- Plant-Based Crumble: For a vegan twist, use plant-based meat substitutes for an equally delicious bite that everyone can enjoy.
- Pepper Jack Cheese: Add a spicy kick by using pepper jack cheese instead of sharp cheddar; it’s sure to tantalize your taste buds!
- Gluten-Free Buns: Opt for gluten-free mini buns or lettuce wraps to keep the sliders friendly for those with dietary restrictions.
- Zesty Toppings: Elevate your flavor game by including jalapeños or roasted red peppers as toppings for an extra zing!
- Herbed Aioli: Incorporate fresh herbs like dill or basil into your garlic aioli for a vibrant and fragrant twist that brightens every bite.
- Avocado Slices: Enhance the creaminess by adding slices of ripe avocado, providing a buttery texture that pairs beautifully with the meat.
- Sweet Potato Fries: Serve these sliders with a side of sweet potato fries for a delightful contrast that adds a touch of sweetness and crunch.
With these variations, you can tweak your sliders for any occasion or preference. Remember, cooking is all about embracing flavors and making each recipe your own, so have fun experimenting! If you’re looking for a fun side dish, consider pairing them with some homemade sweet potato fries for a mouth-watering experience.
Juicy Burger Sliders Recipe FAQs
What’s the best way to select ground beef for my Juicy Burger Sliders?
Absolutely! When it comes to choosing ground beef, look for an 80% lean blend; this ensures a juicy patty while still having enough fat for flavor. Always check the color; it should be a bright red with minimal dark spots. Moreover, consider sourcing grass-fed beef for enhanced taste!
How should I store leftover Juicy Burger Sliders?
To keep your sliders fresh, store assembled sliders in an airtight container in the refrigerator for up to 3 days. If you’re storing them, I highly recommend doing so without the garlic aioli to prevent sogginess—just save the aioli separately for each serving.
Can I freeze my Juicy Burger Sliders for later?
Very! For freezing, separate the patties and buns, and wrap them tightly in plastic wrap or foil before placing them in a freezer-safe bag. They’ll be good for up to 2 months! When you’re ready to enjoy, simply thaw in the fridge overnight and reheat the patties in a 350°F oven for about 10 minutes until warm.
What if my patties fall apart while cooking?
Don’t worry, that can happen! To prevent this, make sure to keep the ground beef cold and handle it gently while forming patties. The dimple in the center also helps retain their shape during cooking. If you find that your patties are crumbling, consider adding a bit of egg or breadcrumbs to the mixture for added binding.
Are there any dietary substitutions I should consider for the Juicy Burger Sliders?
The more the merrier! If you have dietary restrictions, try swapping ground beef for ground turkey, lamb, or a plant-based crumble for a vegan option—these all work beautifully. You can also use gluten-free buns or romaine lettuce as a wrap for a grain-free alternative. Don’t forget to check your cheese and aioli options if you’re going dairy-free!
How long can I keep the garlic aioli in the fridge?
You can store the garlic aioli in an airtight container in the refrigerator for up to a week. Just be sure to give it a good stir before using, as the ingredients can separate over time. Make sure the mixture is fresh, especially if you’re serving it at a gathering.
Delicious Juicy Burger Sliders That Melt in Your Mouth
Ingredients
Equipment
Method
- In a large bowl, combine the ground beef with salt and pepper, then divide into twelve portions and shape into patties.
- Whisk together mayonnaise, minced garlic, Dijon mustard, and lemon juice for the garlic aioli, then refrigerate.
- Heat olive oil in a skillet over medium-high heat, cook patties for 3-4 minutes on each side, adding cheese before they finish.
- Toast mini brioche buns cut-side down in another skillet for about 30 seconds.
- Spread garlic aioli on each bun, assemble with lettuce, patties, and pickled cucumbers.
- Serve immediately with sides!
Leave a Reply