
As I walked through the bustling aisles of my local store, the vibrant green decorations caught my eye, instantly launching me into the festive spirit of St. Patrick’s Day. This year, I decided to celebrate with a twist that would have everyone smiling: Shamrock Shake Pudding Cups! These delightful no-bake treats thoughtfully layer rich chocolate and refreshing mint pudding, bringing a fun and whimsical touch to any gathering. What I love most is how easy they are to whip up—ideal for those busy holiday preparations—and they’re a hit with both kids and adults. Plus, their eye-catching presentation makes them a standout at any table. Ready to learn how to make these charming cups that will leave your guests wanting more? Let’s dive into this festive dessert!
Why are Shamrock Shake Pudding Cups a Must-Try?
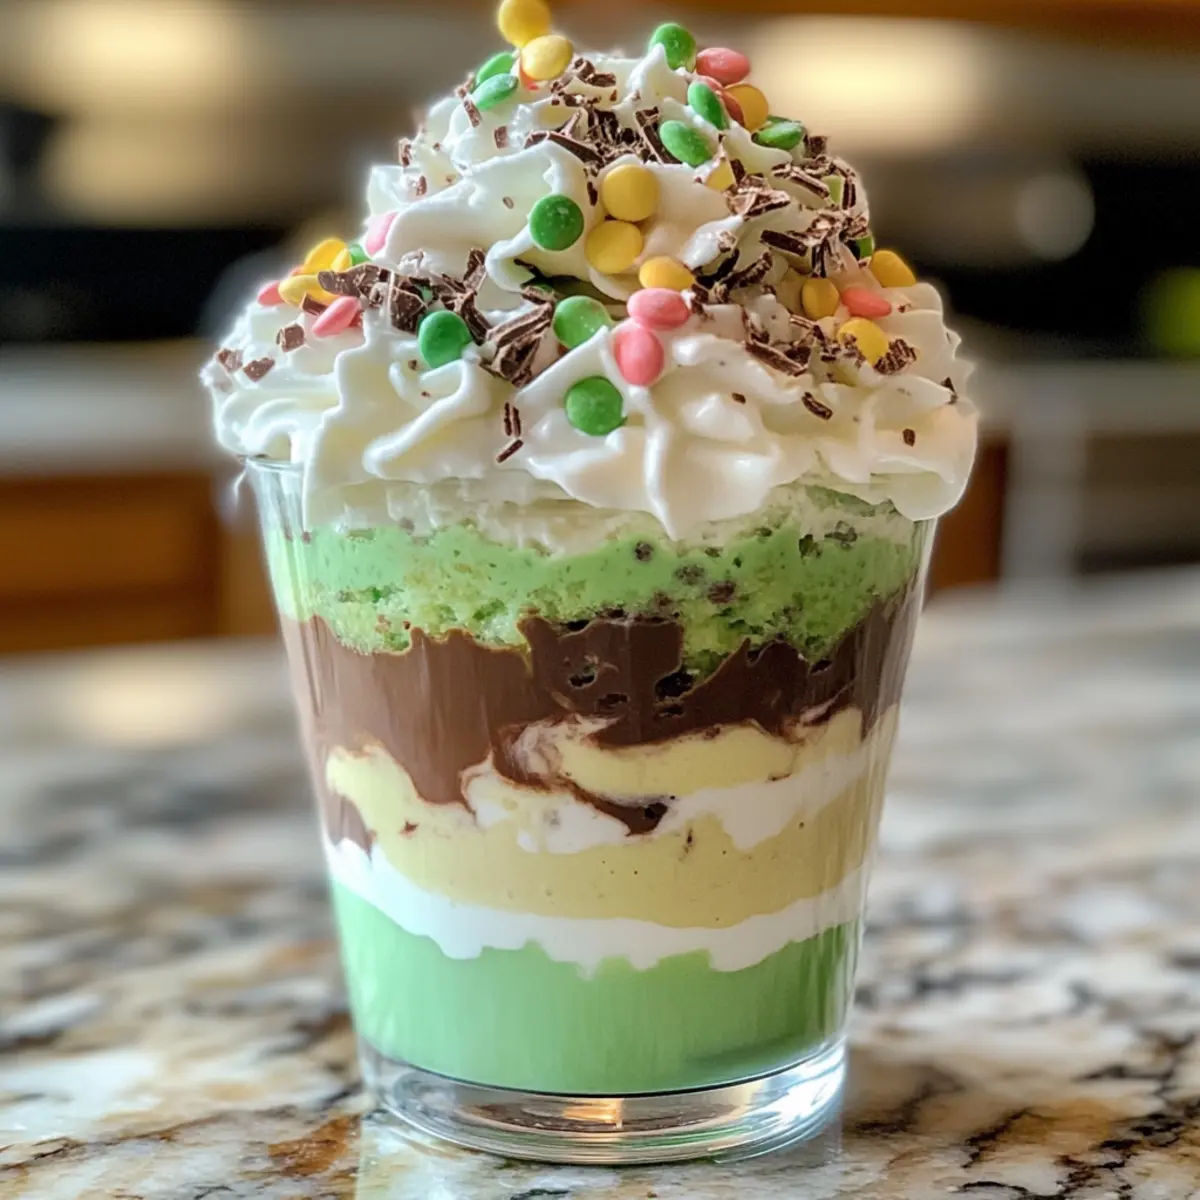
Festive Delight: The vibrant green color and layers make these pudding cups a visual treat that livens up any St. Patrick’s Day celebration.
No-Bake Convenience: Perfect for busy hosts, this recipe requires no baking—just mix, layer, and chill!
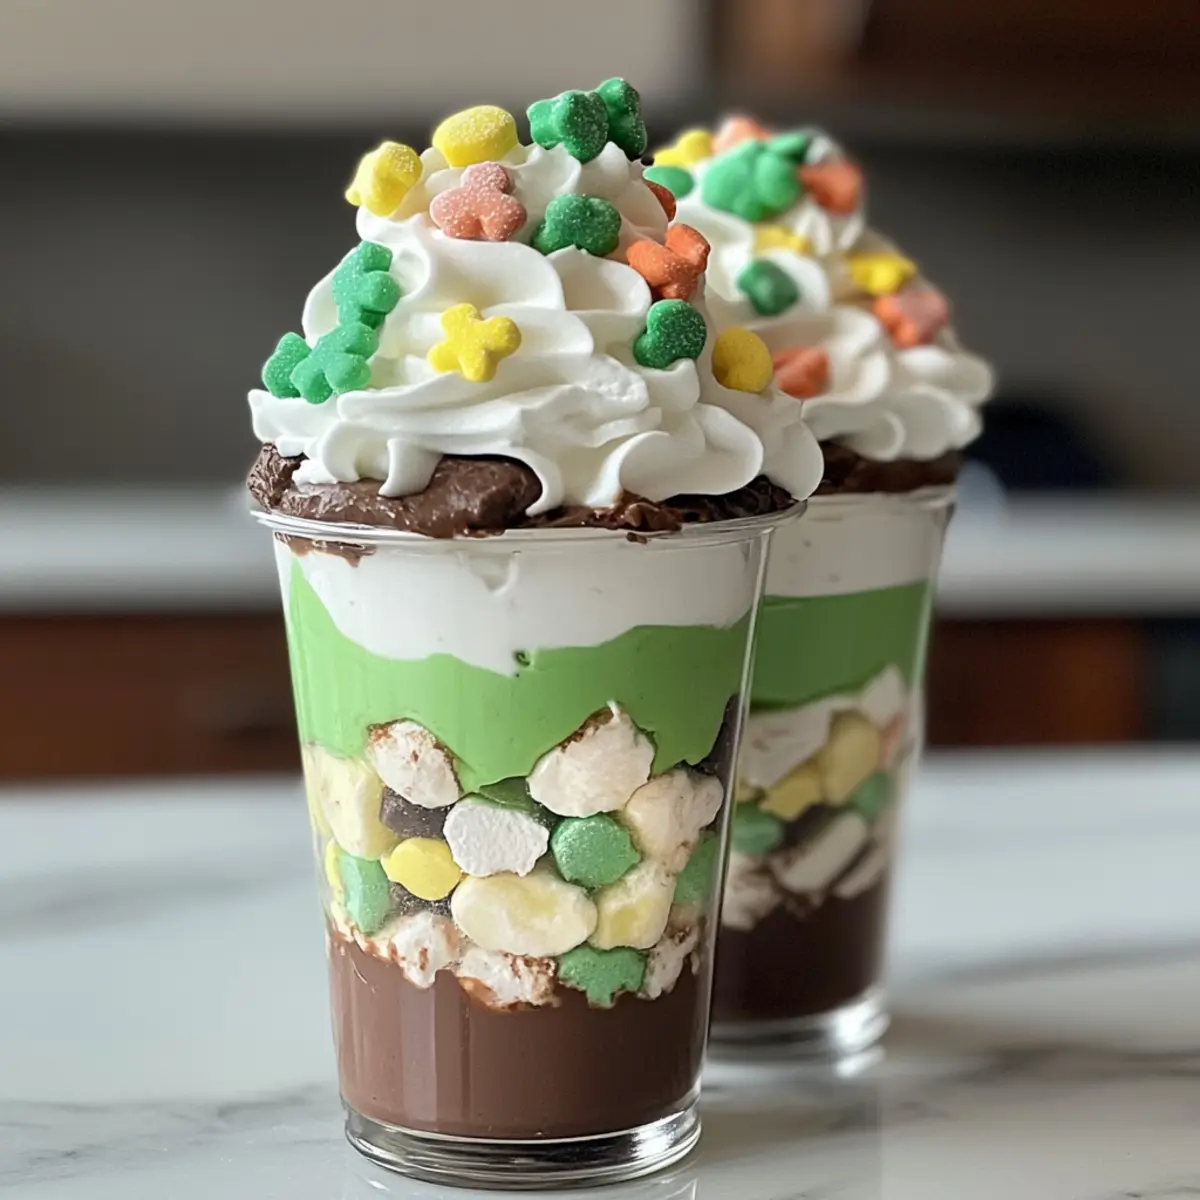
Flavorful Layers: The creamy mint and rich chocolate blend beautifully, creating a flavor explosion that everyone will love.
Family-Friendly: Both kids and adults will be delighted by this fun and tasty dessert, making it a sure hit at your gathering.
Customizable Options: Want to experiment? Try different pudding flavors or add cookie crumbles for some extra crunch.
These Shamrock Shake Pudding Cups are not only delicious but also a festive way to indulge without the fuss, just like my other favorite desserts such as Eggnog Bread Pudding or Chia Seed Pudding. Enjoy the fun of making and sharing these delightful treats!
Shamrock Shake Pudding Cups Ingredients
For the Mint Pudding
• Mint Pudding Mix – a key ingredient for that refreshing mint flavor; opt for instant for easy prep.
• Whole Milk – enhances creaminess; substitutes like almond milk work for a dairy-free option.
For the Chocolate Pudding
• Chocolate Pudding Mix – adds a rich, creamy texture that pairs perfectly with mint; try dark chocolate for extra depth.
• Whole Milk – necessary to hydrate the pudding mix; ensures a silky consistency.
For the Toppings
• Whipped Cream – gives a light, fluffy finish; store-bought is convenient, but homemade is always a treat.
• Chocolate Shavings or Mint Candies – these fun garnishes elevate the presentation and flavor; crushed Oreos or green sprinkles can also work beautifully.
These delightful Shamrock Shake Pudding Cups are sure to be a festive highlight at your St. Patrick’s Day gathering!
Step‑by‑Step Instructions for Shamrock Shake Pudding Cups
Step 1: Prepare the Puddings
In two separate medium bowls, whisk together the mint pudding mix and chocolate pudding mix with the corresponding amount of milk as directed on the package—typically about 2 cups for each mix. Use a whisk to ensure no lumps remain, and keep stirring until both mixtures are thick and creamy, which should take approximately 2-3 minutes. Set them aside for about 5 minutes to fully set.
Step 2: Start Layering
Grab 4 to 6 clear cups or dessert glasses to showcase your Shamrock Shake Pudding Cups. Begin by spooning a generous layer of the mint pudding into the bottom of each cup. Aim for an even layer about 1 to 2 inches thick, giving you a bright green base. This first layer sets the stage for a delightful visual contrast in the finished dessert.
Step 3: Add Chocolate Pudding Layer
Next, carefully spoon an equal layer of the chocolate pudding on top of the mint pudding in each cup. As you layer, take care not to disturb the mint layer below—this will keep your colorful stripes intact. Fill the cups to about three-quarters full, showcasing the different pudding colors. Repeat the layering process for an extra thick and luxurious pudding cup.
Step 4: Chill the Cups
Once all cups are filled, place them in the refrigerator for at least 30 minutes. This chilling time helps the layers set further, allowing the flavors to meld beautifully. While they chill, the pudding will firm up slightly, making them easier to serve later. You’ll notice the vibrant colors intensify, making them even more visually appealing.
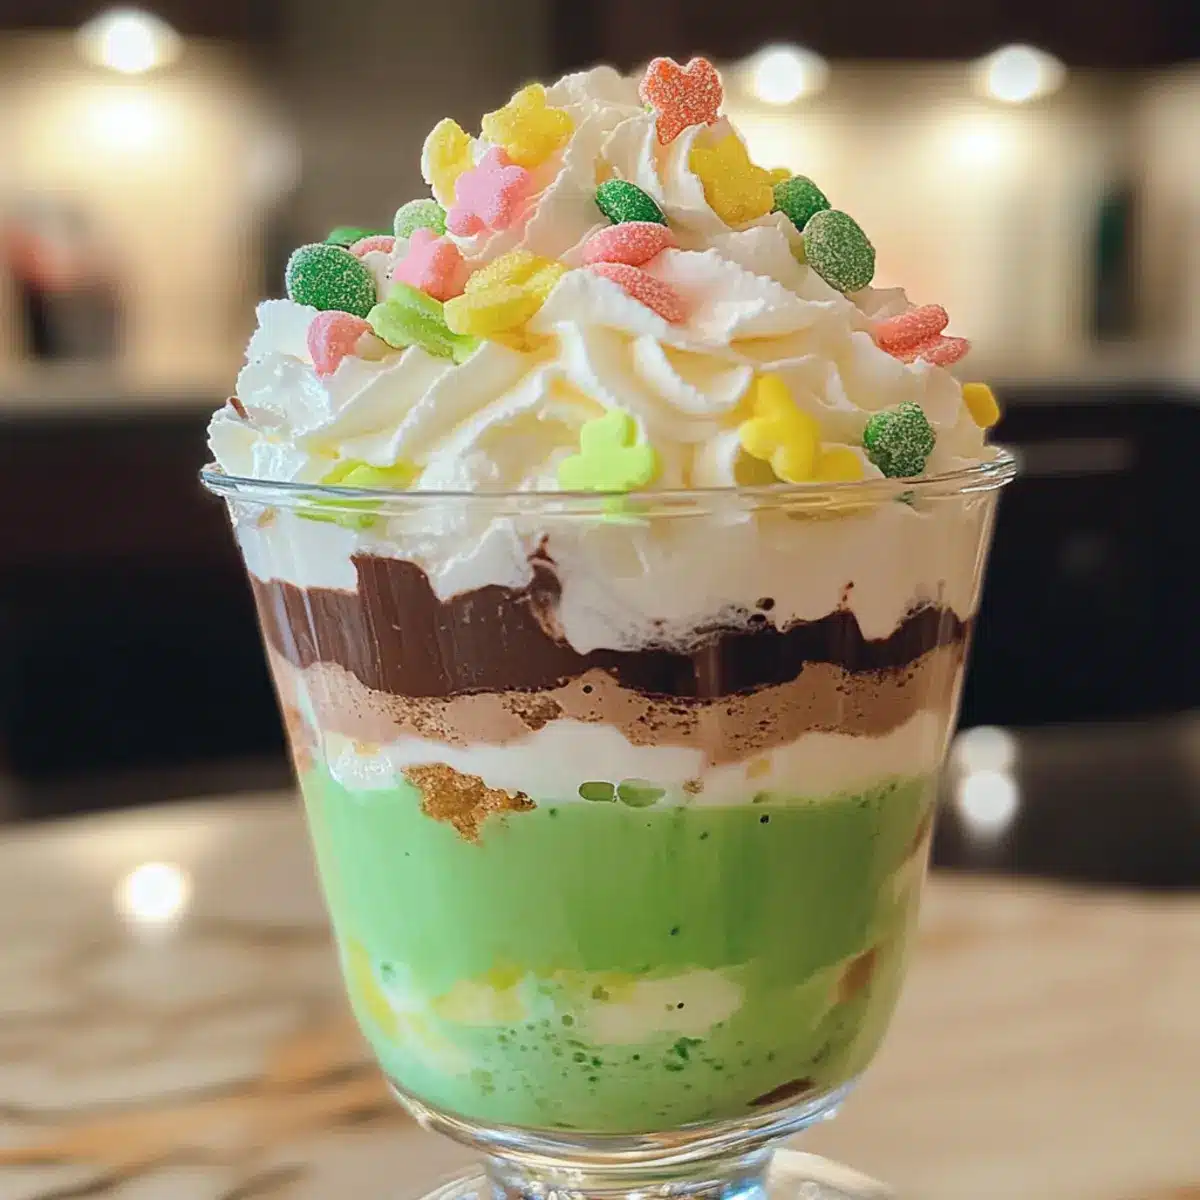
Step 5: Top with Whipped Cream
After the chilling period, remove the pudding cups from the refrigerator and prepare to dress them up. Add a generous dollop of whipped cream on top of each cup using a spoon or piping bag for a fun presentation. The creamy layer should be light and fluffy, providing a perfect contrast to the rich puddings beneath.
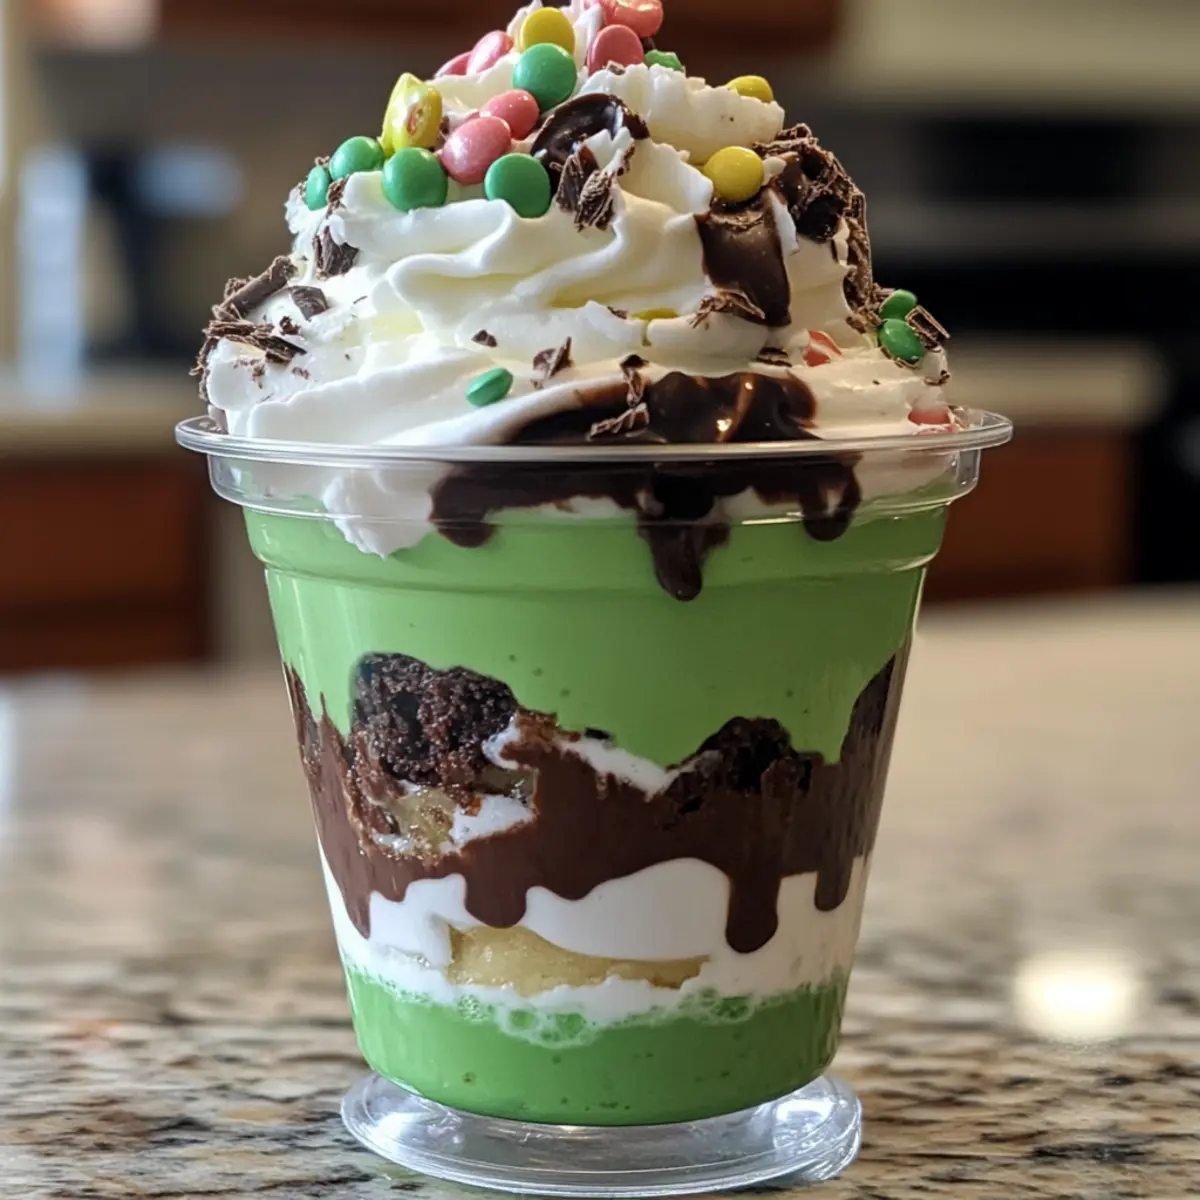
Step 6: Garnish and Serve
Finally, sprinkle each whipped cream topping with chocolate shavings or crushed mint candies for added flavor and festive flair. You can also use green sprinkles or crushed Oreos to enhance the St. Patrick’s Day theme. Serve your vibrant Shamrock Shake Pudding Cups immediately to impress your guests with their delightful taste and charming appearance!
Shamrock Shake Pudding Cups Variations
Feel free to let your creativity shine with these delightful twists on the classic Shamrock Shake Pudding Cups!
- Vanilla Swap: Replace mint pudding with vanilla for a more subtle, creamy flavor that everyone can enjoy.
- Cookie Crunch: Layer in crushed Oreos or graham crackers between the pudding layers for a delightful crunch. The texture contrast adds an exciting element to each spoonful!
- Dairy-Free Option: Use coconut milk and plant-based whipped cream for a dairy-free version that’s just as delicious. This makes the dessert accessible for everyone without sacrificing taste.
- Add a Kick: Incorporate a splash of Irish whiskey for an adult twist that brings a festive flair to your dessert. Just a dash amplifies the flavor and ties beautifully to the St. Patrick’s Day spirit!
- Color Boost: Mix in a few drops of green food coloring to the mint pudding for an even more vibrant hue. The intensity makes these cups an eye-catching treat!
- Flavor Pairing: Pair the chocolate pudding with hazelnut spread for a rich chocolate hazelnut variation that family and friends will love. This indulgent twist transforms each bite into a decadent experience.
- Fruit Layer: Add a layer of crushed mint-flavored or green fruits, like kiwis or green apples, for a refreshing burst of fruity goodness. These additions provide a delightful contrast to the creamy puddings, keeping it light.
- Nutty Delight: Sprinkle chopped nuts like pistachios or pecans on top of the whipped cream for a nutty crunch. This finishing touch adds a satisfying layer of texture that perfectly complements the richness below.
Feel inspired and feel free to experiment with these variations, just like I do with other favorites like Pumpkin Chia Pudding or Colada Chia Pudding. Enjoy crafting your unique dessert!
Make Ahead Options
These Shamrock Shake Pudding Cups are perfect for busy home cooks looking to save time during festive celebrations! You can prepare the layers of mint and chocolate pudding up to 24 hours in advance and store them in the refrigerator in airtight containers. To maintain their delightful freshness, ensure the cups are well-covered with plastic wrap if assembled. When you’re ready to serve, simply layer the pre-made puddings in clear cups, top with whipped cream, and sprinkle with chocolate shavings or mint candies. This way, you can enjoy delicious, eye-catching desserts without last-minute stress, impressing your guests with minimal effort!
How to Store and Freeze Shamrock Shake Pudding Cups
Fridge: Keep any leftover Shamrock Shake Pudding Cups covered in the refrigerator for up to 3 days to maintain their freshness and creamy texture.
Make-Ahead: You can prepare these pudding cups a day in advance. Just layer, chill, and they’ll be ready for serving on the big day!
Freezer: While not recommended for long-term freezing due to texture changes, you can freeze them briefly for up to 2 weeks; however, expect a less creamy texture upon thawing.
Reheating: If you happen to have leftovers, enjoy them chilled right from the fridge; there’s no need to reheat these delightful cups!
Expert Tips for Shamrock Shake Pudding Cups
• Mix Well: Ensure both pudding mixes are thoroughly blended with milk to avoid lumps; use a whisk for best results.
• Layer Neatly: Spoon pudding gently to keep layers distinct; a straight-edge spatula can help create clean lines between colors.
• Chill Properly: Allow the cups to chill for at least 30 minutes, but longer chilling yields firmer layers—perfect for a stunning presentation.
• Presentation Matters: Use clear cups to showcase the beautiful layers of your Shamrock Shake Pudding Cups; it makes serving even more delightful.
• Experiment with Toppings: Get creative with garnishes! Try adding fresh mint leaves or colorful sprinkles to elevate your dessert’s festive vibe.
What to Serve with Shamrock Shake Pudding Cups
Looking to create a delightful spread alongside your festive pudding cups? Here are some charming pairings that will complement their creamy, minty goodness.
- Irish Coffee: This warm, caffeine-rich drink enhances the dessert’s flavors and adds a cozy touch to your gathering.
- Chocolate Mint Cookies: Their crunchy texture and rich flavor harmonize beautifully with the pudding, offering a delightful contrast.
- Fresh Fruit Salad: Bright, juicy fruits lighten the meal and provide a refreshing contrast to the rich chocolate and mint layers.
- Miniature Cheesecakes: These individual treats echo the creamy theme, while their tangy flavor balances the sweetness of the pudding cups.
- Colorful Sparkling Water: Choose a fruit-flavored version for a refreshing drink that cleanses the palate between sweet bites.
- Irish Cream Milkshakes: For the adults, these creamy milkshakes play off the mint and chocolate theme for a full dessert experience.
- Chocolate-Dipped Strawberries: Their sweetness and elegant presentation bring a romantic flair, making the dessert table even more inviting.
- Mint Chocolate Brownies: A decadent, fudgy option that mirrors the pudding’s flavors and satisfies chocolate lovers at the table.
- Whipped Cream Toppings: Offering a variety of flavored whipped creams invites guests to personalize their cups for even more fun.
Shamrock Shake Pudding Cups Recipe FAQs
How do I select ripe ingredients for my Shamrock Shake Pudding Cups?
Absolutely! For this recipe, the most important ingredient is your pudding mixes. Ensure they are within the expiration date for the best flavor and texture. You don’t need any fresh produce, but if using any garnishes like mint leaves, look for ones that are vibrant green and fragrant, as this indicates freshness.
What are the best methods to store my Shamrock Shake Pudding Cups, and how long will they last?
Great question! After indulging, keep any leftover Shamrock Shake Pudding Cups covered in the refrigerator. They should stay fresh for about 3 days, ensuring you can enjoy them for a little while longer. Use plastic wrap or an airtight container to prevent them from absorbing fridge odors.
Can I freeze Shamrock Shake Pudding Cups, and if so, how?
Very! While I don’t recommend freezing them long-term due to possible texture changes, you can freeze them for up to 2 weeks if needed. To do this, cover the cups tightly with plastic wrap or aluminum foil, and place them in an airtight container to prevent freezer burn. When you’re ready to enjoy them, thaw in the refrigerator overnight—just be aware that the creamy consistency might slightly alter upon thawing.
What if my pudding layers aren’t setting correctly?
Don’t worry! If your pudding isn’t setting, ensure you’ve followed the package instructions closely regarding milk measurements and mixing times. Sometimes, letting it chill for a bit longer can really help. If you’re still facing issues, whisk in an extra minute or two for the mix to thicken more thoroughly. If you see it has dark spots or isn’t cohesive, it might be old pudding mix!
Are there any dietary considerations I should be aware of?
Absolutely! This recipe can accommodate various dietary preferences. To make it dairy-free, substitute whole milk with almond milk or another plant-based option. Additionally, if you or your guests have specific allergies, such as nut allergies, always check the labels on the pudding mixes and whipped cream. Or you could make your own whipped topping from coconut cream as a safe alternative.
Can I make variations for my Shamrock Shake Pudding Cups?
Yes! The more the merrier! You can swap the mint pudding for vanilla if you prefer a milder flavor. For added texture, consider adding crushed cookies such as Oreos between the layers. Remember, the key to making these your own is to experiment with flavors and textures that your family loves!
Irresistible Shamrock Shake Pudding Cups for St. Patrick's Day
Ingredients
Equipment
Method
- In two separate medium bowls, whisk together the mint pudding mix and chocolate pudding mix with 2 cups of milk each as directed on the package, about 2-3 minutes until thick and creamy.
- Spoon a generous layer of mint pudding into the bottom of each cup, about 1 to 2 inches thick.
- Carefully spoon an equal layer of chocolate pudding on top of the mint pudding, filling the cups to three-quarters full.
- Place the cups in the refrigerator for at least 30 minutes to chill and allow the layers to set.
- Add a generous dollop of whipped cream on top of each cup.
- Sprinkle each whipped cream topping with chocolate shavings or crushed mint candies before serving.
Leave a Reply