
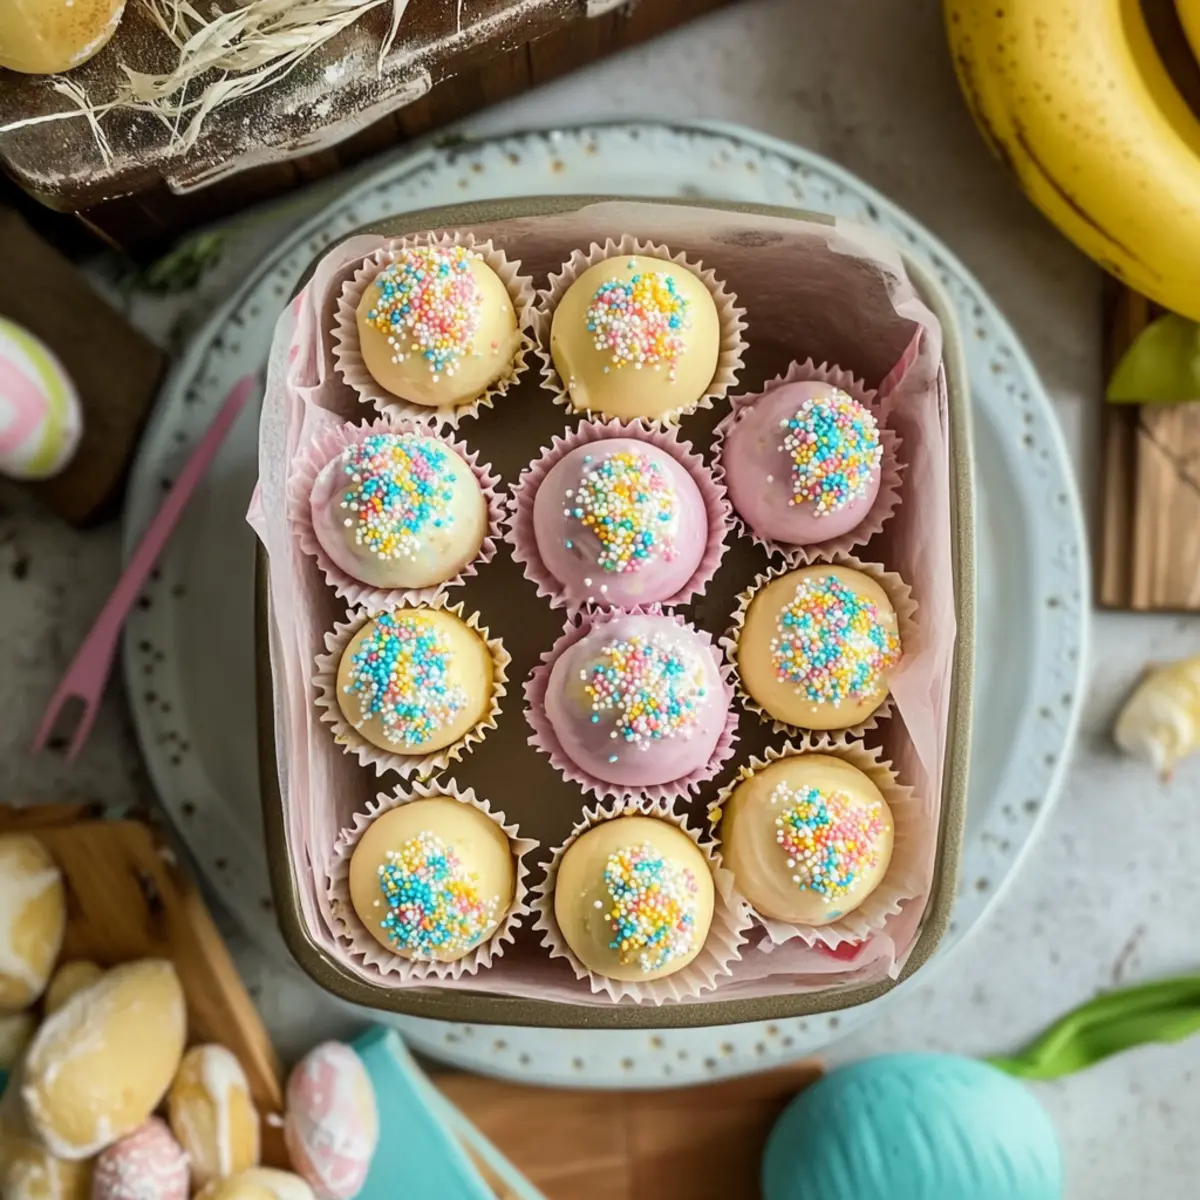
As I stood in my kitchen, the aroma of creamy banana pudding wafted through the air, instantly transporting me to sunny Easter mornings filled with laughter and joy. This memory inspired me to create a sweet indulgence that captures those warm feelings: Banana Pudding Easter Truffles. These delightful no-bake treats blend the beloved flavors of banana pudding with the crunch of vanilla wafers, all beautifully coated in pastel-hued chocolate—perfect for spring celebrations. Not only are they incredibly easy to make, but they also provide a fun, kid-friendly activity that will have everyone buzzing with excitement. Whether you’re hosting a festive gathering or simply looking for a playful dessert to enjoy at home, these truffles are bound to become a seasonal favorite. Are you ready to bring a taste of nostalgia to your table? Let’s dive into this recipe together!
Why are Banana Pudding Truffles a must-try?
Irresistible Flavor: The combination of creamy banana pudding and crunchy vanilla wafers creates a taste that’s pure bliss.
No-Bake Convenience: Whip these up in no time — perfect for spontaneous gatherings and busy schedules!
Kid-Friendly Fun: Involve the little ones in making these delightful treats. They’ll love rolling the truffles!
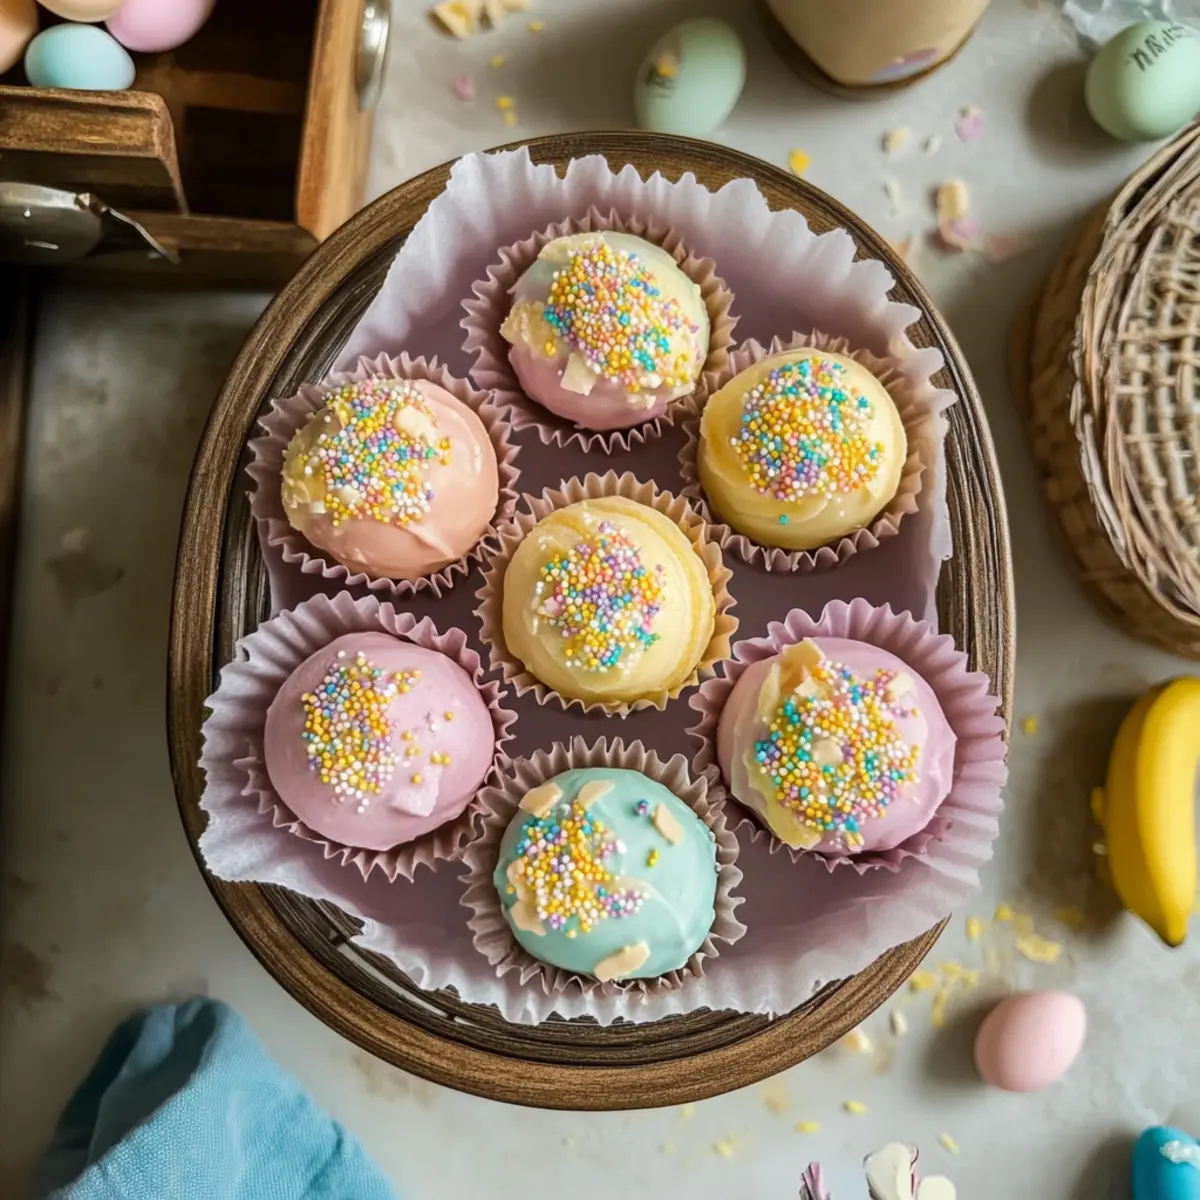
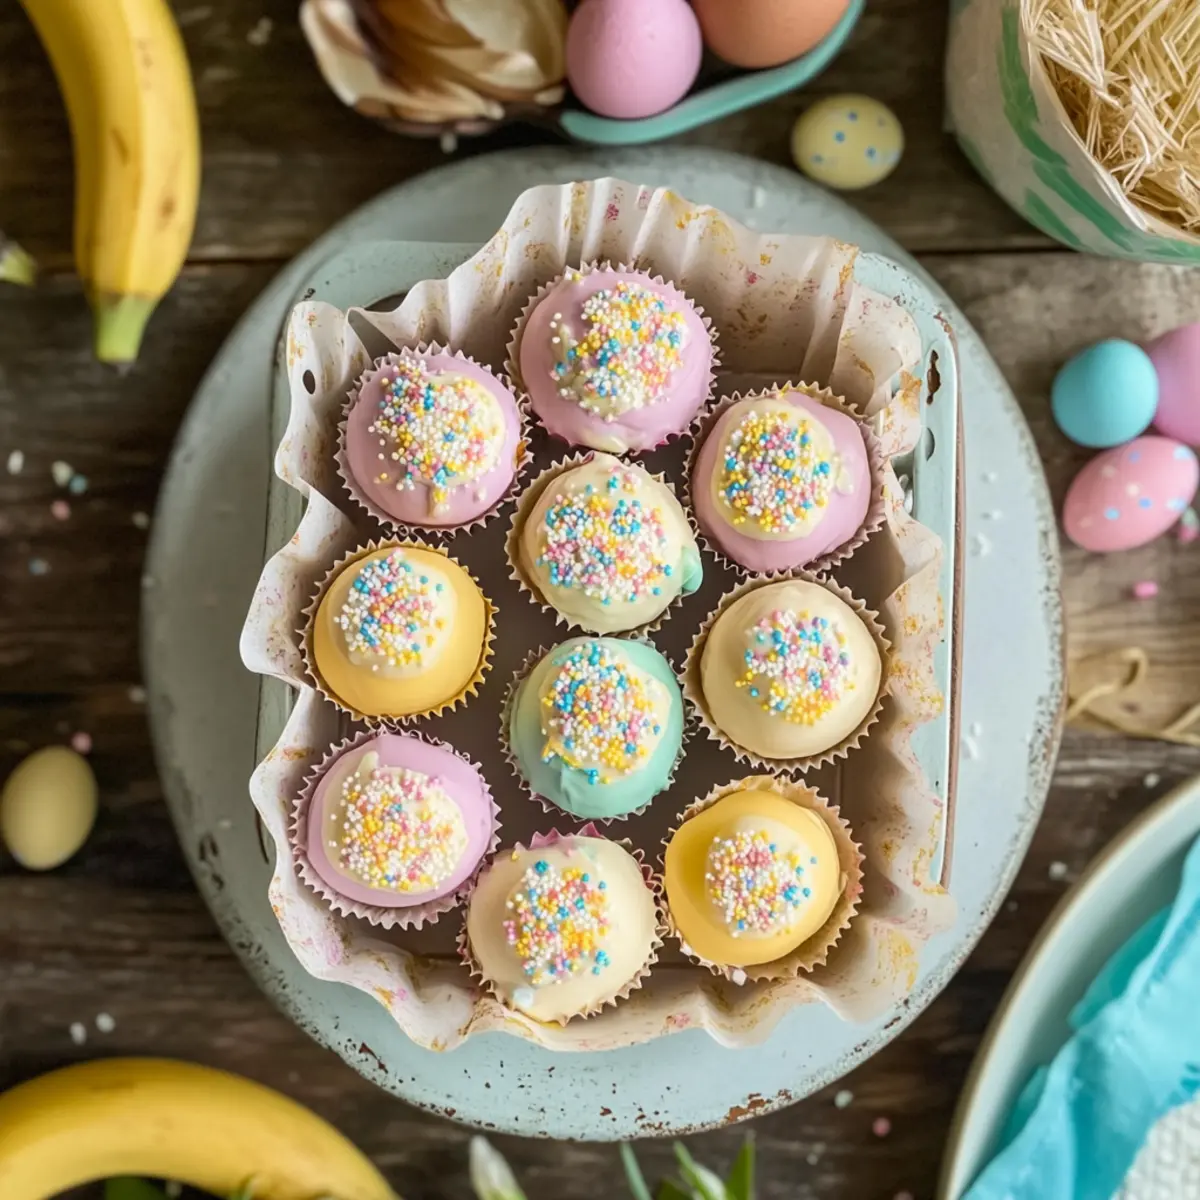
Festive Colors: Adorn with pastel-colored chocolate and sprinkles, these truffles double as a stunning centerpiece for your Easter feast.
Crowd-Pleaser: Everyone will be asking for seconds, making them a guaranteed hit at any gathering. Want to keep the dessert theme alive? Don’t miss out on these Frozen Banana Snacks for another fruity twist!
Banana Pudding Easter Truffles Ingredients
For the Truffle Mixture
- Crushed Vanilla Wafers – Adds texture and sweetness; you can substitute with graham cracker crumbs for a different flavor profile.
- Cream Cheese (softened) – Provides richness and helps bind the mixture; mascarpone can be a lighter alternative.
- Banana Pudding Mix (3.4 oz) – Delivers that authentic banana flavor; opt for a high-quality mix for the best results.
- Milk (2 tablespoons) – Hydrates the mixture for a smooth dough; choose almond or oat milk as non-dairy options.
- Vanilla Extract (1 teaspoon) – Enhances the flavor; for a twist, maple extract makes a delightful substitute.
For the Coating
- White Chocolate Chips or Candy Melts (2 cups) – Creates a sweet, smooth coating for the truffles; dark or milk chocolate are great alternatives.
- Food Coloring (optional) – Perfect for creating vibrant, festive truffles; gel coloring works best for bold hues.
For Decoration
- Crushed Vanilla Wafers/Easter Sprinkles (optional) – Adds fun and visual appeal; these festive toppings make your truffles stand out!
Step‑by‑Step Instructions for Banana Pudding Easter Truffles
Step 1: Make the Truffle Mixture
In a large mixing bowl, combine 1 cup of crushed vanilla wafers, 8 ounces of softened cream cheese, a 3.4-ounce package of banana pudding mix, 2 tablespoons of milk, and 1 teaspoon of vanilla extract. Use a spatula or electric mixer to blend until a smooth dough forms, ensuring all ingredients are well incorporated. This will be the delightful filling for your Banana Pudding Easter Truffles.
Step 2: Shape the Truffles
Using a tablespoon, scoop out portions of the truffle mixture and roll them into bite-sized balls between your palms. Place each ball on a parchment-lined baking sheet to prevent sticking. Once all the mixture is shaped into balls, cover the baking sheet with plastic wrap and chill in the refrigerator for 30 to 45 minutes, allowing them to firm up.
Step 3: Melt the Chocolate
In a microwave-safe bowl, add 2 cups of white chocolate chips or candy melts. Microwave in 30-second intervals, stirring after each interval until the chocolate is completely melted and smooth. Be attentive to avoid overheating, as this can cause the chocolate to seize. If desired, stir in your choice of gel food coloring to create vibrant hues for your Banana Pudding Easter Truffles.
Step 4: Coat the Truffles
Once the truffles have chilled, remove them from the refrigerator. Dip each truffle into the melted chocolate, ensuring it’s fully coated. Allow the excess chocolate to drip off before returning them to the parchment-lined baking sheet. This step is essential for achieving a beautiful, smooth coating that enhances the finishing touch of your festive truffles.
Step 5: Decorate the Truffles
Before the chocolate coating sets, sprinkle each truffle with crushed vanilla wafers or Easter-themed decorations to add an extra layer of fun and visual appeal. This step will make your Banana Pudding Easter Truffles not only delicious but also aesthetically pleasing, perfect for any spring celebration.
Step 6: Let Them Set
Allow the decorated truffles to set at room temperature for about 15 to 20 minutes, or you can place them in the refrigerator to speed up the process. The chocolate should be firm to the touch. Once set, your delightful Easter treats will be ready for serving!
Step 7: Serve and Enjoy
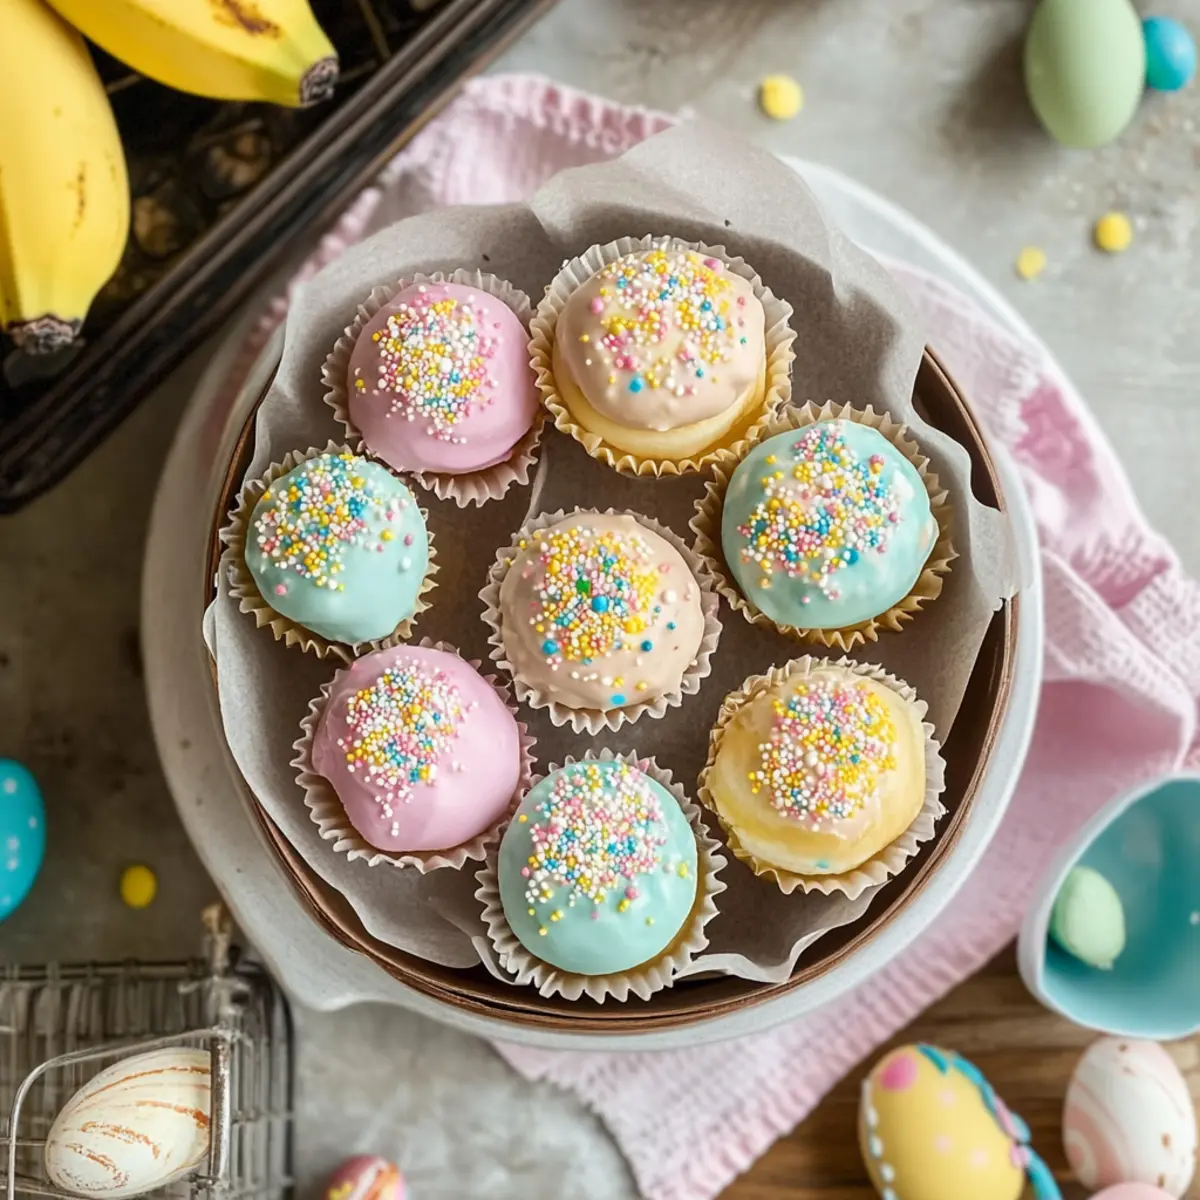
Transfer your finished Banana Pudding Easter Truffles to a decorative bowl for a lovely presentation, or box them up in a cute package for gifting. These charming truffles are sure to delight everyone, making them a perfect addition to your Easter festivities!
Variations & Substitutions for Banana Pudding Easter Truffles
Feel free to explore your creativity and elevate these truffles with delightful twists that’ll tantalize your taste buds!
-
Coconut Banana Truffles: Roll chilled truffles in shredded coconut for a tropical twist. The nutty flavor complements the banana beautifully, capturing a sunny vibe!
-
Peanut Butter Banana Truffles: Stir in 2 tablespoons of creamy peanut butter into the mixture for a rich and satisfying peanut-banana flavor explosion. These truffles become a decadent treat everyone will love.
-
Mint Chocolate Variation: Add a drop of mint extract to the melted chocolate for a refreshing minty kick. This cool addition brings an unexpected yet delightful flavor that will surprise your guests.
-
Nut-Free Option: Replace peanut butter with sunflower seed butter to create a nut-free variation that still packs a punch. It’s a great way to cater to those with allergies without sacrificing flavor.
-
Dairy-Free Delight: Swap cream cheese with a dairy-free alternative, and use almond milk to create a deliciously creamy truffle that everyone can enjoy. Don’t forget to use dairy-free chocolate chips for coating!
-
Fruit-Filled Truffles: Mix in some mini chocolate chips or finely chopped dried bananas into the truffle mixture for added texture and flavor. These additions provide delightful bites of sweetness throughout each truffle.
-
Spicy Kick: For those who crave heat, experiment by adding a dash of cayenne pepper or chili powder to the melted chocolate. This surprising twist will intrigue adventurous eaters and elevates the flavor profile beautifully!
-
Textured Coating: Instead of just using sprinkles, try finely chopped nuts or crushed pretzels for a delightful crunch. This not only adds flavor but also creates a stunning visual contrast to the creamy interior.
Feeling inspired? These variations can take your Banana Pudding Easter Truffles to new heights! And for another indulgent treat, consider trying out these delightful Frozen Banana Snacks or treat yourself to some Banana Walnut Cream after enjoying your truffles!
Make Ahead Options
These Banana Pudding Easter Truffles are perfect for busy home cooks looking to save time during festive celebrations! You can prepare the truffle mixture up to 24 hours in advance; simply store it in an airtight container in the refrigerator. Roll the mixture into balls and chill them for about 30-45 minutes before coating. If you wish to coat the truffles earlier, freeze them for up to 3 days before dipping in chocolate. To maintain quality, allow the truffles to thaw in the refrigerator before coating. When you’re ready to serve, just dip them in melted chocolate and add sprinkles—enjoy all the delightful flavors just as if they were freshly made!
Expert Tips for Banana Pudding Easter Truffles
-
Choose Quality Ingredients: Use high-quality vanilla wafers and pudding mix to ensure your Banana Pudding Easter Truffles have the best flavor and texture.
-
Chill Between Steps: Always chill your truffles after shaping, as this helps keep them firm when dipping in chocolate and prevents melting.
-
Avoid Overheating Chocolate: When melting chocolate, do it in short bursts and stir frequently to achieve a smooth, glossy coating without seizing.
-
Experiment with Colors: Use gel food coloring for vibrant truffles; a little goes a long way, and it will enhance the festive appeal.
-
Storage: Keep your truffles in an airtight container in the fridge for up to five days, or freeze them for up to two months for future treats.
What to Serve with Banana Pudding Easter Truffles
These delightful treats are perfect for creating a festive and joyful spread at any spring gathering.
- Creamy Vanilla Ice Cream: A scoop of ice cream adds a luscious, cold contrast to the rich truffles, enhancing the overall experience. Imagine the ice cream gently melting, mingling with the sweet banana essence.
- Fresh Fruit Salad: A vibrant mix of strawberries, blueberries, and kiwi offers a burst of freshness, balancing the sweetness in your dessert selection. The natural juiciness of the fruit is a refreshing companion.
- Mini Carrot Cakes: These delightful bite-sized cakes echo the Easter theme while providing a burst of spice and moist texture, making them a perfect pairing with the sweet truffles.
- Mango Smoothie: Creamy, tropical, and refreshing, a mango smoothie provides a tasty contrast that elevates your dessert spread and quenches any thirst.
- Chocolate Dipped Strawberries: Strengthening the chocolate theme, these strawberries add a touch of elegance, creating a beautiful contrast to the pastel truffles. Each bite bursts with both richness and freshness.
- Sparkling Lemonade: This fizzy beverage offers a zesty refreshment that cuts through the sweetness of the truffles, ensuring a well-rounded meal. It adds a celebratory touch to your gathering.
- Easter-Themed Cupcakes: Adorned with pastel frosting, these whimsical cupcakes echo the festive spirit of your truffles and are sure to delight your guests. They create a joyful, colorful display.
- Coconut Macaroons: Chewy, sweet, and slightly toasty, these coconut treats complement the banana flavor, adding an enjoyable texture variation to the dessert table.
- Milk or Almond Milk: Keep it simple with a glass of cold milk or almond milk. This classic pair not only complements the truffles but also makes for a comforting experience for all ages.
How to Store and Freeze Banana Pudding Easter Truffles
Airtight Container: Store your truffles in an airtight container at room temperature for up to 3 days. This keeps them fresh and flavorful for your indulgent snacking.
Refrigerator: If you want to enjoy them for a longer time, place the truffles in the fridge for up to 5 days. Just be sure to keep them well-covered to prevent them from drying out.
Freezing: To freeze your Banana Pudding Easter Truffles, place them in a single layer on a baking sheet and freeze until firm, then transfer to an airtight container. They can be frozen for up to 2 months.
Thawing: When you’re ready to enjoy your frozen treats, simply transfer them to the refrigerator and let them thaw for several hours. Enjoy that delightful banana flavor anytime!
Banana Pudding Easter Truffles Recipe FAQs
What type of bananas should I use for the best flavor?
Absolutely! For the best results, choose ripe bananas with a few brown spots on the skin. This indicates that they are sweeter and will contribute a more intense banana flavor to your truffles.
How long can I store Banana Pudding Easter Truffles?
You can keep your truffles in an airtight container at room temperature for up to 3 days. For longer storage, refrigerate them for up to 5 days, making sure they are properly covered to maintain their moistness.
Can I freeze my Banana Pudding Easter Truffles?
Very! To freeze, lay the truffles in a single layer on a parchment-covered baking sheet and freeze them until firm. Transfer the frozen truffles to an airtight container or freezer bag, where they can stay fresh for up to 2 months. Thaw in the refrigerator for several hours before enjoying.
What should I do if my chocolate coating is too thick when melting?
If your chocolate becomes too thick, try adding a small amount of coconut oil or vegetable oil (about a teaspoon at a time) while stirring to achieve a smoother consistency. Remember to melt slowly in the microwave using 30-second intervals for best results!
Are there any allergy considerations I should keep in mind?
Definitely! If you or your guests have allergies, it’s important to check ingredient labels for potential allergens such as dairy in cream cheese or chocolate. You can use dairy-free alternatives like almond cream cheese and non-dairy chocolate to accommodate those dietary restrictions.
Can I make these truffles ahead of time?
Yes, indeed! You can make Banana Pudding Easter Truffles a day or two in advance. Just prepare, chill, and store them in an airtight container in the refrigerator. This allows the flavors to meld beautifully and makes for a stress-free preparation when hosting!
Delicious Banana Pudding Easter Truffles: No-Bake Fun!
Ingredients
Equipment
Method
- In a large mixing bowl, combine crushed vanilla wafers, softened cream cheese, banana pudding mix, milk, and vanilla extract. Blend until a smooth dough forms.
- Scoop out portions and roll them into bite-sized balls. Place on a parchment-lined baking sheet and chill for 30 to 45 minutes.
- In a microwave-safe bowl, melt white chocolate chips in 30-second intervals, stirring until smooth. Add gel food coloring if desired.
- Dip each truffle in melted chocolate, letting excess drip off before returning them to the baking sheet.
- Before the chocolate sets, sprinkle with crushed vanilla wafers or Easter decorations.
- Allow truffles to set at room temperature for 15 to 20 minutes, or refrigerate to firm up quickly.
- Transfer to a decorative bowl or package for gifting. Serve and enjoy!
Leave a Reply