
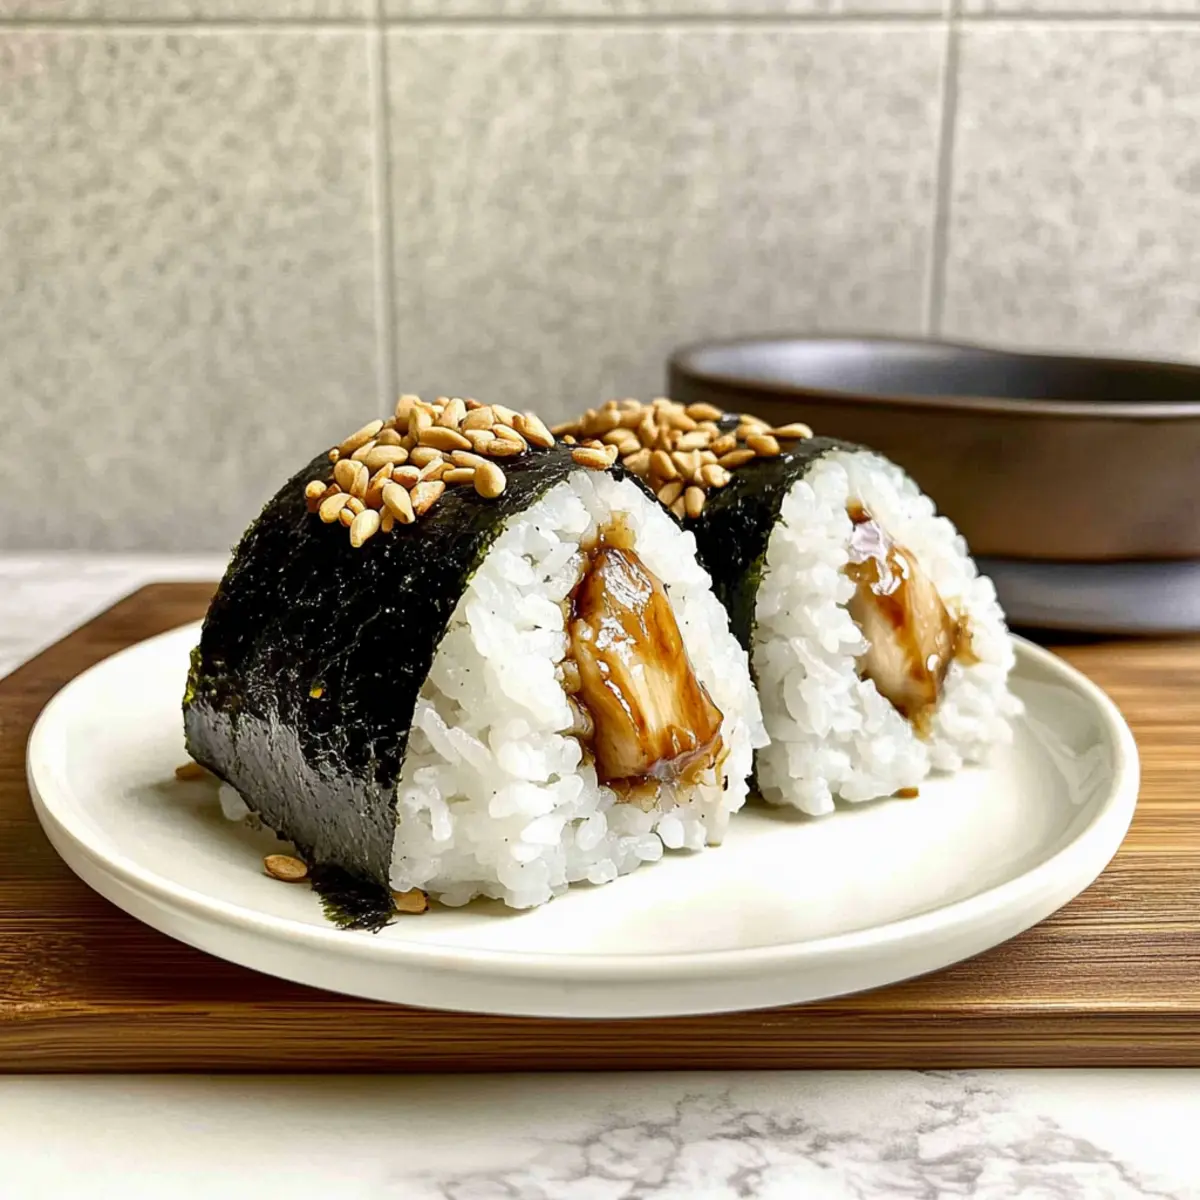
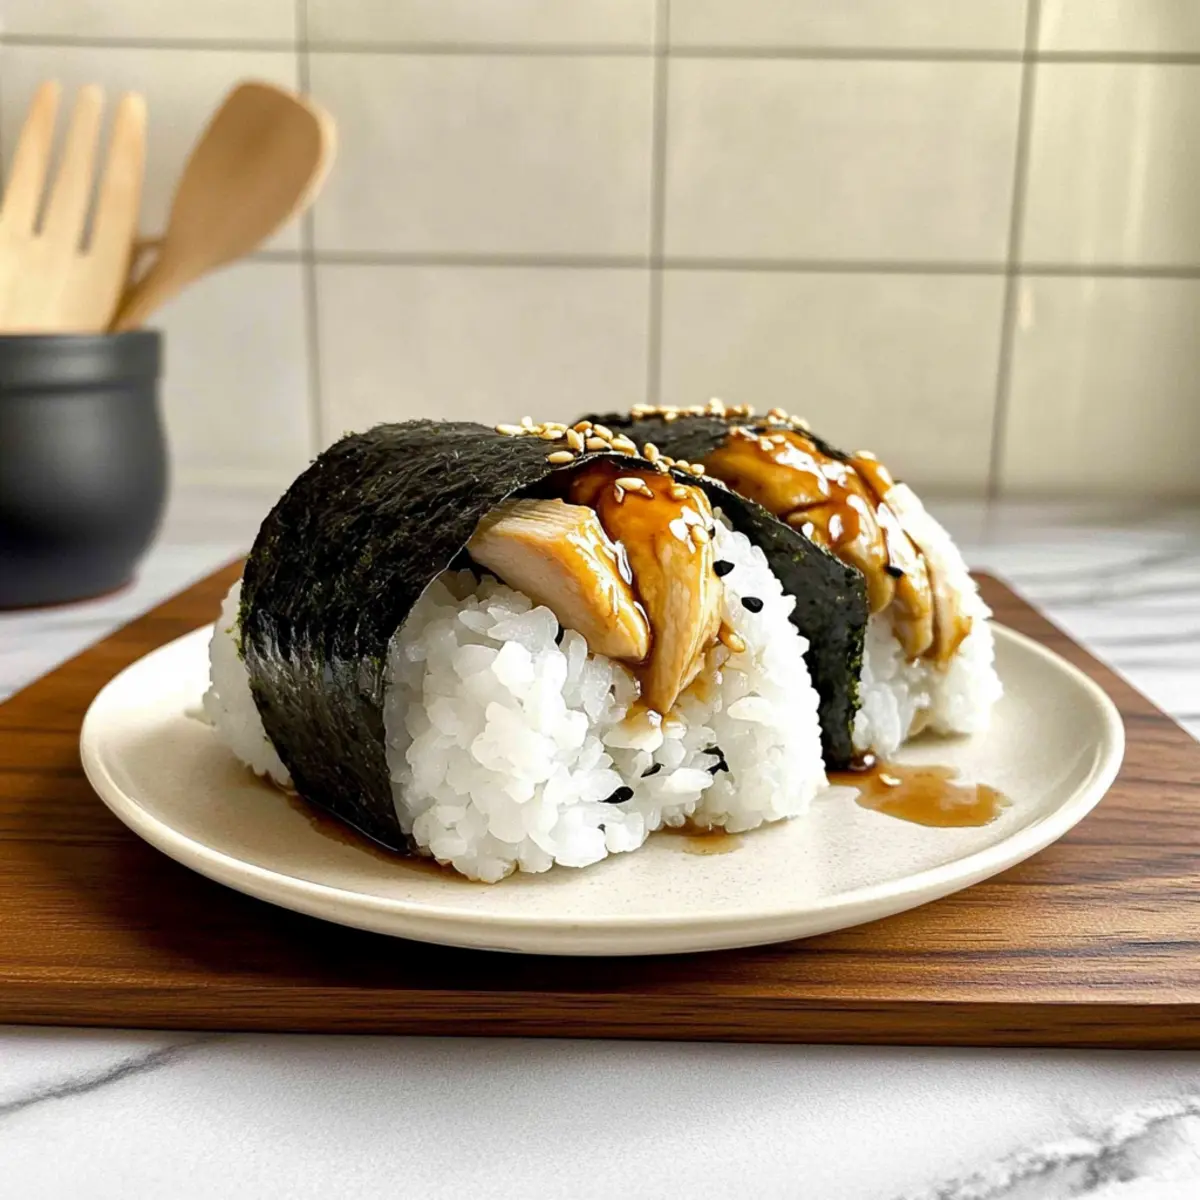
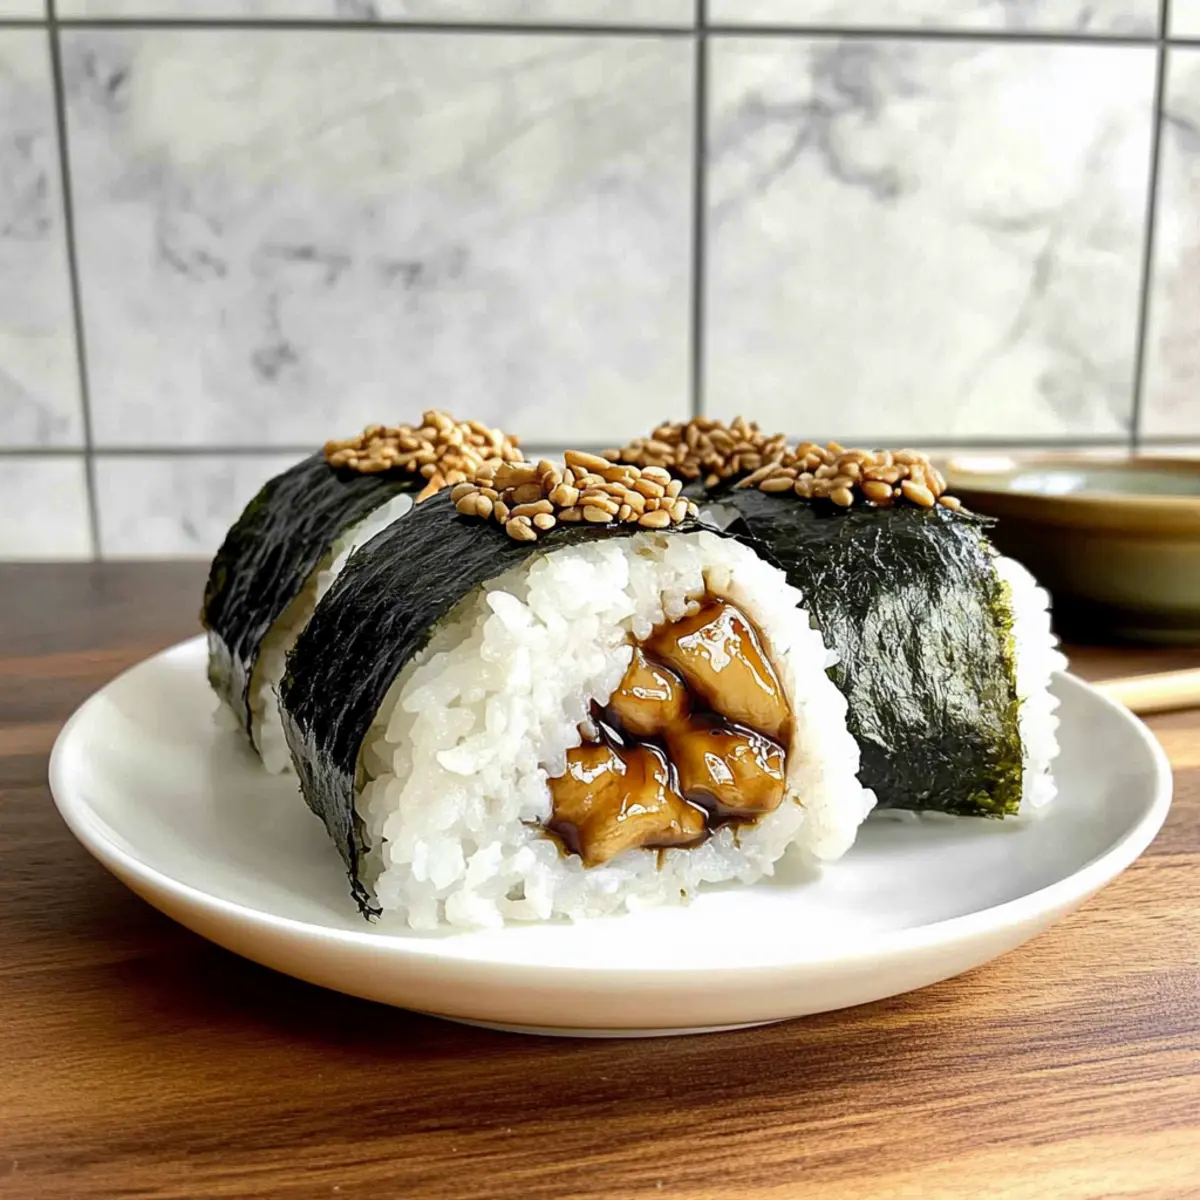
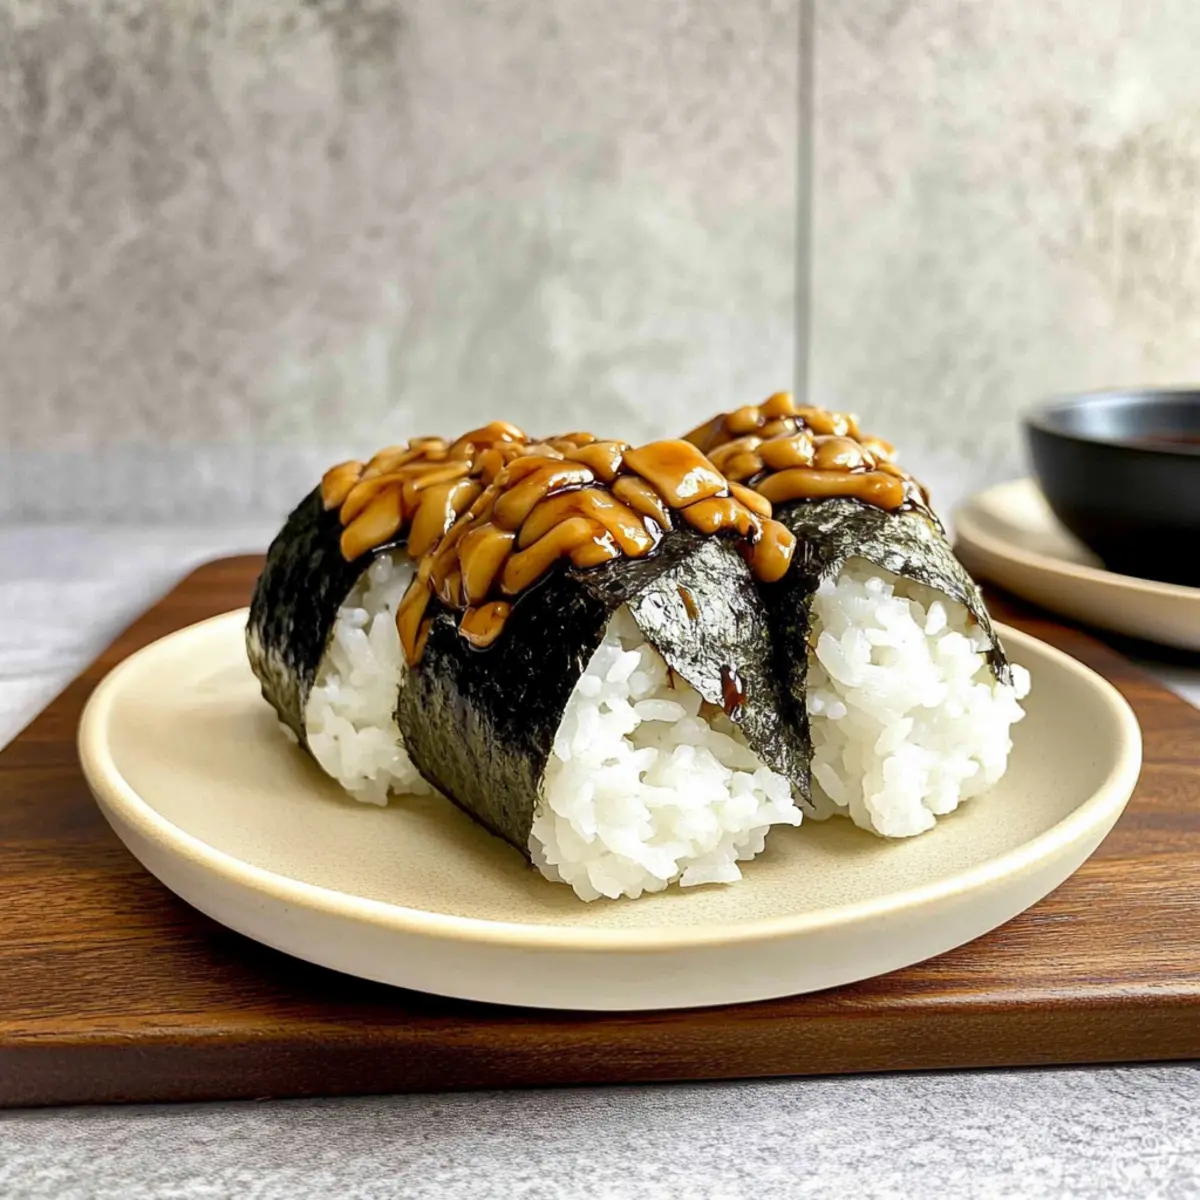
As the aroma of teriyaki chicken wafts through my kitchen, I feel transported to a bustling Japanese izakaya, where flavors mingle and comfort comes wrapped in tradition. Today, I’m excited to share a recipe for Chicken Onigiri, a delightful Japanese snack that combines juicy marinated chicken with perfectly sticky sushi rice. This dish is not only a breeze to whip up, but it’s also wonderfully adaptable—making it a fun choice for everything from picnics to quick dinners. Each bite of these savory rice balls wrapped in nori delivers a satisfying contrast that keeps me reaching for more. Curious to learn how to create this tasty treat at home? Let’s dive into the recipe!
Why is Chicken Onigiri a Must-Try?
Versatility: Chicken Onigiri is incredibly adaptable, allowing you to fill it with your choice of ingredients—tuna, veggies, or even shrimp, making it perfect for whatever you have on hand.
Quick Preparation: This recipe comes together in under an hour, ensuring that even the busiest home cooks can whip it up after a long day.
Flavor Explosion: The blend of marinated chicken with sweet teriyaki sauce and sticky rice results in an unforgettable taste experience that perfectly balances savory and sweet.
Portable Snack: Ideal for on-the-go meals or picnics, Chicken Onigiri can be easily packed and enjoyed anytime.
Crowd-Pleaser: Whether it’s a family dinner or a party snack, these flavorful bites are sure to impress your guests, much like my Poblano Chicken Tortilla Soup or Cheesy Dynamite Chicken.
Chicken Onigiri Ingredients
For the Sushi Rice
• Cooked Sushi Rice – Short-grain rice creates a sticky texture ideal for shaping.
• Salt – Enhances flavor; use fine salt for better distribution in the rice.
• Furikake – Optional seasoning that adds flavor and texture; consider mixing it directly into the rice for extra taste.
For the Chicken Filling
• Boneless Skinless Chicken Meat – Drumsticks are preferred, but thighs or ground chicken can be used for variation.
• Soy Sauce – Crucial for marinating the chicken and enhancing the teriyaki sauce flavor.
• Sake (or Water) – Adds moisture and flavor depth; sake enriches the marinade, though water can work in a pinch.
• Baking Soda – Helps tenderize the meat and retain moisture during cooking.
• Cornstarch – Coats the chicken while frying for a crispy texture.
• Mirin – Sweet rice wine that adds additional sweetness to the teriyaki sauce.
• Brown Sugar – Provides sweetness; pack it firmly when measuring for best results.
• Oil – Use a neutral oil for frying the chicken.
• Minced Garlic – Fresh garlic adds an aromatic depth to your teriyaki experience.
For Serving
• Nori (seaweed) – Cut into small rectangles for wrapping your onigiri, adding a traditional touch to this homemade snack.
Chicken Onigiri is a delightful blend of textures and flavors, destined to be a hit with anyone who loves a satisfying, homemade snack!
Step‑by‑Step Instructions for Chicken Onigiri
Step 1: Cook the Sushi Rice
Begin by cooking the sushi rice according to your rice cooker instructions. If you’re using the stovetop, rinse 1 cup of short-grain rice until the water runs clear, then combine it with 1.25 cups of water. Bring to a boil, reduce to low heat, cover, and cook for 20 minutes until tender. Once done, fluff the rice, add 1/2 teaspoon of salt and 1 tablespoon of furikake if desired, mixing gently to ensure even seasoning.
Step 2: Marinate the Chicken
Cut 1 pound of boneless skinless chicken drumsticks into small, bite-sized pieces. In a bowl, mix together 2 tablespoons of soy sauce, 1 tablespoon of sake, 1 teaspoon of baking soda, and 1 tablespoon of cornstarch. Add the chicken, coating thoroughly, and let it marinate for at least 30 minutes. This step ensures the chicken absorbs all the delicious flavors and retains moisture during cooking.
Step 3: Prepare the Teriyaki Sauce
In a small bowl, combine 2 tablespoons of soy sauce, 1 tablespoon of mirin, 1 tablespoon of brown sugar, and 1 minced garlic clove. Mix well until the sugar is dissolved. This will create a rich teriyaki sauce that adds a delicious glaze to your chicken onigiri once cooked. Set it aside for later use.
Step 4: Cook the Chicken
Heat 2 tablespoons of oil in a nonstick pan over medium-high heat. Once the oil shimmers, carefully add the marinated chicken pieces in a single layer, cooking for about 2–3 minutes, or until golden brown and no longer pink in the center. Using a spatula, flip the chicken halfway through for even cooking. Remove the chicken when cooked and set aside.
Step 5: Add Garlic and Sauce
Lower the heat to medium and add the minced garlic to the same pan, sautéing for about 30 seconds until fragrant. Then, pour in the prepared teriyaki sauce, stirring well to combine. Allow the mixture to simmer for 2–3 minutes, until it thickens slightly. Once done, return the chicken to the pan, tossing to coat evenly with the sauce, and then remove from heat.
Step 6: Shape the Onigiri
Wet your hands with water to prevent sticking. Take about 1/3 cup of the cooked sushi rice and shape it into a ball. Create a small well in the center and spoon in roughly 1 tablespoon of the teriyaki chicken filling. Cover with more rice and mold it into a triangular shape, packing it snugly. Repeat this process until all the rice and filling are used.
Step 7: Wrap with Nori
Finally, cut sheets of nori into small rectangles and gently wrap each onigiri, with the nori strip covering one side and leaving the rest exposed. This not only adds to the traditional look but also gives a delightful salty flavor that complements the teriyaki chicken. Serve immediately, or pack them into a lunch for a tasty on-the-go meal!
How to Store and Freeze Chicken Onigiri
Fridge: Store Chicken Onigiri in an airtight container for up to 2 days for the best taste and texture. It’s best enjoyed fresh, so try to consume it within this timeframe.
Freezer: Chicken Onigiri can be frozen for up to 1 month. Wrap each piece tightly in plastic wrap, then place in a freezer bag. Thaw in the fridge before reheating.
Reheating: To reheat, microwave on a microwave-safe plate for about 30-45 seconds until warm. For crispy texture, reheat in a nonstick skillet over low heat until heated through.
Wrapping: Keep nori separate until ready to eat, as it can become soggy in storage. Wrap it around the Chicken Onigiri fresh for the best experience!
What to Serve with Teriyaki Chicken Onigiri
As the savory flavors of Chicken Onigiri dance on your palate, complementing this delightful snack with the right sides can elevate your meal experience.
-
Miso Soup: A warm bowl of miso soup provides a comforting umami flavor that pairs beautifully with the sweetness of teriyaki chicken.
-
Pickled Vegetables: These tangy bites add a refreshing crunch, cutting through the richness of the onigiri while staying true to Japanese cuisine.
-
Japanese Potato Salad: Creamy and delightful, this dish adds a different texture and balances the savory flavors of the Chicken Onigiri.
-
Edamame: Lightly salted and vibrant, a bowl of edamame enhances the meal with a nutty flavor, perfect for snacking alongside.
-
Green Tea: Sipping on a warm cup of green tea provides a refreshing contrast, soothing the palate and enhancing your overall dining experience.
-
Fruit Salad: A light and vibrant fruit salad with seasonal fruits can add a burst of sweetness, refreshing your taste buds after savory bites.
Each of these choices brings unique flavors and textures to your meal, ensuring a memorable dining experience that showcases the deliciousness of Chicken Onigiri!
Chicken Onigiri Variations & Substitutions
Feel free to get creative with your Chicken Onigiri—it’s all about making it your own!
- Meat Swap: Substitute chicken drumsticks with thighs or ground chicken for a different texture.
- Seafood Twist: Use cooked shrimp or tuna instead of chicken for a fresh alternative. Each option brings a unique flavor.
- Vegetarian Style: Replace meat with sautéed mushrooms, tofu, or roasted vegetables to cater to plant-based preferences.
- Grain Choice: Experiment with brown rice instead of sushi rice for a nuttier flavor and added health benefits.
- Spice it Up: Add a dash of sriracha or cayenne pepper to the chicken marinade for a lovely kick of heat.
- Flavor Boost: Incorporate a tablespoon of miso paste into the chicken marinade for an umami-rich flavor that takes your onigiri to the next level.
- Extra Crunch: Mix in some roasted sesame seeds with the furikake to deliver an irresistible crunch and enhanced flavor.
- Alternative Wrap: Instead of nori, try using lettuce leaves for a lighter, fresh take on wrapping your onigiri.
These variations make it easy to enjoy Chicken Onigiri in multiple ways, just as you might with my Chicken Garlic Parmesan Pasta or my comforting Carrabbas Copycat Chicken Soup. Enjoy your culinary adventure!
Expert Tips for Chicken Onigiri
-
Uniform Size: Cut chicken into small, uniform pieces for even cooking and flavor infusion, ensuring all bits are well-marinated.
-
Rice Consistency: To achieve the best texture for Chicken Onigiri, add 15% more water when cooking short-grain rice to ensure a sticky finish.
-
Hands Wetting: Wetting your hands while shaping the rice is crucial—this prevents sticking and helps you form perfect triangles with ease.
-
Nonstick Pan: Always use a nonstick pan for cooking the chicken and teriyaki sauce. This prevents sticking and burning, ensuring a deliciously crisp outer layer.
-
Storage Tips: Chicken Onigiri is best enjoyed fresh but can be stored in an airtight container for up to 2 days in the refrigerator—reheat briefly for optimum taste.
-
Experiment with Fillings: Don’t hesitate to explore different fillings besides chicken, like tuna or a mix of vegetables, for unique flavor combinations in your Chicken Onigiri!
Make Ahead Options
These Chicken Onigiri are perfect for meal prep and can save you valuable time during busy weekdays! You can prepare the sushi rice and marinate the chicken up to 24 hours in advance. Cook the chicken and assemble the onigiri right before serving for the freshest results. To keep things flavorful, store the sushi rice in an airtight container in the refrigerator; just reheat it gently before shaping. The cooked chicken can also be refrigerated for up to 3 days. When ready to enjoy, simply warm the chicken, shape the onigiri, wrap each with nori, and you’ll have a delicious homemade snack in no time!
Chicken Onigiri Recipe FAQs
What type of rice is best for Chicken Onigiri?
I recommend using short-grain sushi rice for Chicken Onigiri. This variety has the ideal sticky texture that helps hold the onigiri shape together. If you’re in a pinch, medium-grain rice can work as well, but the results won’t be as authentic.
How should I store leftover Chicken Onigiri?
Store your Chicken Onigiri in an airtight container in the refrigerator for up to 2 days. Although they are best enjoyed fresh, you can also leave them out of the fridge for a couple of hours if you plan to eat them soon. Just be sure to consume them within this time for the best flavor.
Can I freeze Chicken Onigiri?
Absolutely! You can freeze Chicken Onigiri for up to 1 month. To do this, wrap each piece tightly in plastic wrap and place them in a freezer bag. When you’re ready to enjoy them again, thaw overnight in the refrigerator, then reheat gently. I often prefer reheating them in a nonstick skillet over low heat to regain some crispiness.
Why did my Chicken Onigiri fall apart?
If your onigiri is falling apart, it may be due to insufficient moisture in the rice. Ensure you’re using enough water when cooking the sushi rice—ideally, about 15% more than you usually would. Also, remember to pack the rice tightly when shaping; the more compact it is, the better it will hold its form.
Is Chicken Onigiri suitable for gluten-free diets?
Yes, but you’ll need to double-check the soy sauce you use. Some brands contain gluten, while there are gluten-free options available. Look for tamari or other gluten-free soy sauce alternatives to keep this tasty treat within your diet.
Can I make variations of the filling for Chicken Onigiri?
Absolutely! Feel free to get creative with your fillings. You can use cooked tuna, pickled vegetables, or even shrimp. Using different proteins or veggies can enhance the flavor and make every onigiri unique, perfect for whatever you have on hand!
Chicken Onigiri: Easy Japanese Snack for Busy Days
Ingredients
Equipment
Method
- Cook the sushi rice according to your rice cooker instructions. If using stovetop, rinse 1 cup of rice until water runs clear, combine with 1.25 cups of water, bring to boil, reduce heat, cover, and cook for 20 minutes, fluff and mix with salt and furikake.
- Cut 1 pound of chicken into small pieces, mix together soy sauce, sake, baking soda, and cornstarch in a bowl, add chicken and marinate for at least 30 minutes.
- Combine soy sauce, mirin, brown sugar, and minced garlic in a bowl to create a teriyaki sauce, mix until sugar is dissolved.
- Heat oil in a nonstick pan over medium-high heat, add marinated chicken in a single layer, cooking until golden brown for 2-3 minutes, flipping halfway.
- Lower heat, add minced garlic to the pan, sauté until fragrant, pour in teriyaki sauce, simmer for 2-3 minutes, return chicken and toss to coat.
- Wet hands, take about 1/3 cup of rice, shape into a ball, create a well, spoon in 1 tablespoon of chicken filling, cover with more rice and mold into a triangle.
- Wrap each onigiri with nori, keeping one side open, and serve immediately or pack for lunch.
Leave a Reply